| Journal | Faux Fabric— Painted Dresser
Dark Neutral— Faux Fabric Furniture Flip

You know, it’s a funny thing—when something doesn’t go quite as planned, I let it bother me for a moment. But honestly, things almost always turn out better than I envisioned! This faux fabric painted dresser flip was no exception! I had planned for a dark neutral with exposed wood and ended up with a textured faux fabric linen look—a technique I randomly came across and am now swimming in a sea of swoon over!
Faux Fabric Painted Dresser
So pretty much all vintage and antique dressers catch my eye, however when ALL the original hardware is intact— that’s when you really see me jump! This charming tallboy was tucked away in the sweetest retro basement with a very tricky stairwell. An obstacle that was in no way gonna stop me from getting it into the back of my crossover! I was so excited to get this one home and into my shop, and couldn’t wait to get started!


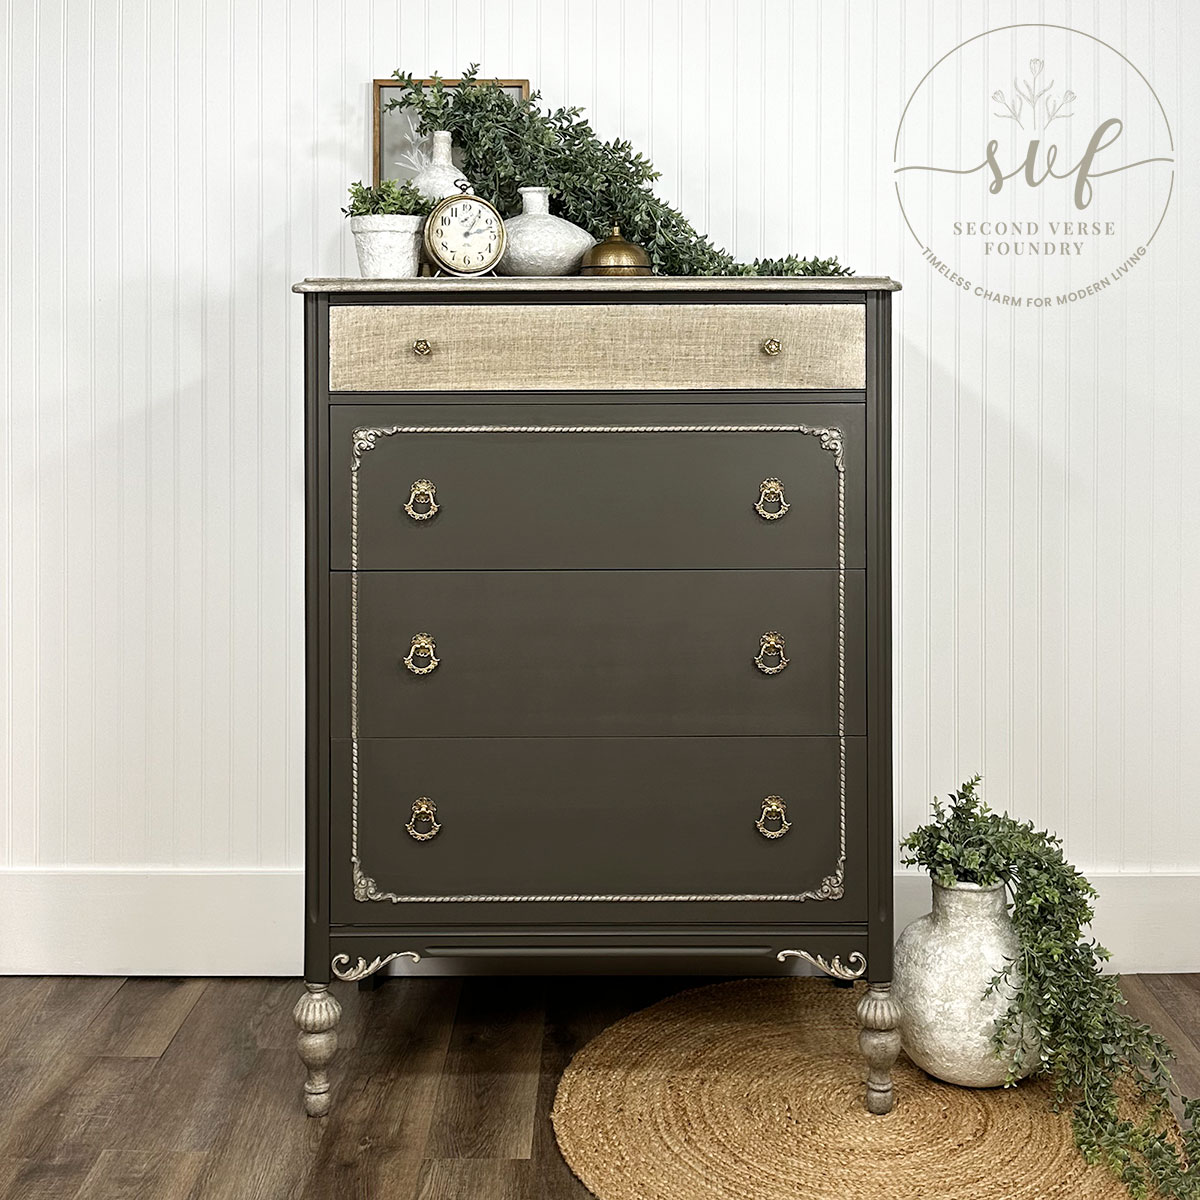
Looking to add dark, neutral, texture and dimension to your home or cottage? If so, this is the statement piece for YOU! Featuring the colour Oakham— rooted in grey, this dark neutral is balanced in its warm brown and bronze undertones; a complex, dark shade that is sure to make its way into the foundation of any colour palette. A solid vintage tallboy transformation that oozes texture, dimension and charm. Pairs ever so sweetly with exposed wood, jute/wicker textures, greenery, and aged faux pottery that I’d love to share how you too can DIY!

All products mentioned in this post—and every post I share—are ones I regularly reach for. They’ve earned a spot in my toolbox because they’re reliable and deliver results. Simply what I use, trust, and recommend, shared honestly with you. No affiliate links, no commissions—just straight talk from my whole heart.
Country Chic Paint
Featuring
These are the products that brought this transformation to life—ones I trust, recommend, and share honestly with you. Select any to explore other projects for inspiration and see where to buy.


Take a Closer Look
My Step-by-Step Transformation
These are the steps that brought this transformation to life—shared to guide and inspire your own project. Learn better by talking it through? Let’s connect for a consultation to bring your vision to life.
- Removed original hardware— With full intentions of maintaining such a lovely set
- Heavily sanded down top, legs, and top drawer— With plan to stain for exposed wood desire; wasn’t looking hopeful as there was unmatched wood tone, and I sanded through the veneer on part of the top drawer; 80, 120, 220 grit
- Lightly sanded down drawers and body— To prepare for paint application; 80, 120 grit
- Thoroughly vacuumed and washed— Necessary preparation for any and all furniture restorations
- Bleached top— In hopes to achieve a matched wood tone; didn’t turn-out as desired; so onto alternate ideas I went
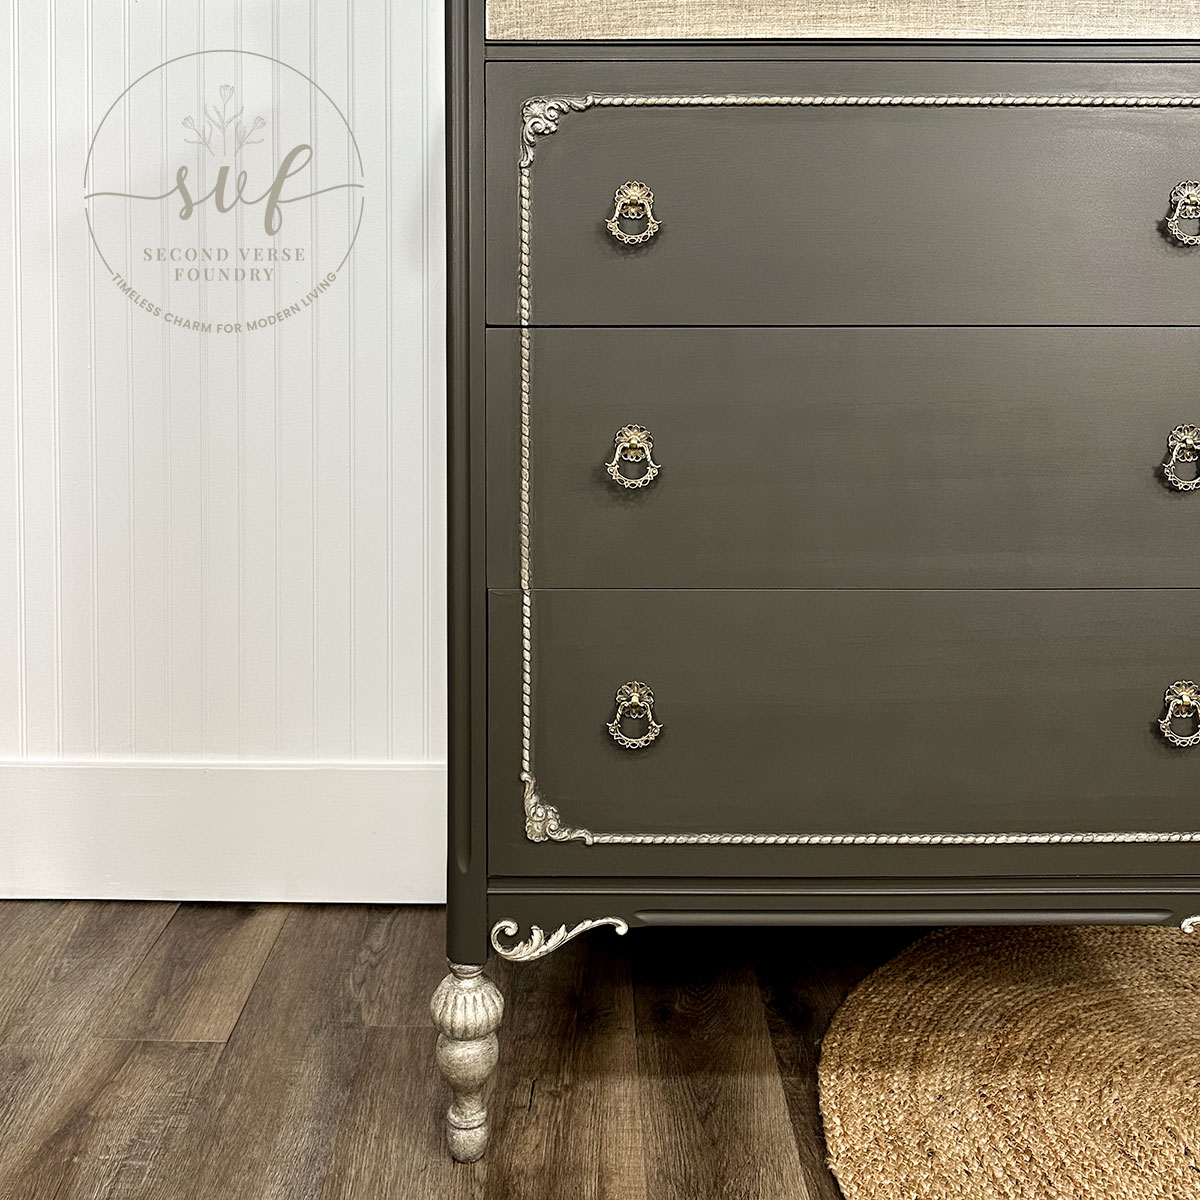
- Applied 2 coats of Fusion Mineral Paint in the colour Oakham to the entire exterior and bottom 3 drawers— Rooted in grey, this dark neutral is balanced in its warm brown and bronze undertones; brush and roller application
- Researched other techniques for a two-toned effect— Came across a lovely inspiring artisan @steelbirchstudios and was instantly intrigued by her faux fabric furniture painting technique, and got at it with much enthusiasm
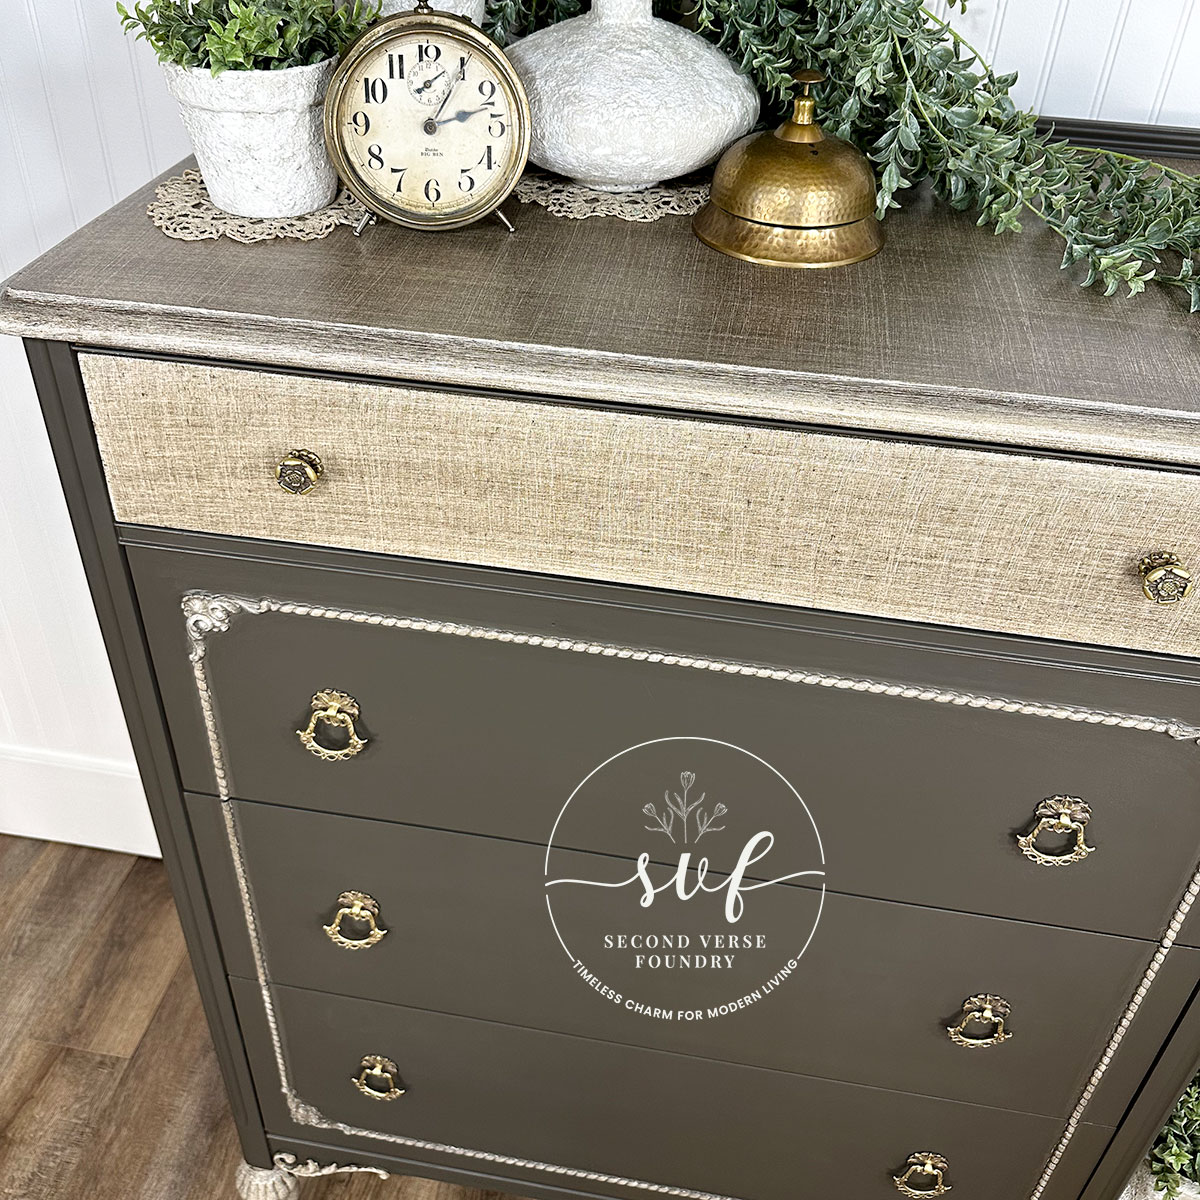
- Applied 2 coats of Zinsser B-I-N Shellac to the top, legs, top drawer, and drawer beaded frame— In preparation for faux glazing technique; brush and roller application
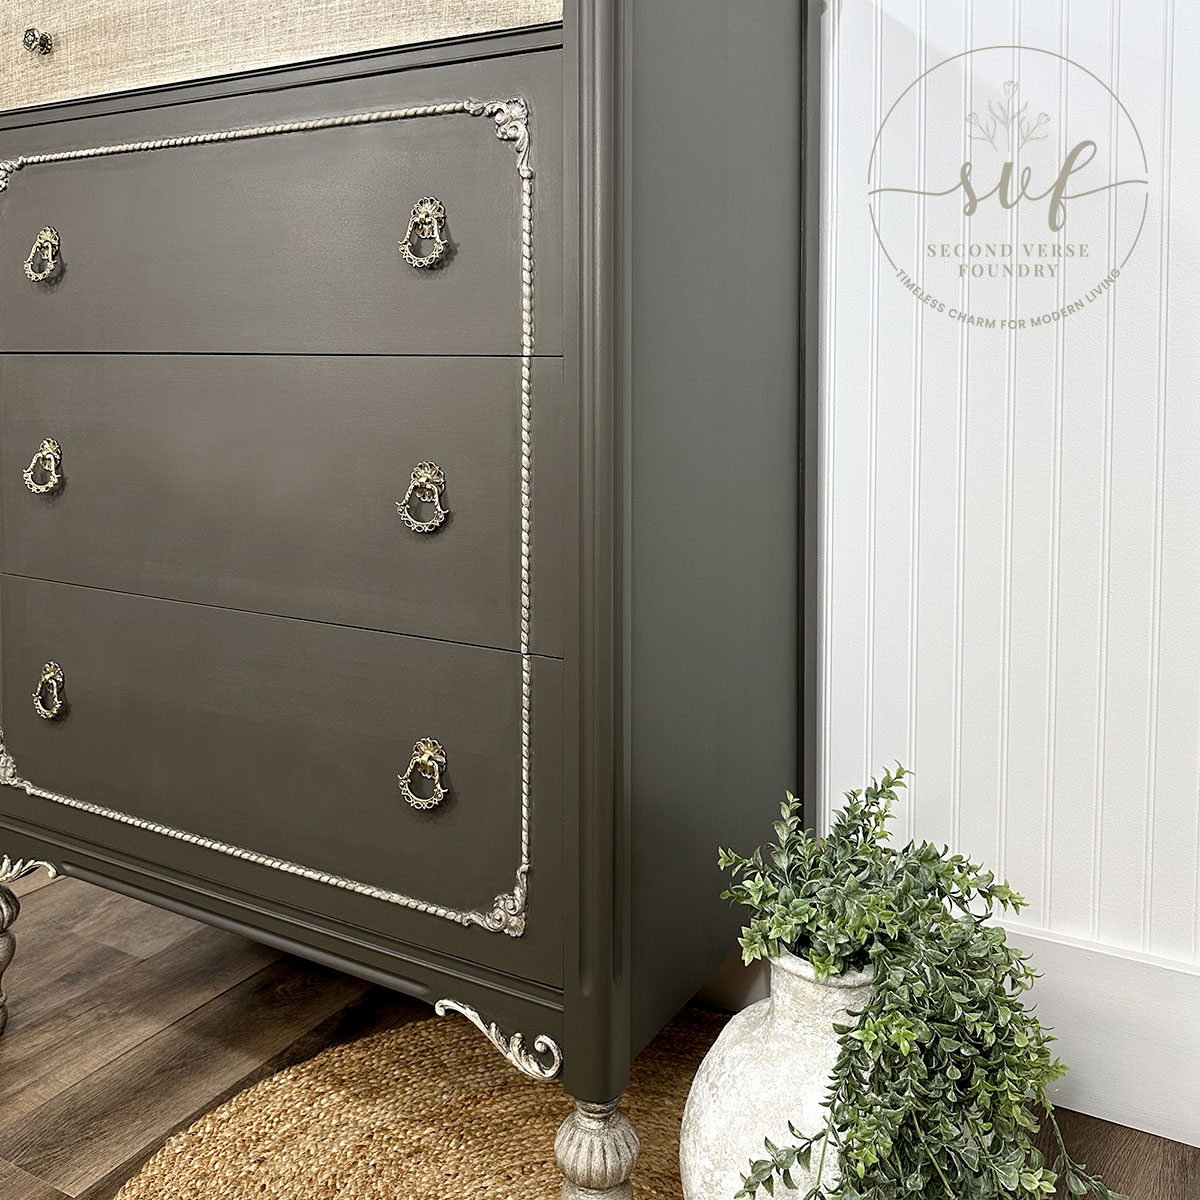
- Mixed a 1:2 ratio of Fusion Oakham and Clear Glaze— And applied to top, legs, top drawer, and drawer beaded frame; brush application
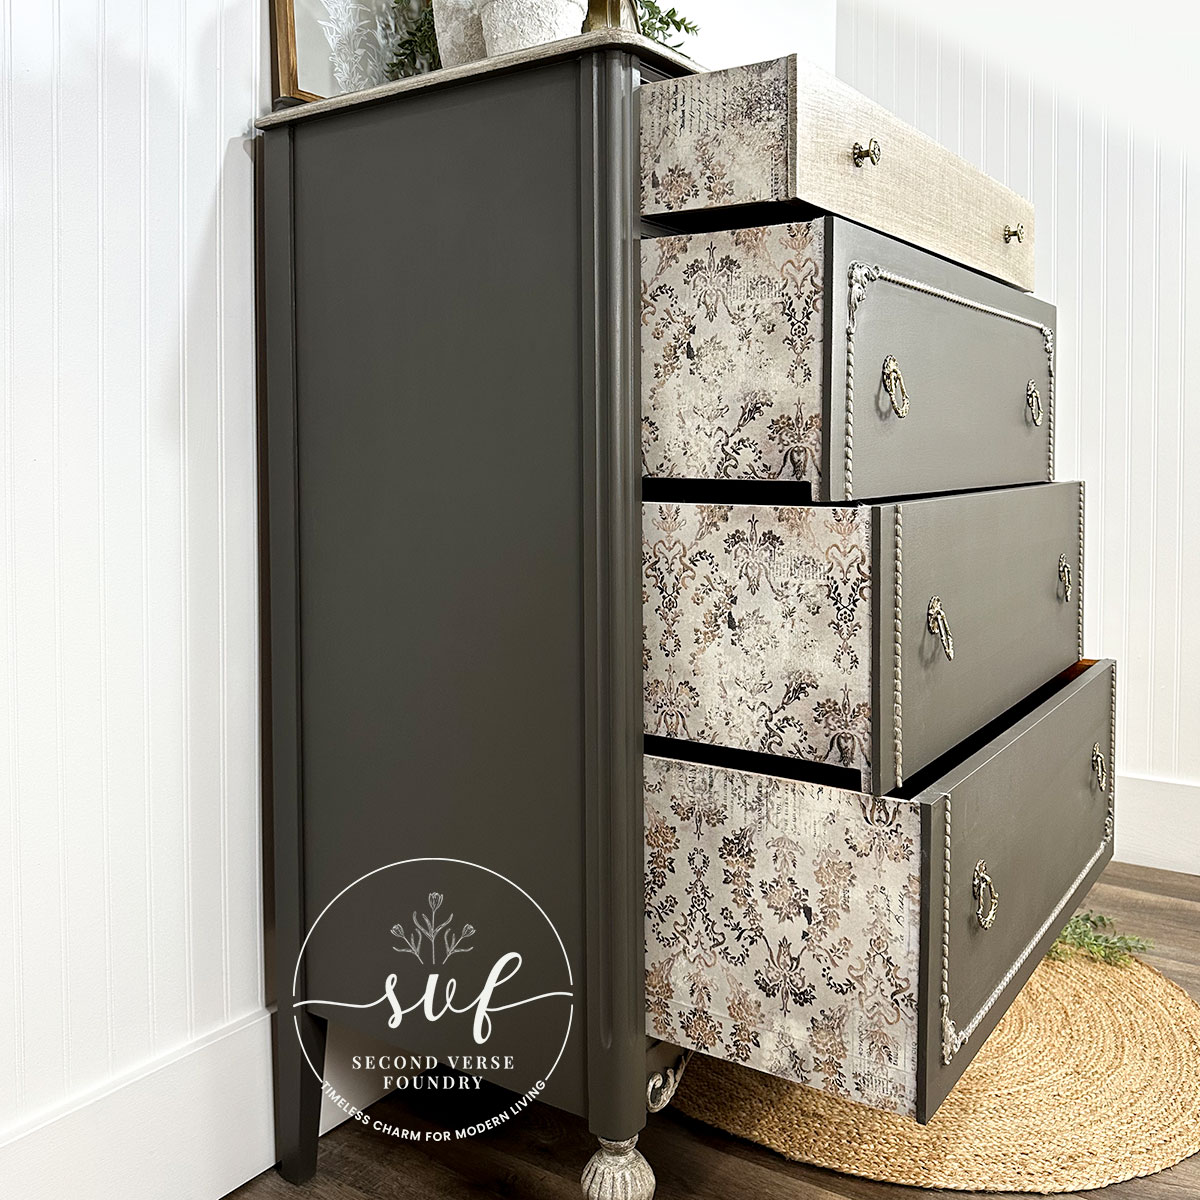
- Without delay (glaze dries very quickly), I used a Small Hand Broom and a Nylon Wire Brush to achieve a faux linen furniture finish effect— So incredibly easy, and so very very cool; horizontal/vertical strokes being sure to wipe with rag in between strokes
- Applied 2 coats of Fusion Beeswax Finish to the entire piece ~ for a soft satin finish that works wonderfully on dark colours; lint free application/buff
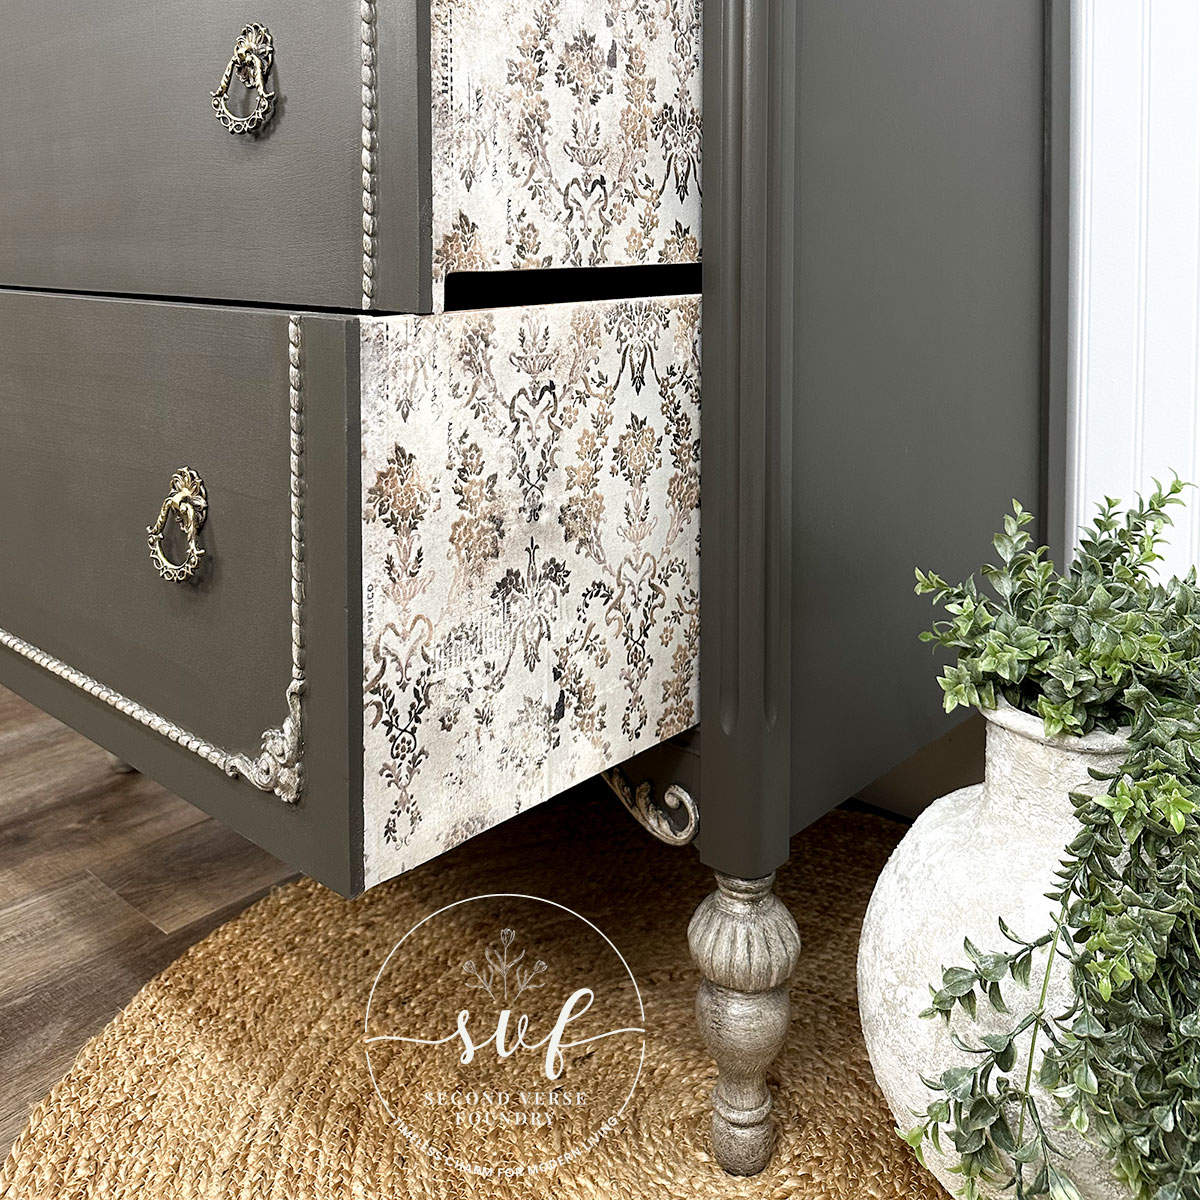
- Decoupaged drawer sides with Re-Design with Prima’s Washed Damask Decoupage Tissue Paper ~ A charming pattern that I felt was a lovely pairing for this dresser transformation; also applied a coat of Country Chic Paint in the colour Simplicity prior to decoupaging
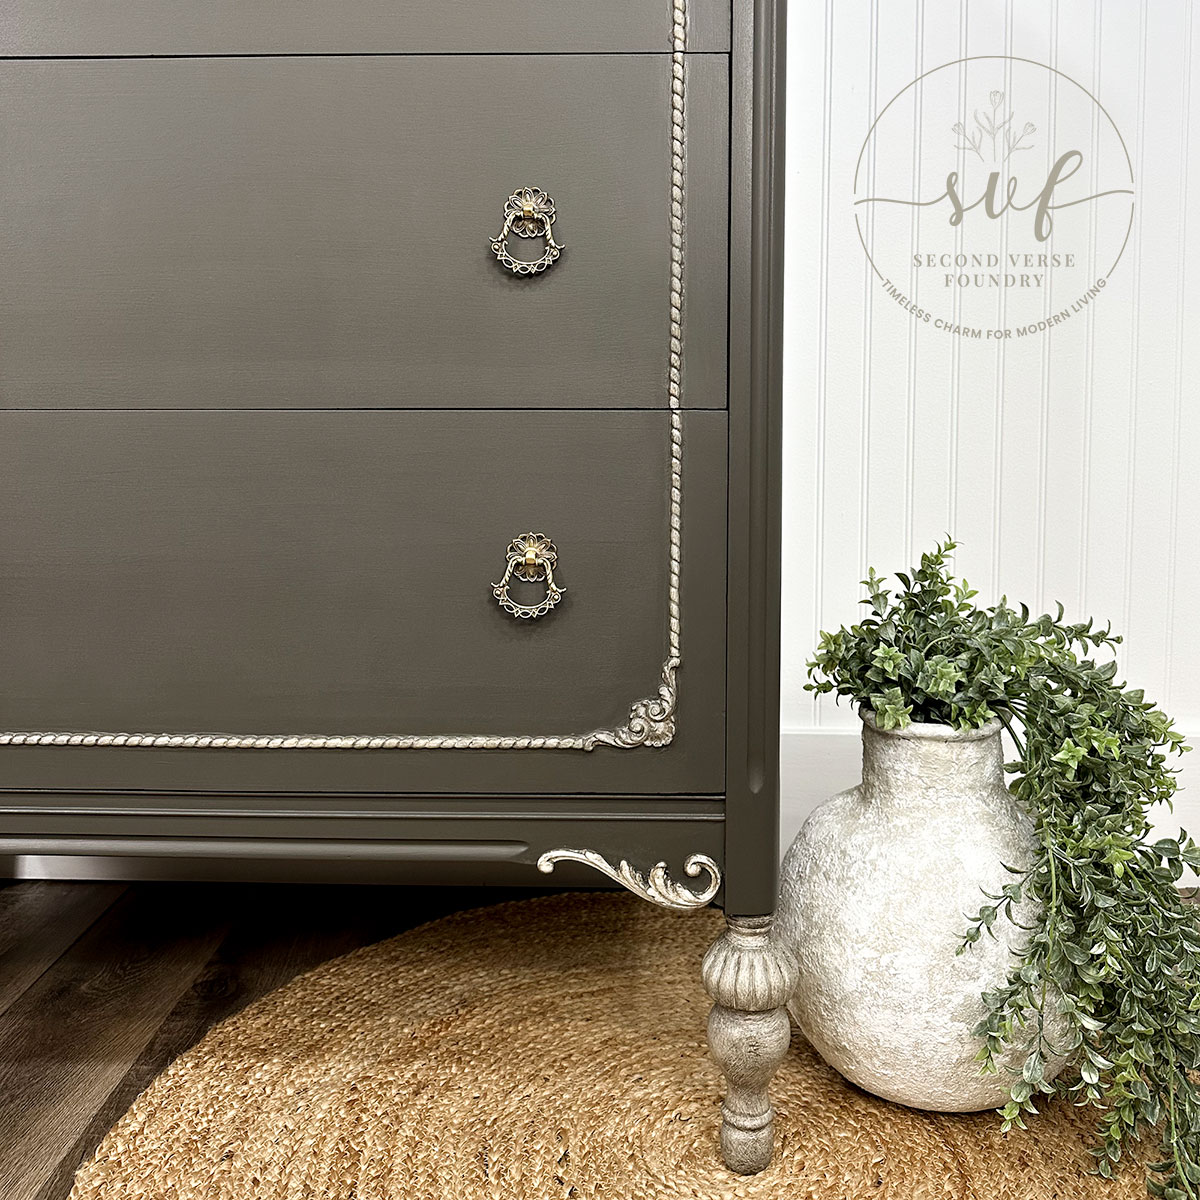
- Polished original hardware with my go-to Brasso Metal Cleaner— Quickly and gently removes tarnish from a range of surfaces, including brass, copper, chrome, stainless steel and pewter
- Another thorough vacuum and wash— And also gave the interior drawers a nice drink of Wise Owl Furniture Salve in the scent ‘Rioutous Rain’… they were rather thirsty
One-Hour / One-on-One / $80
Looking to achieve a similar look? Getting started with furniture transformations can feel overwhelming, but with hands-on experience since 2017, I’ve learned so much along the way. I’d love to share what I know and help guide you through the process.
Let’s work together! Whether it’s over the phone, via a screen-share session, or even over a coffee (or wine!), we’ll make a plan to bring your vision to life.


With all my heart and hands
I’ve said it before, and I’ll say it again—when things don’t go as planned, they often turn out better than expected. This faux fabric painted dresser was proof of that! I didn’t set out to give it a linen-like texture, but once I stumbled upon the technique, I knew this flip was heading in a whole new direction. And honestly? I couldn’t be happier with where it ended up.
There’s something deeply satisfying about transforming a piece that once felt forgotten into something that suddenly steals the spotlight. It’s a reminder that even the most ordinary things can surprise you with their potential—if you’re willing to get a little messy and see where the paint takes you.
So, if you’ve been waiting for a sign to dive into that project, here it is! It doesn’t need to be perfect. Just start, experiment, and let the process surprise you. After all, who knows? You might just end up swimming in a sea of swoon, too.
Thanks for being here—more flips (and happy accidents) are always on the way!
Faye Caroline
0 Comments