Deep Sea Teal— Vintage Tallboy
I recently finished a Scandinavian blended dresser, and it felt like finding my way back to my happy place. While working on it, I was listening to Happy Place by Emily Henry, and a passage stopped me in my tracks: “I really like it. But that’s the thing—nothing’s riding on it. If I mess it up, it doesn’t matter; I can start over, and honestly, I don’t even mind.” That’s exactly how I feel about my craft. I don’t overthink it or stress about the outcome—I just dive in, let my mind wander, and enjoy the process. Paint blending requires patience, a little bravery, and the willingness to start over if needed. But when you get it right, the results can be beautiful. I’m so glad I tackled this project, and I can’t wait to share the transformation with you!
Scandinavian Blended Dresser
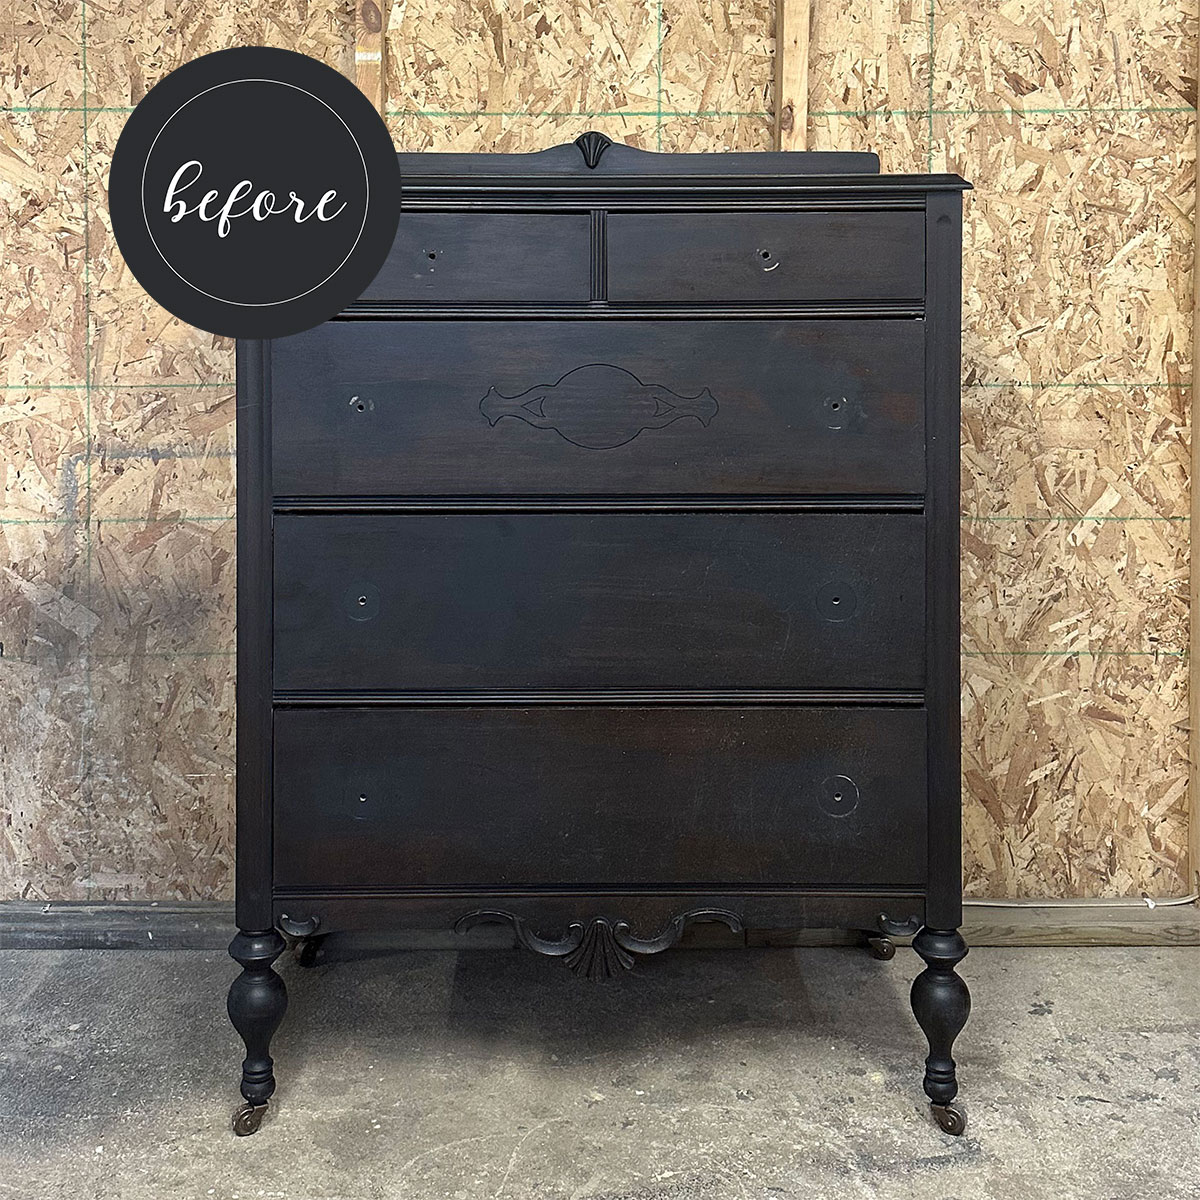
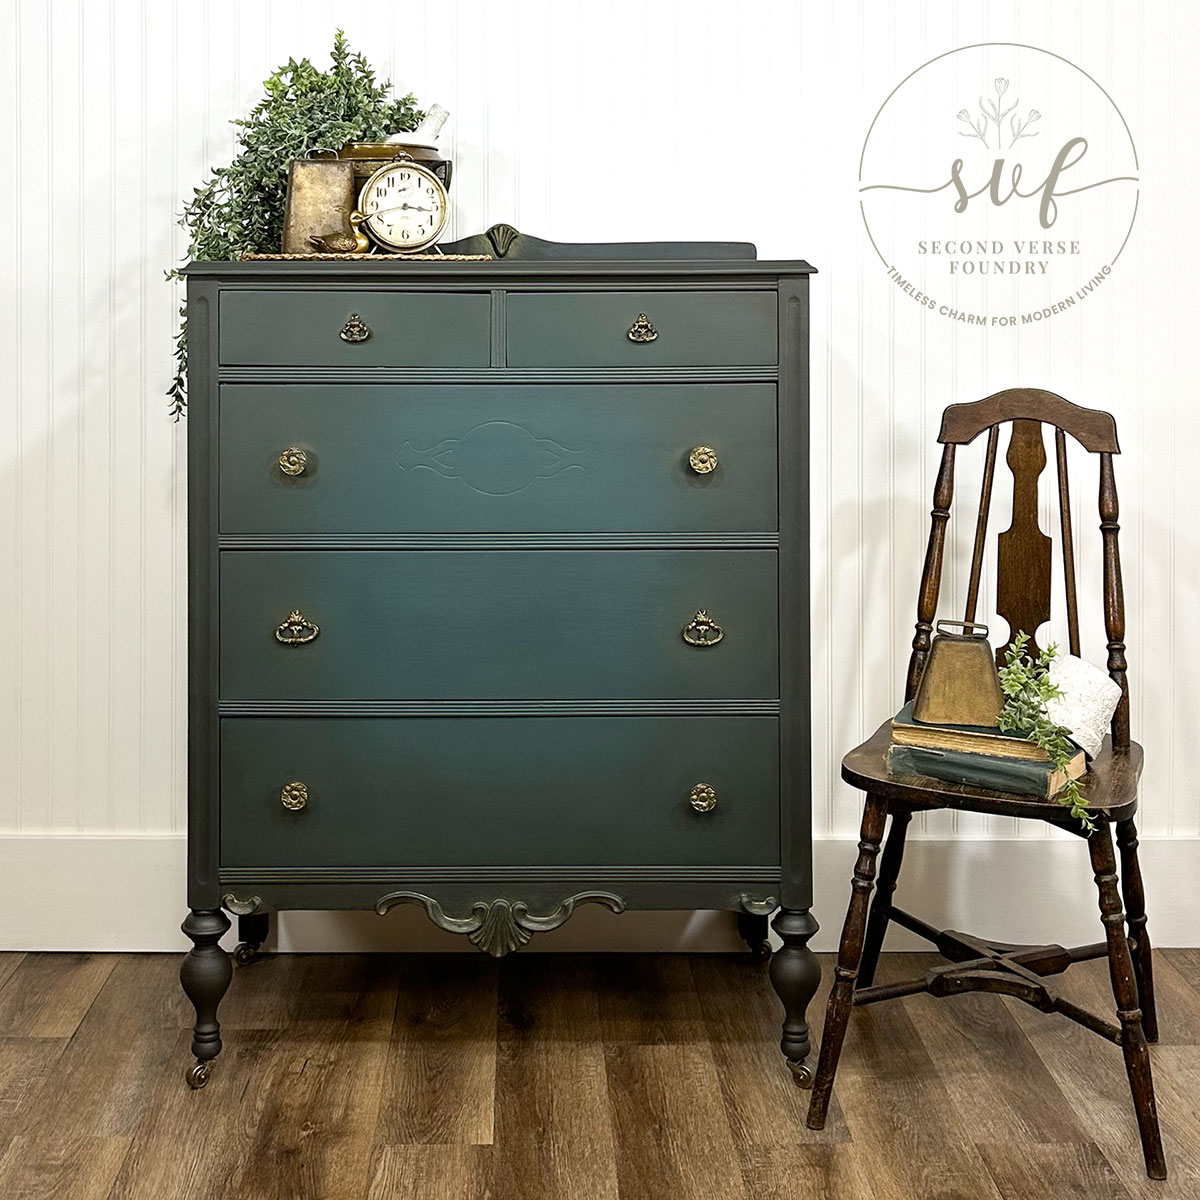
Clearly, my eyesight is not what it used to be! When I spotted this adorable vintage tallboy dresser on Marketplace, I immediately claimed it. However, upon arrival for pick-up, I was surprised to discover that it was already painted! Now, you might find this amusing, but I typically avoid buying painted dressers. I prefer pieces in their natural aged state, which is ideal for my craft. Nevertheless, nothing could sway me from this cutie patootie! Just look at it—even the “before” was wonderful! Plus, the seller, a delightful gal, so easily sealed the deal!
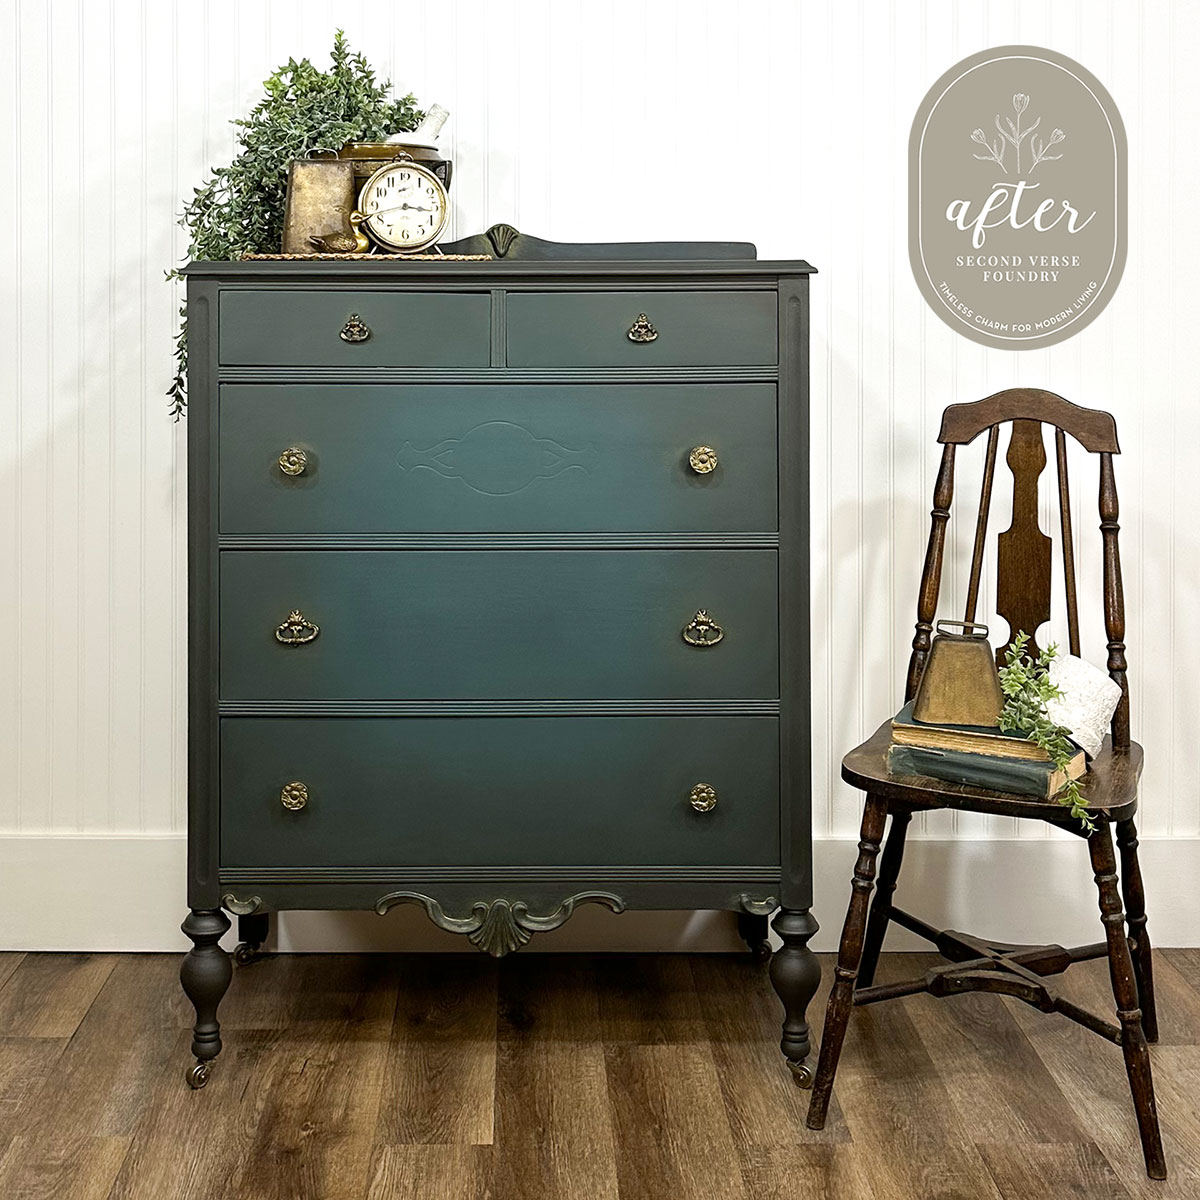
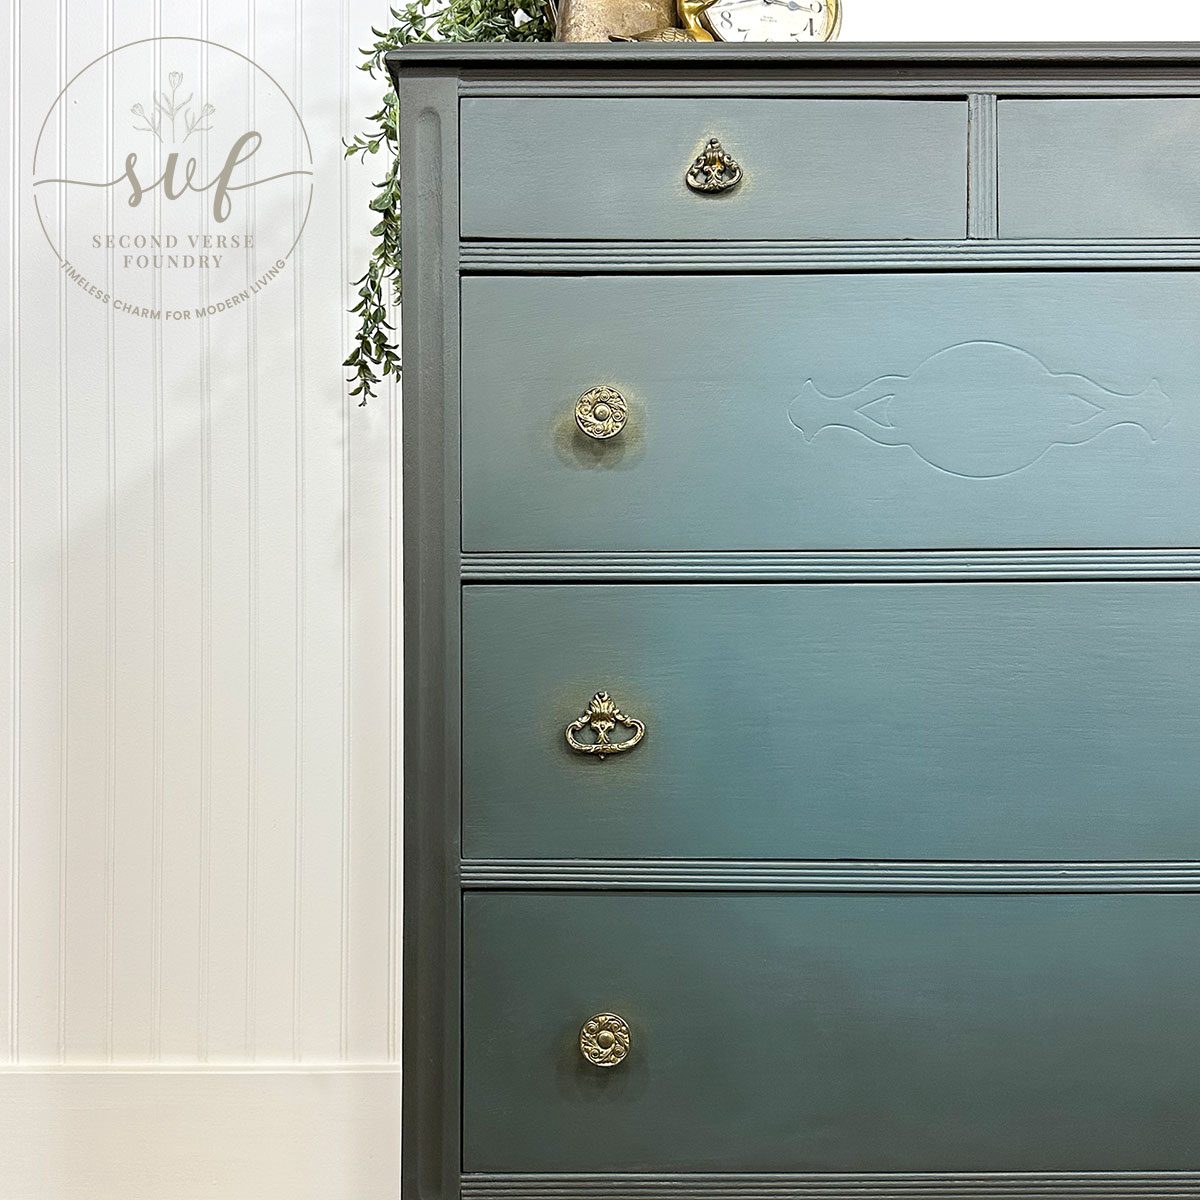
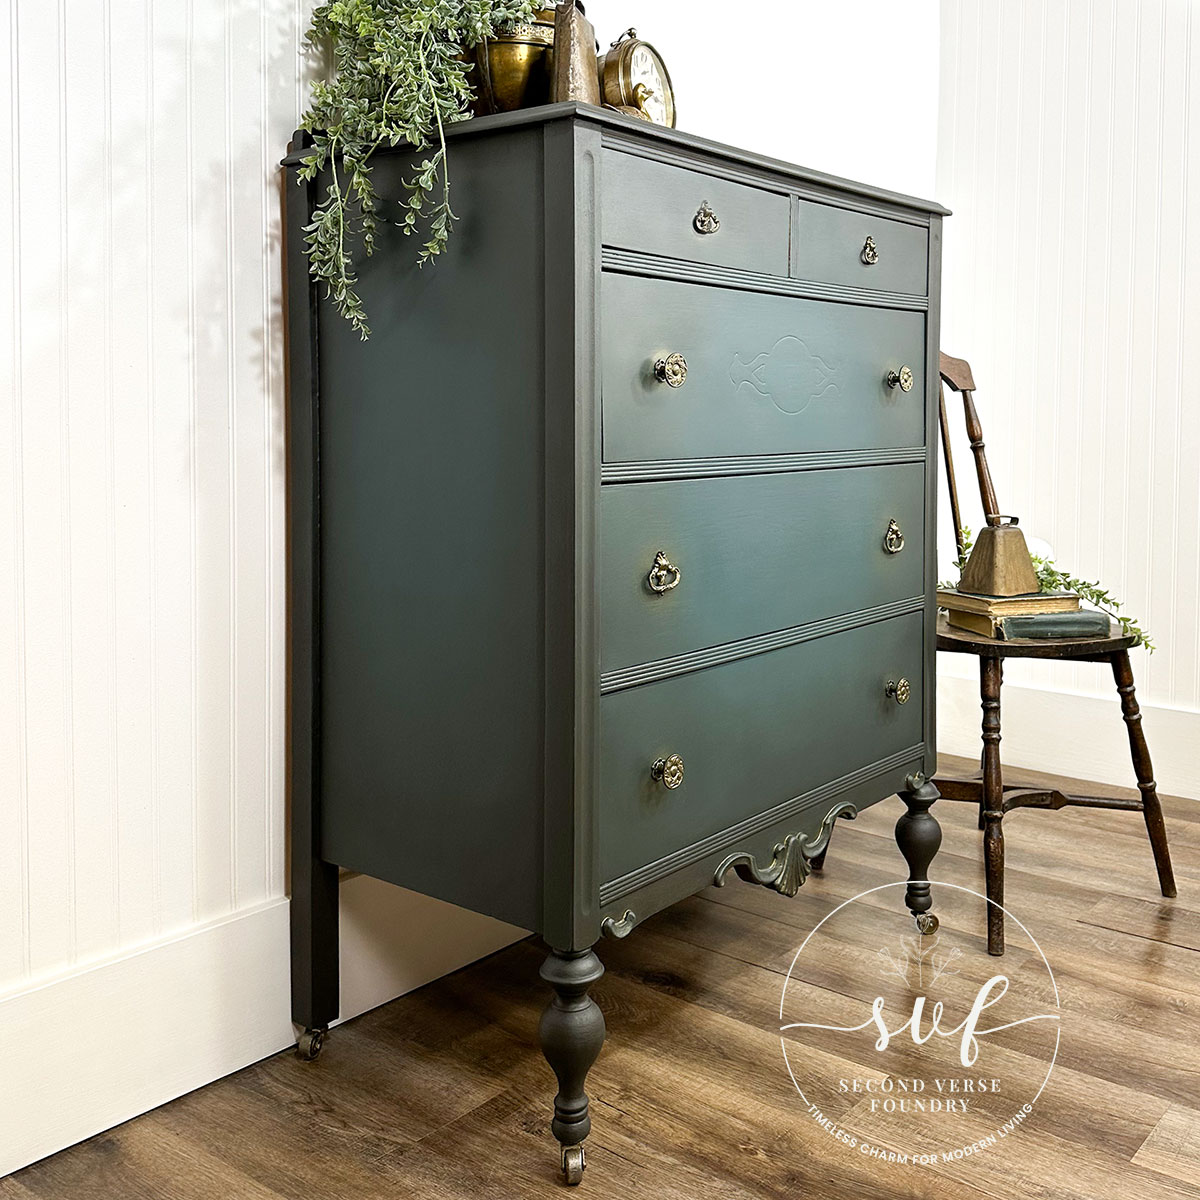
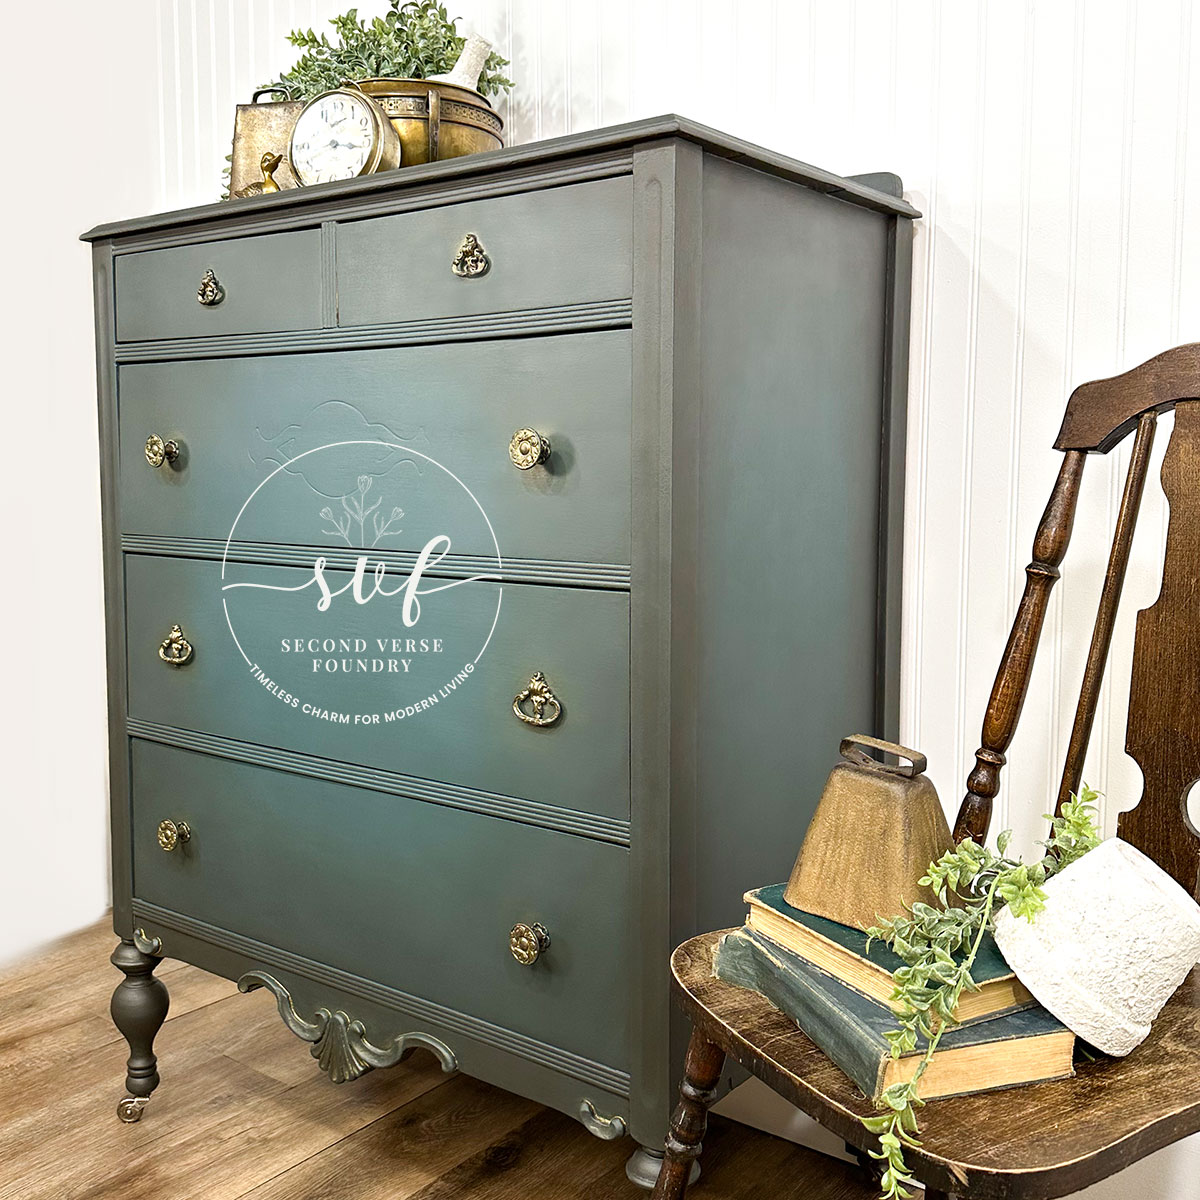
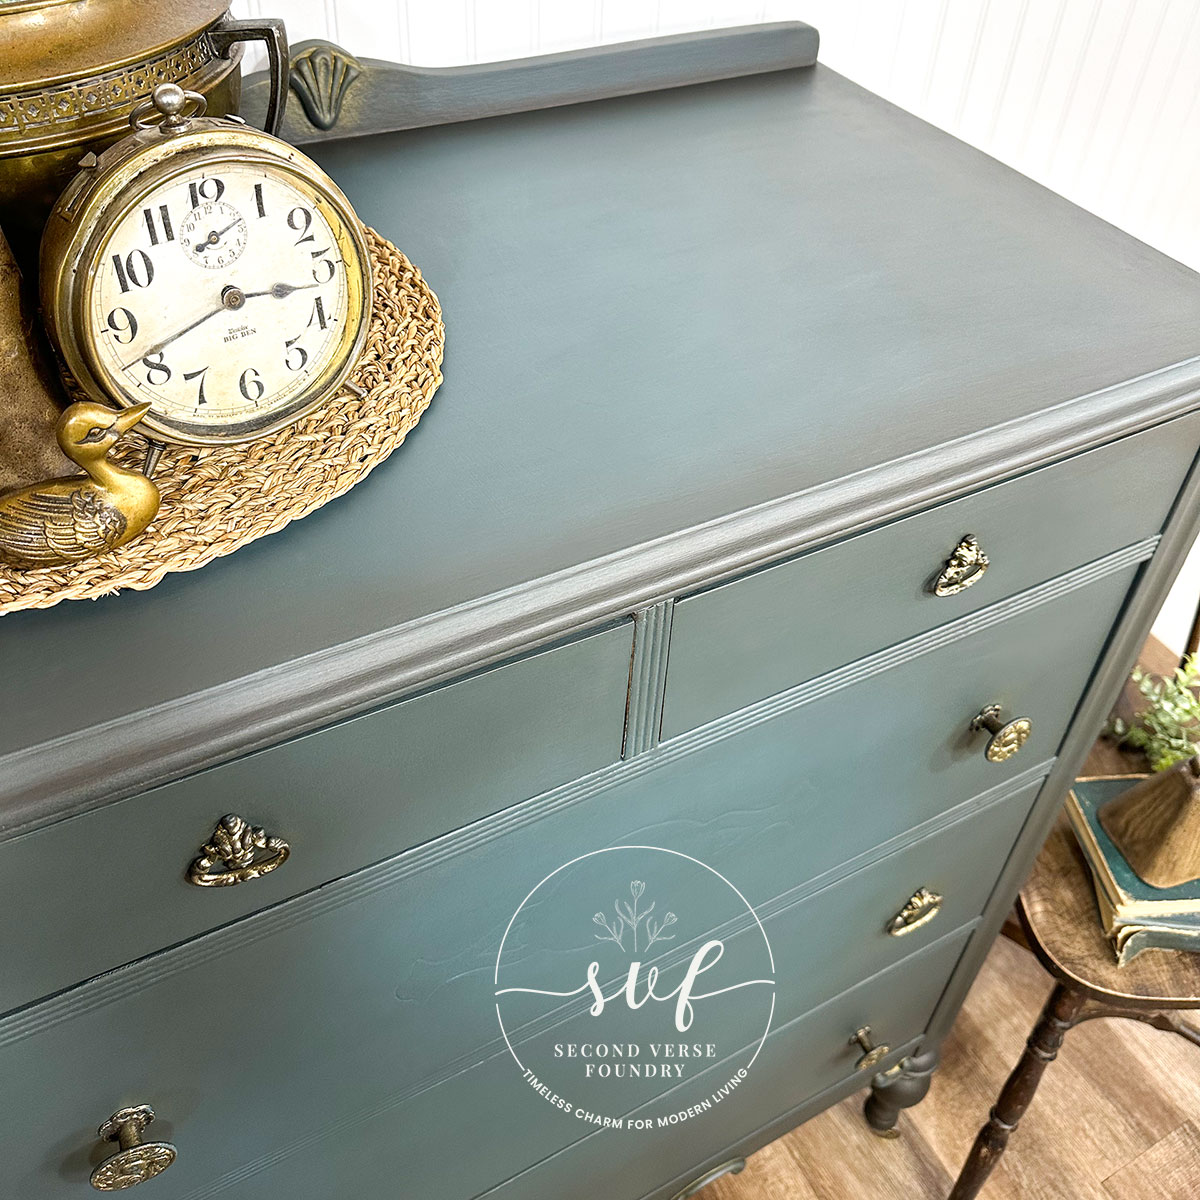
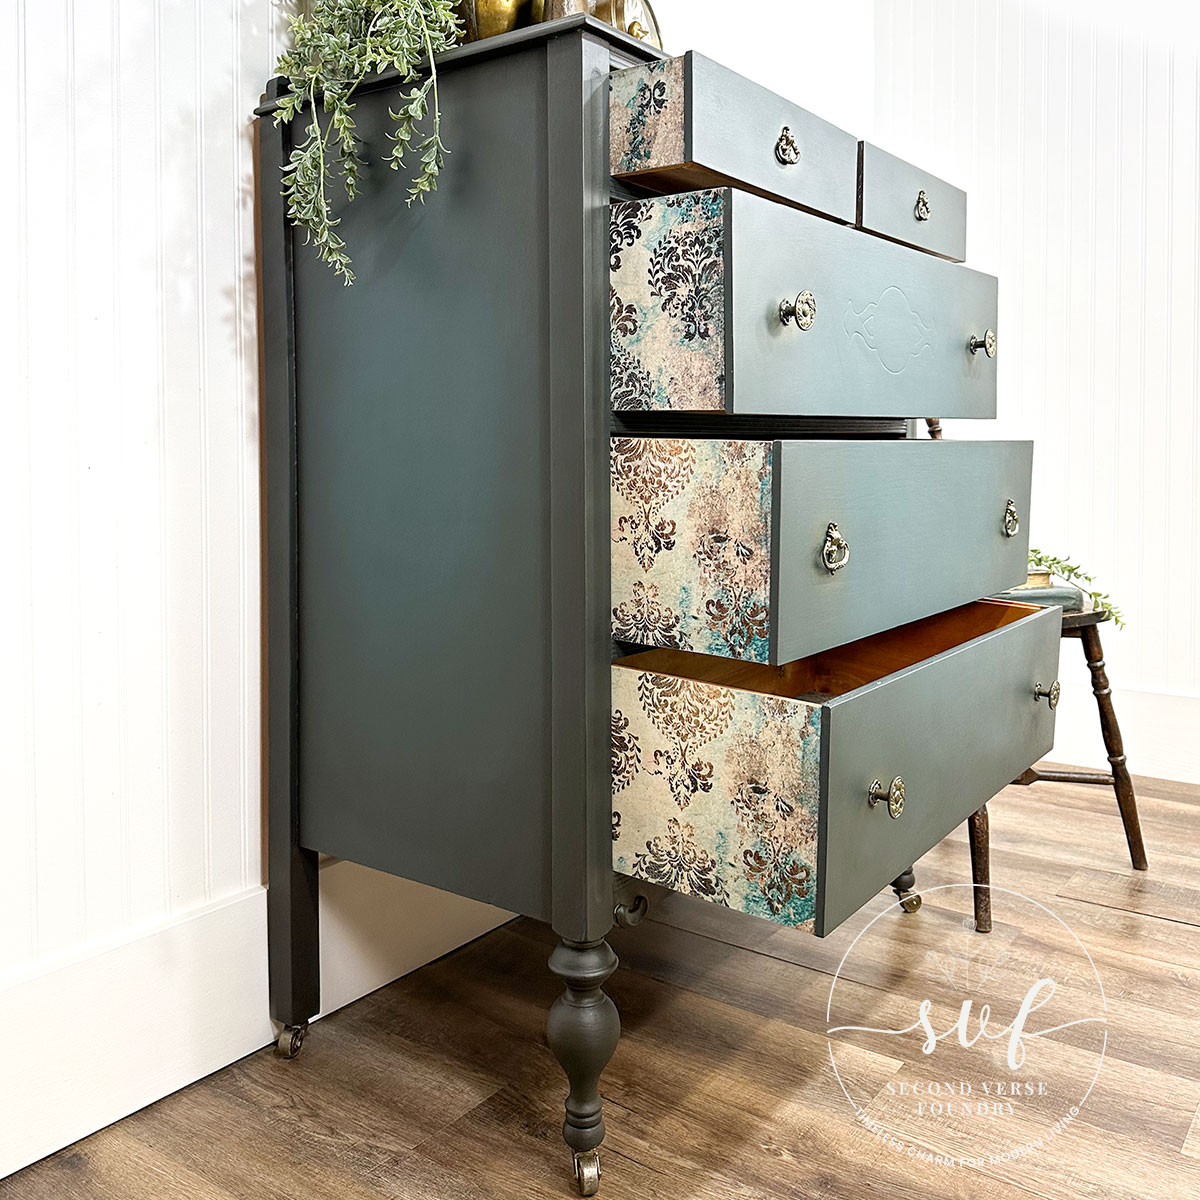
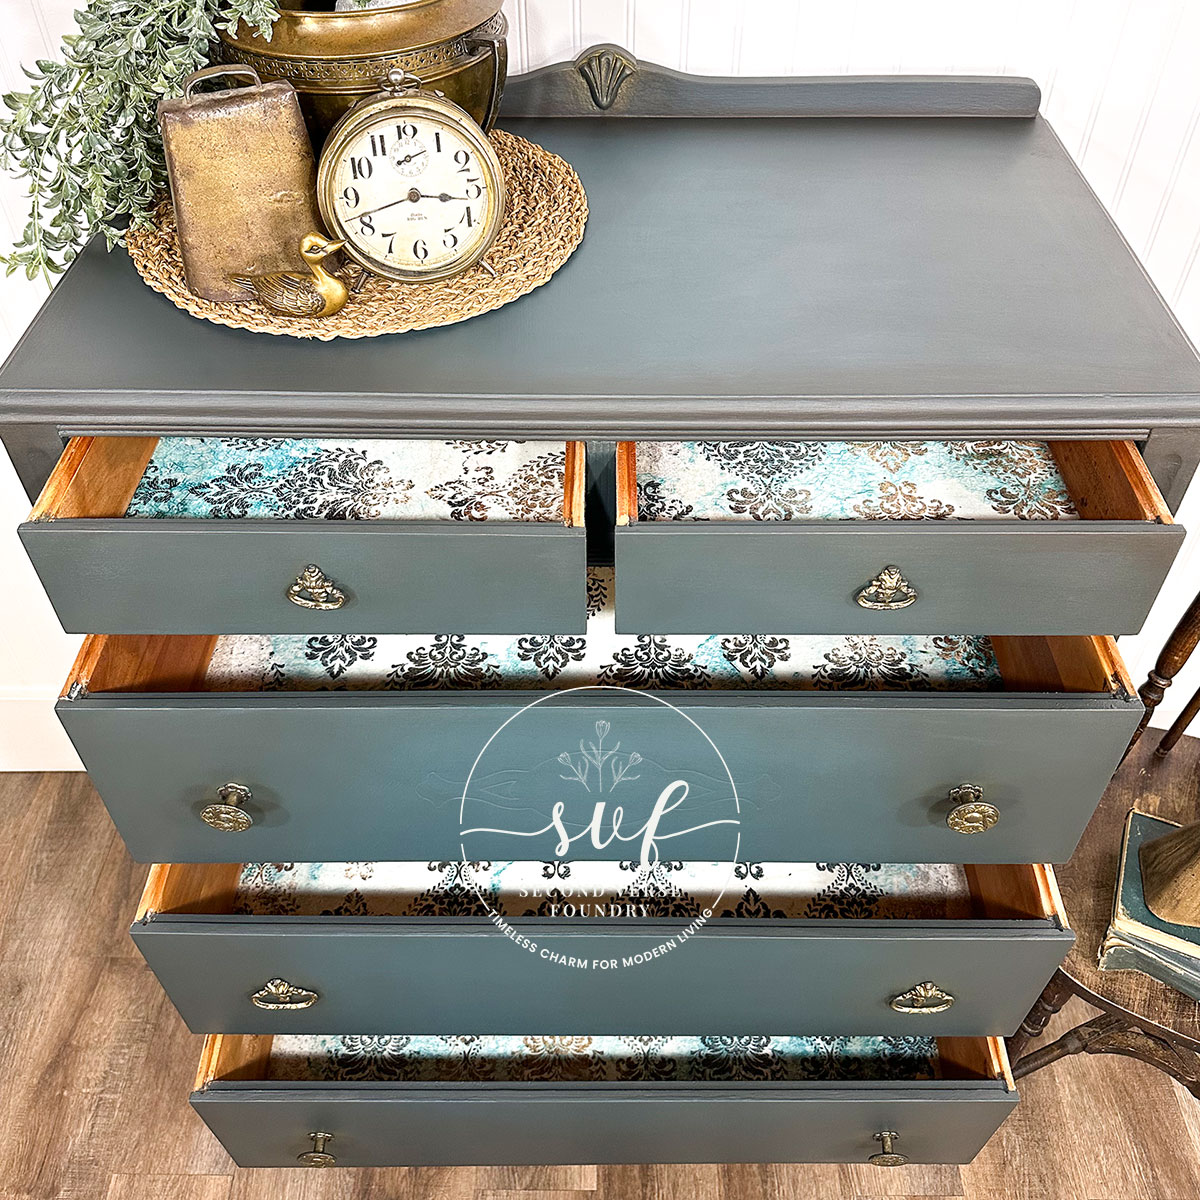
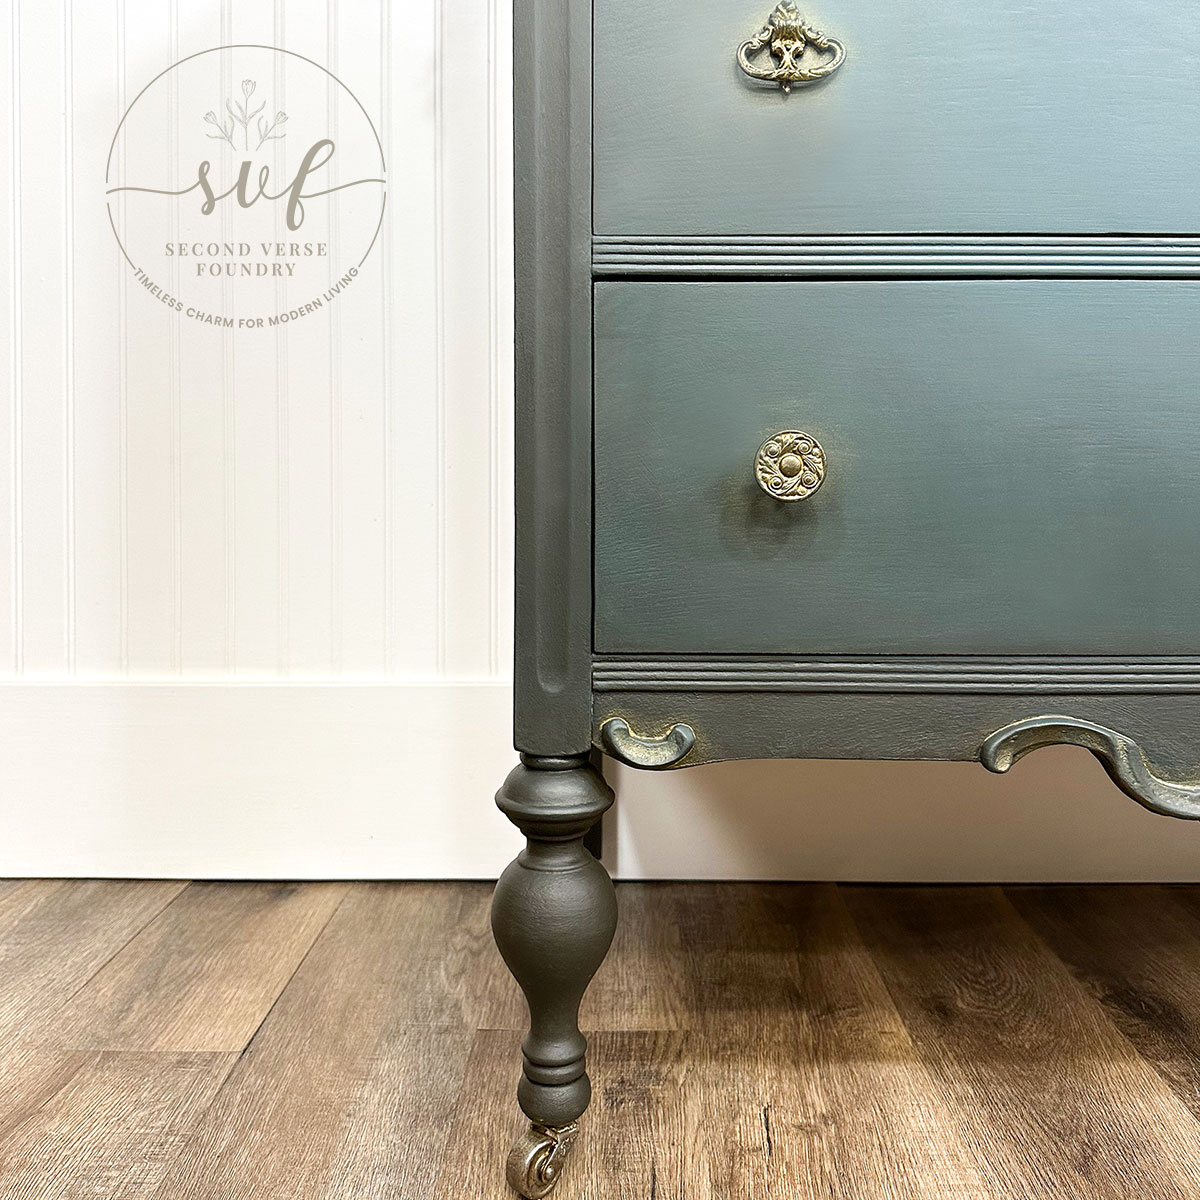
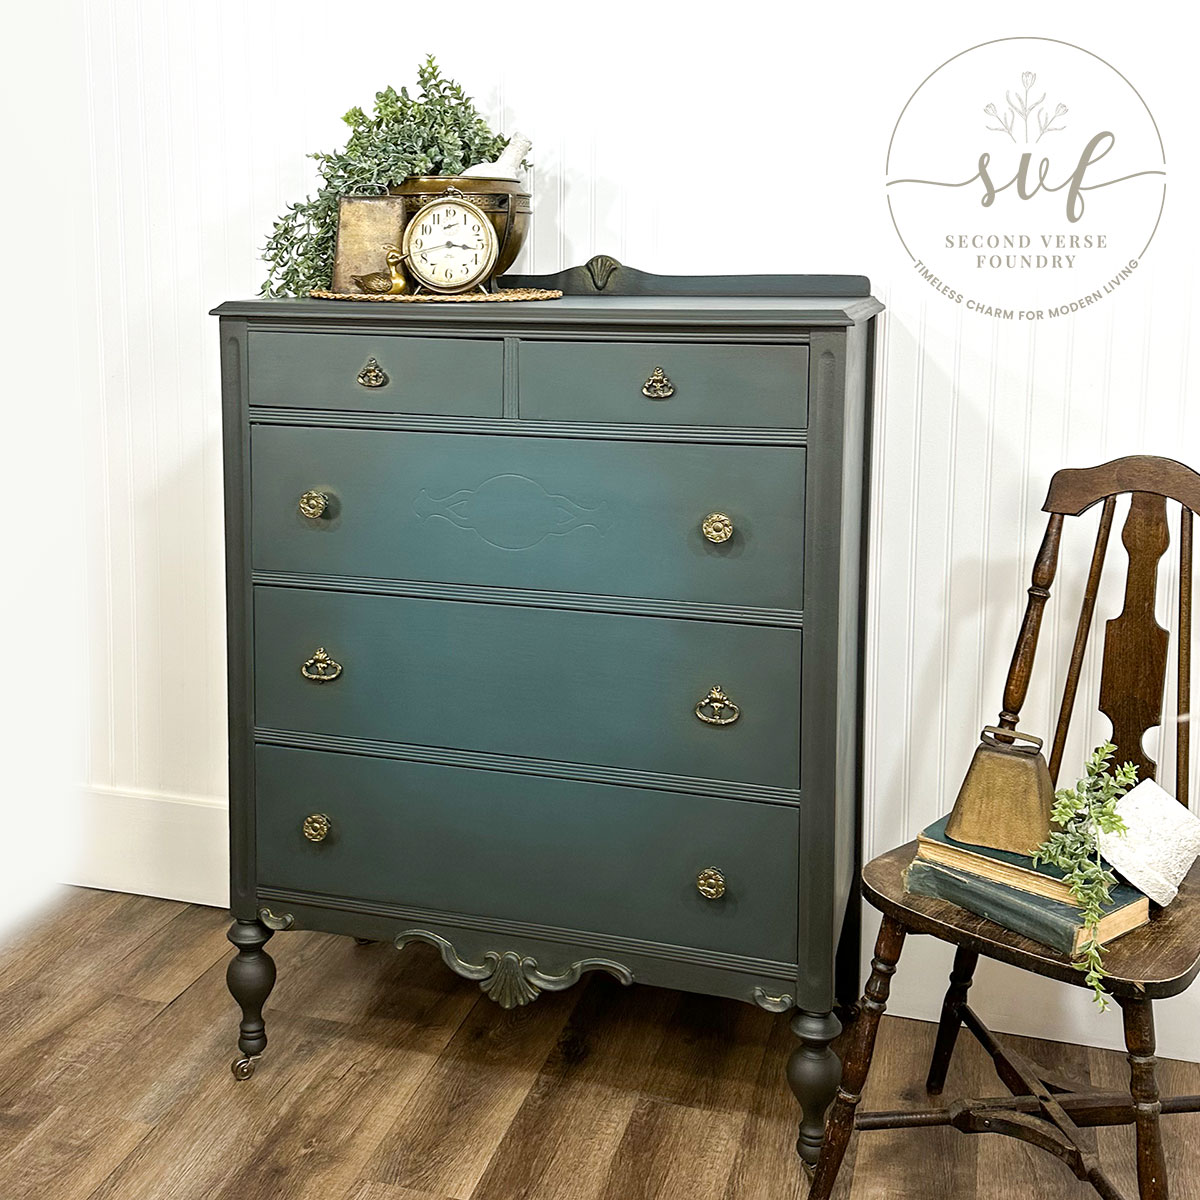
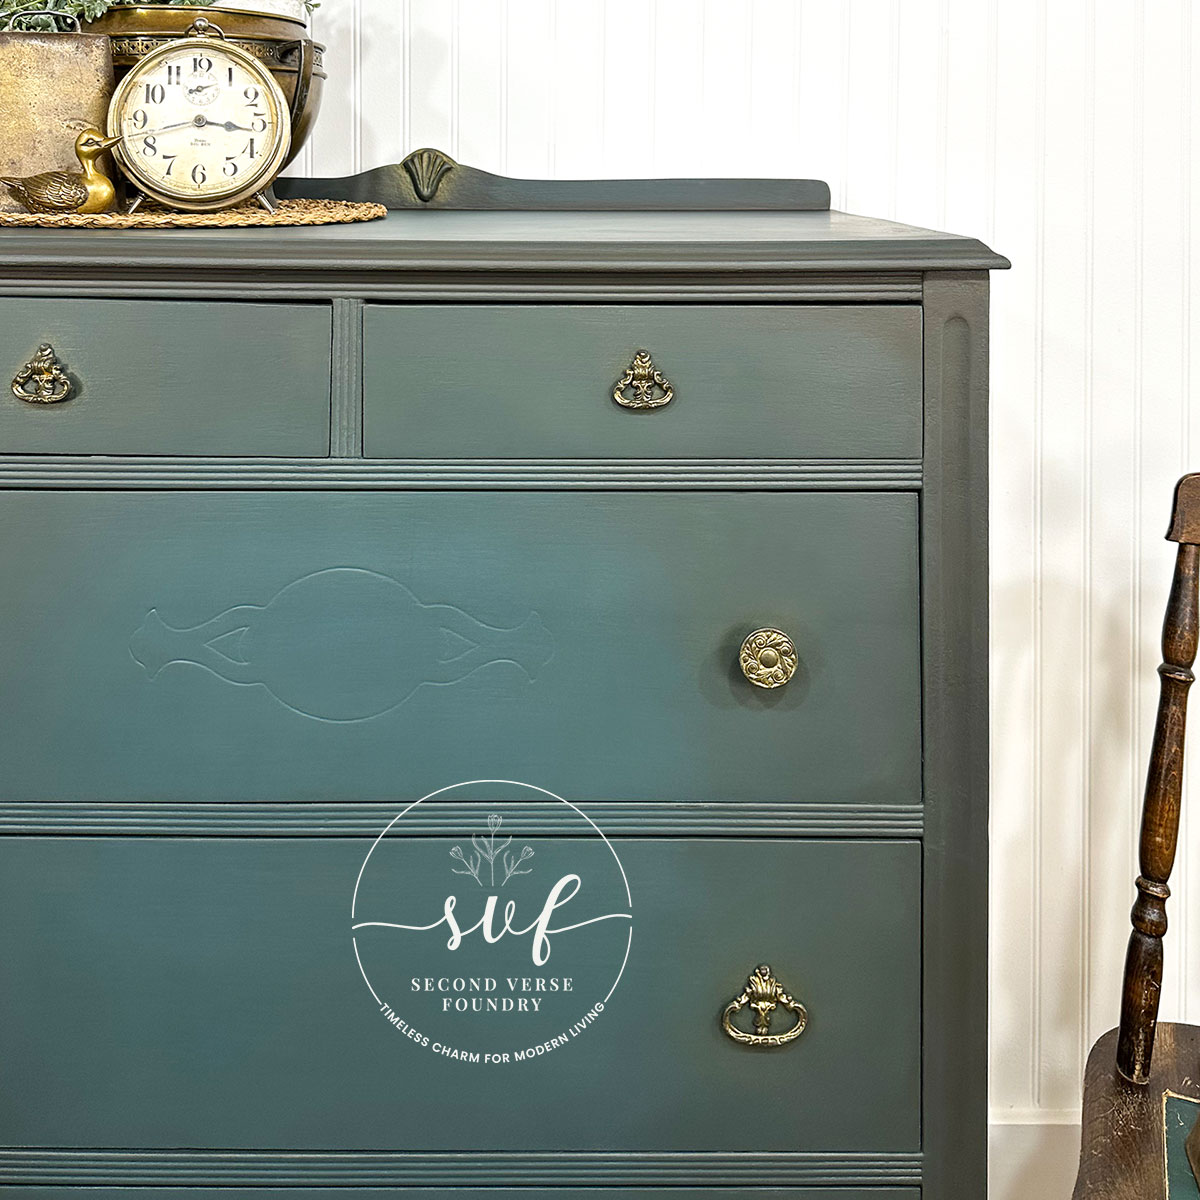
Indulge in the allure of a deep, dark blue-grey-green blend reminiscent of Scandinavian Farmhouse aesthetics! Moody, captivating, and irresistibly charming, this piece promises to be a scrumptious accent for your home or cottage. Crafted with a unique 3-colour blend, decoupaged, and butterliciously sealed, it exudes artisanal character. The salvaged, mismatched hardware pulls and knobs, transformed into a harmonious set, add a touch of serendipity to this vintage tallboy. Whether destined for your entryway, guest bedroom, or living/family room, this multifunctional piece offers both storage and charm. I transformed it just for YOU!
All products mentioned in this post—and every post I share—are ones I regularly reach for. They’ve earned a spot in my toolbox because they’re reliable and deliver results. Simply what I use, trust, and recommend, shared honestly with you. No affiliate links, no commissions—just straight talk from my whole heart.
Country Chic Paint / ReDesign with Prima
Take a Closer Look
My Step-by-Step Transformation
These are the steps that brought this transformation to life—shared to guide and inspire your own project. Learn better by talking it through? Let’s connect for a consultation to bring your vision to life.

- Lightly sanded down body and drawer fronts — In preparation for paint application; 80, 120 grit hand sander
- Disassembled drawer bottoms and heavily sanded down poorly executed newspaper decoupage — I failed to take a picture, but know that the drawer bottoms held a dreadful newspaper decoupage that required some extra time to prepare for a far prettier and professional decoupage
- Thoroughly vacuumed and washed — Necessary preparation for any and all furniture restorations
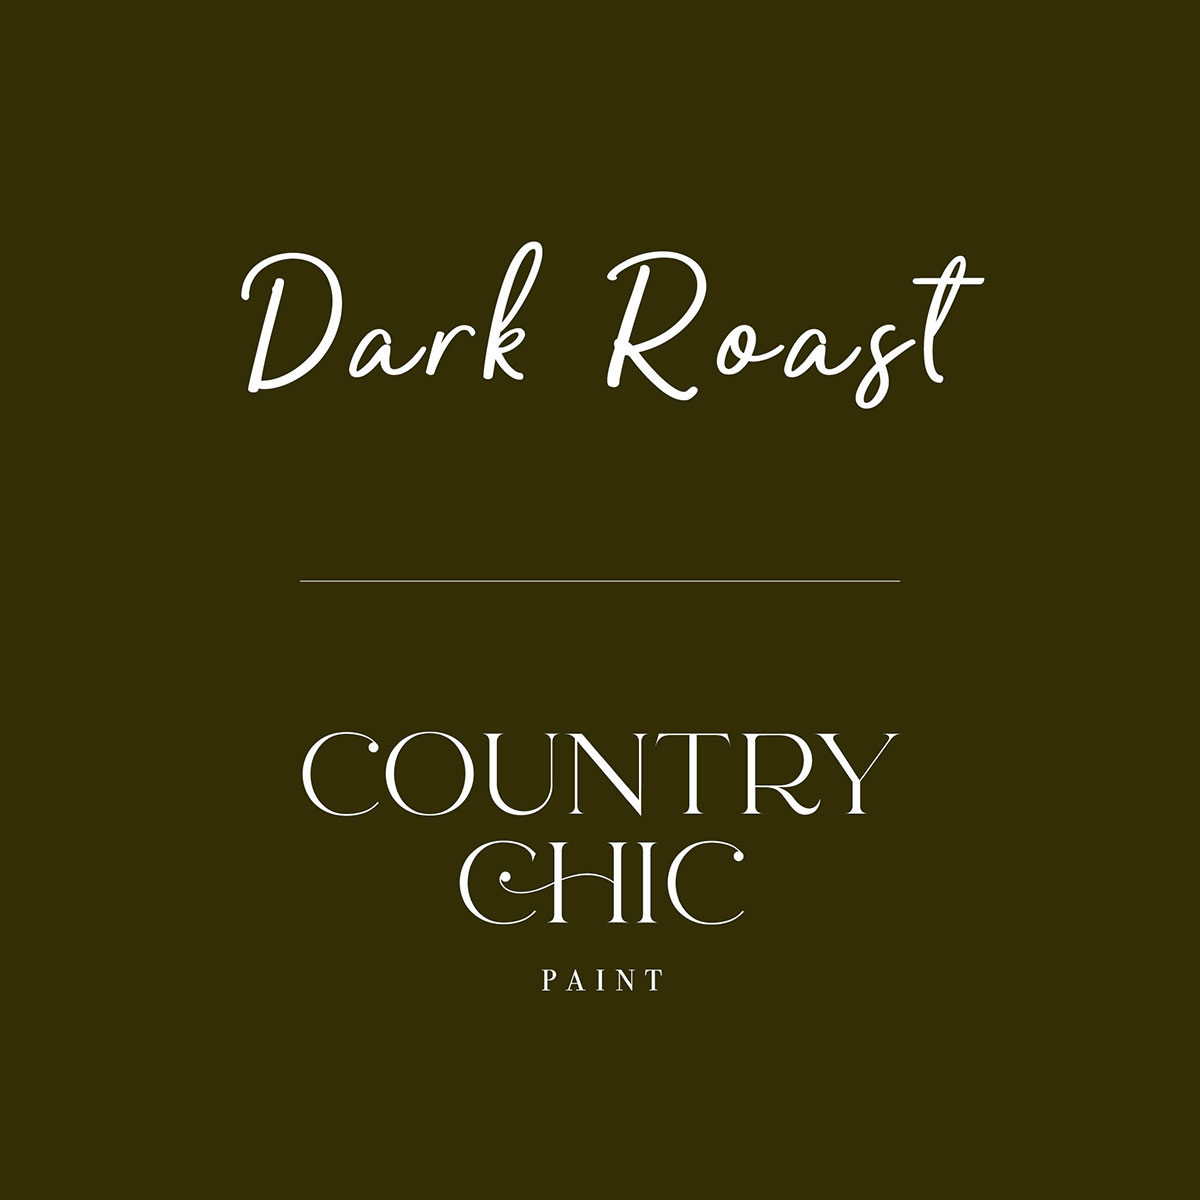
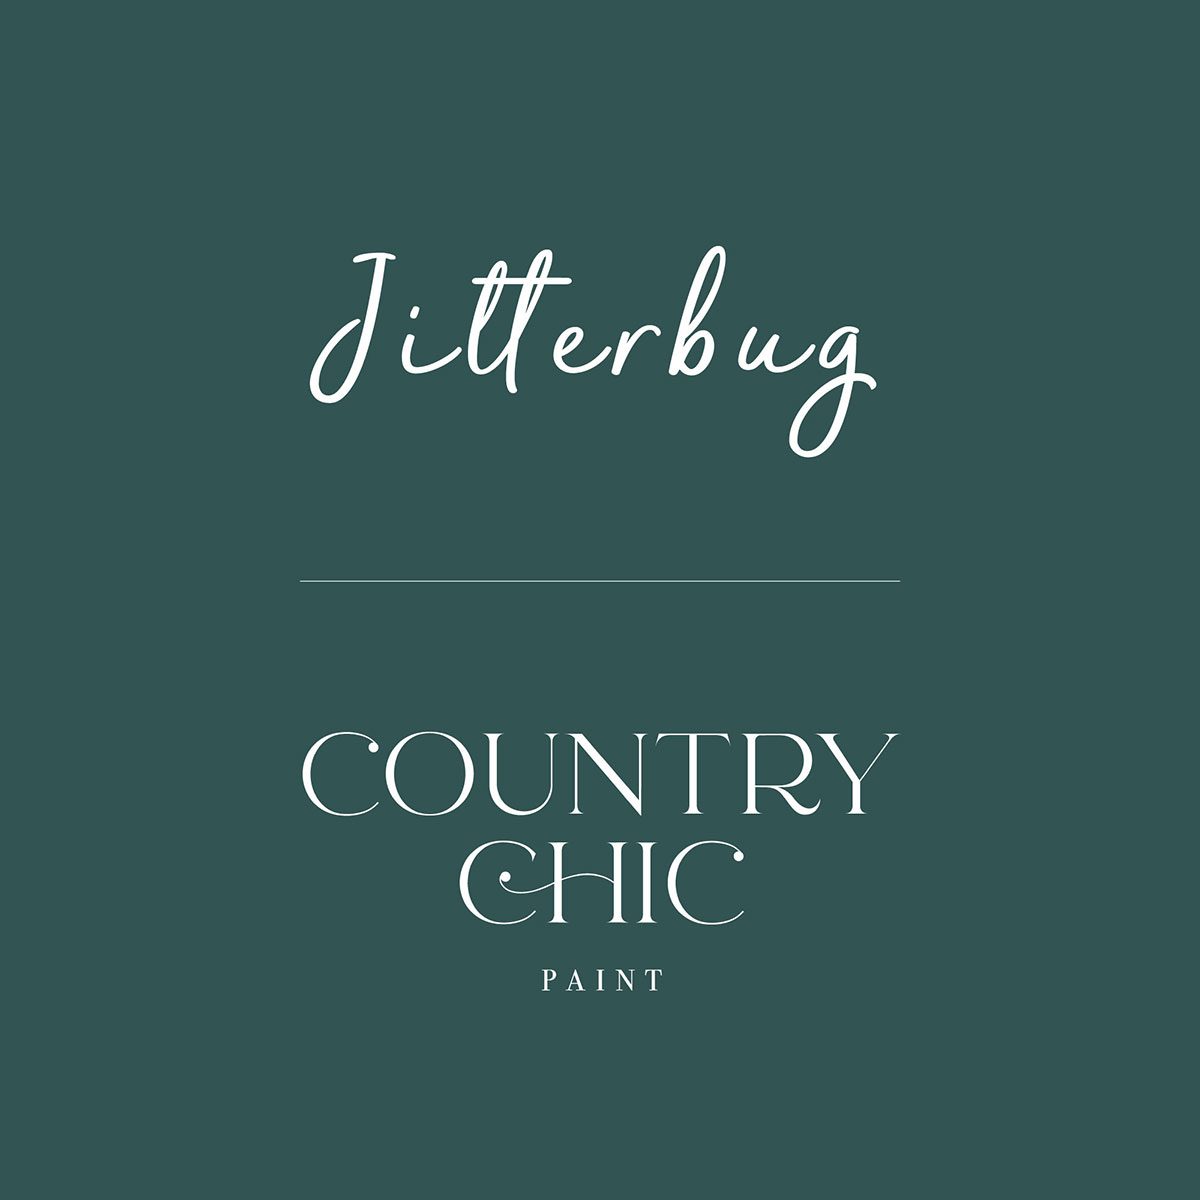
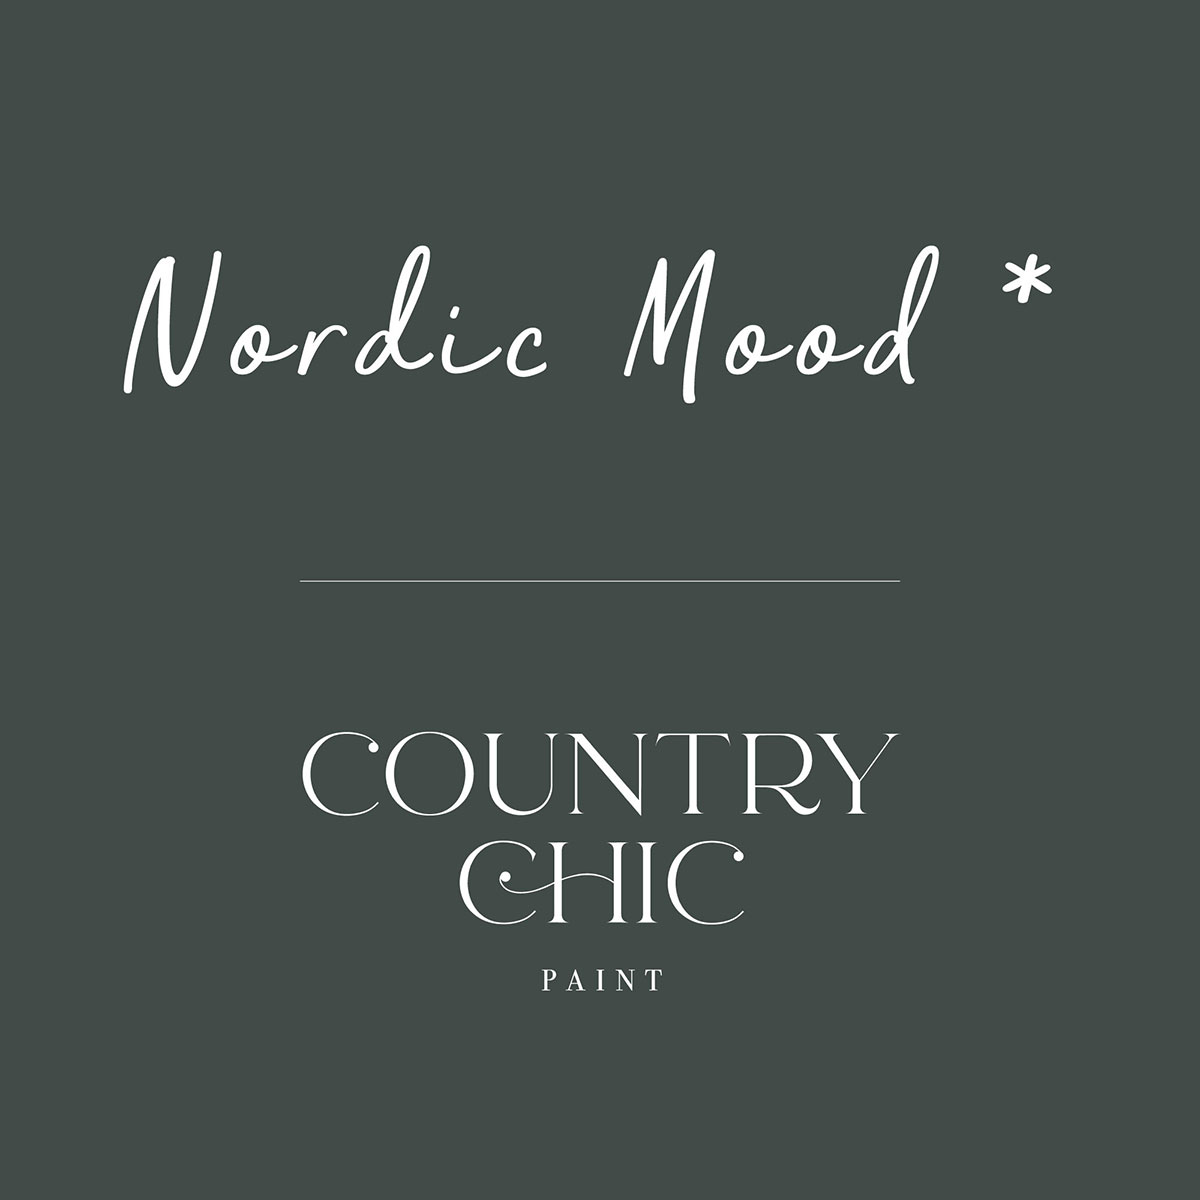
Applied 1 coat of Country Chic Paint in the colour Vanilla Frosting to the drawer sides/bottoms — In preparation for new decoupage application - Custom blended equal parts Country Chic Paint in the colours Jitterbug and Dark Roast — With my own desire for a deep Scandinavian Nordic teal blue-grey-green, which I personally named Nordic Mood *
- Applied 1 coat Nordic Mood * to the body and drawer fronts — As a base-coat for blending application to come
- Applied/blended 3 coats Dark Roast, Nordic Mood * and Jitterbug to the body and drawer fronts — Wet-brush, dry-brush and mist application; with a light sand in between coats
- Applied Wise Owl Paint Furniture Salve in the scent Lemon Verbena to the body and drawer fronts — For a lovely drink, and a delightful scent; lint free rag application
- Applied 1 coat of Country Chic Paint Natural Wax to the body and drawer fronts — For a butterliciously soft protection and finishing seal
- Selected and salvaged hardware knobs and pulls from my treasure trove with Country Chic Paint Dark Roast, Belt Buckle Metallic Cream, and Natural/Gold Wax — I’m so pleased with how this repurpose turned out
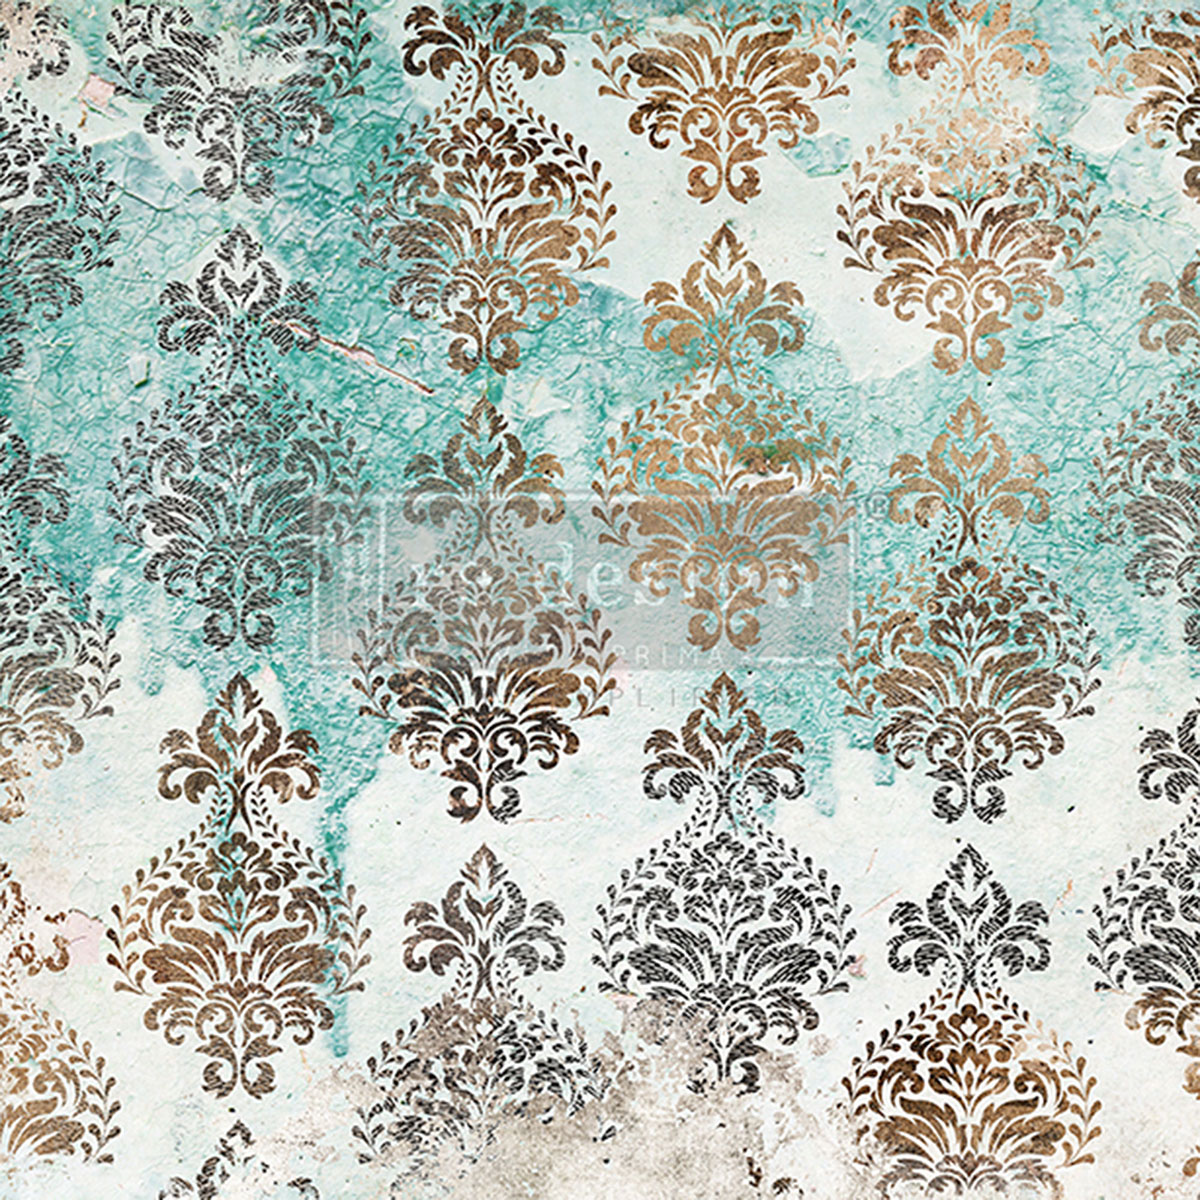
- Decoupaged drawer sides and bottoms with Re-Design with Prima’s Patina Flourish decoupage tissue paper— A pattern that I feel was an absolute perfect match for this furniture flip; sponge application w/ water-based poly
- Applied Wise Owl Paint Furniture Salve in the scent Lemon Verbena to the interior drawers ~ For a much needed drink, and a delightful scent; lint free rag application
One-Hour / One-on-One / $80
Looking to achieve a similar look? Getting started with furniture transformations can feel overwhelming, but with hands-on experience since 2017, I’ve learned so much along the way. I’d love to share what I know and help guide you through the process.
Let’s work together! Whether it’s over the phone, via a screen-share session, or even over a coffee (or wine!), we’ll make a plan to bring your vision to life.


With all my heart and hands
This project brought me right back to what I love most about painting: the challenge, the patience, and the joy of creating something beautiful. Transforming this Scandinavian blended dresser reminded me that the process matters just as much as the outcome. Blending paint is not for the impatient—it’s about letting go of control, embracing the unexpected, and trusting that the layers will come together in their own time.
If you’re taking on a blended paint project, here’s my advice: work in light layers, step back often, and don’t overthink it. The magic happens when you give yourself permission to enjoy the process instead of chasing perfection.
I couldn’t be happier with how this dresser turned out. It’s clean, simple, and full of soft charm—exactly what I was hoping to achieve. If you’ve got a project sitting in the wings, let this be your nudge to dive in and start. Mistakes? They’re just part of the process, and as I’ve learned time and time again, it’s only paint!
What are you working on right now? Share it with me below—I’d love to hear about your own creative transformations. Until next time, happy painting!
Faye Caroline
0 Comments