| Journal | Painted and Stained Buffet Redesign
Stately & Sexy— Antique Sideboard

So here’s the thing. I absolutely LOVE painting furniture in dark colours—black, ash, charcoal, navy blue, midnight blue; my list goes on. But when it comes to a painted and stained buffet redesign, there’s a HUGE drawback to dark colours—they are impossible to accurately picture! Well, impossible for me, that is, as I ain’t no photographer! I don’t know what it is about the dark hues, but when I try to capture them, they blotch, streak, and challenge me so! But I just can’t stop painting in dark colours! And this piece was NO exception— I knew from the moment I picked her up that I just had to paint her in the darkest navy blue that ever existed! And so I did!
Painted and Stained Buffet Redesign
A very dear and lifelong friend offered me this amazing piece! ‘It’s all yours, Faye! If you want it, I want you to have it! Do your magic!’ I tell ya— the kindness of some folk never ceases to amaze me. When my hubby and I went to pick it up, I was in absolute awe! Though it had its fair share of damage, its solid oak frame was still strong and sturdy. I couldn’t wait to get my hands on this truly unique antique buffet, knowing I had plenty of work ahead of me!


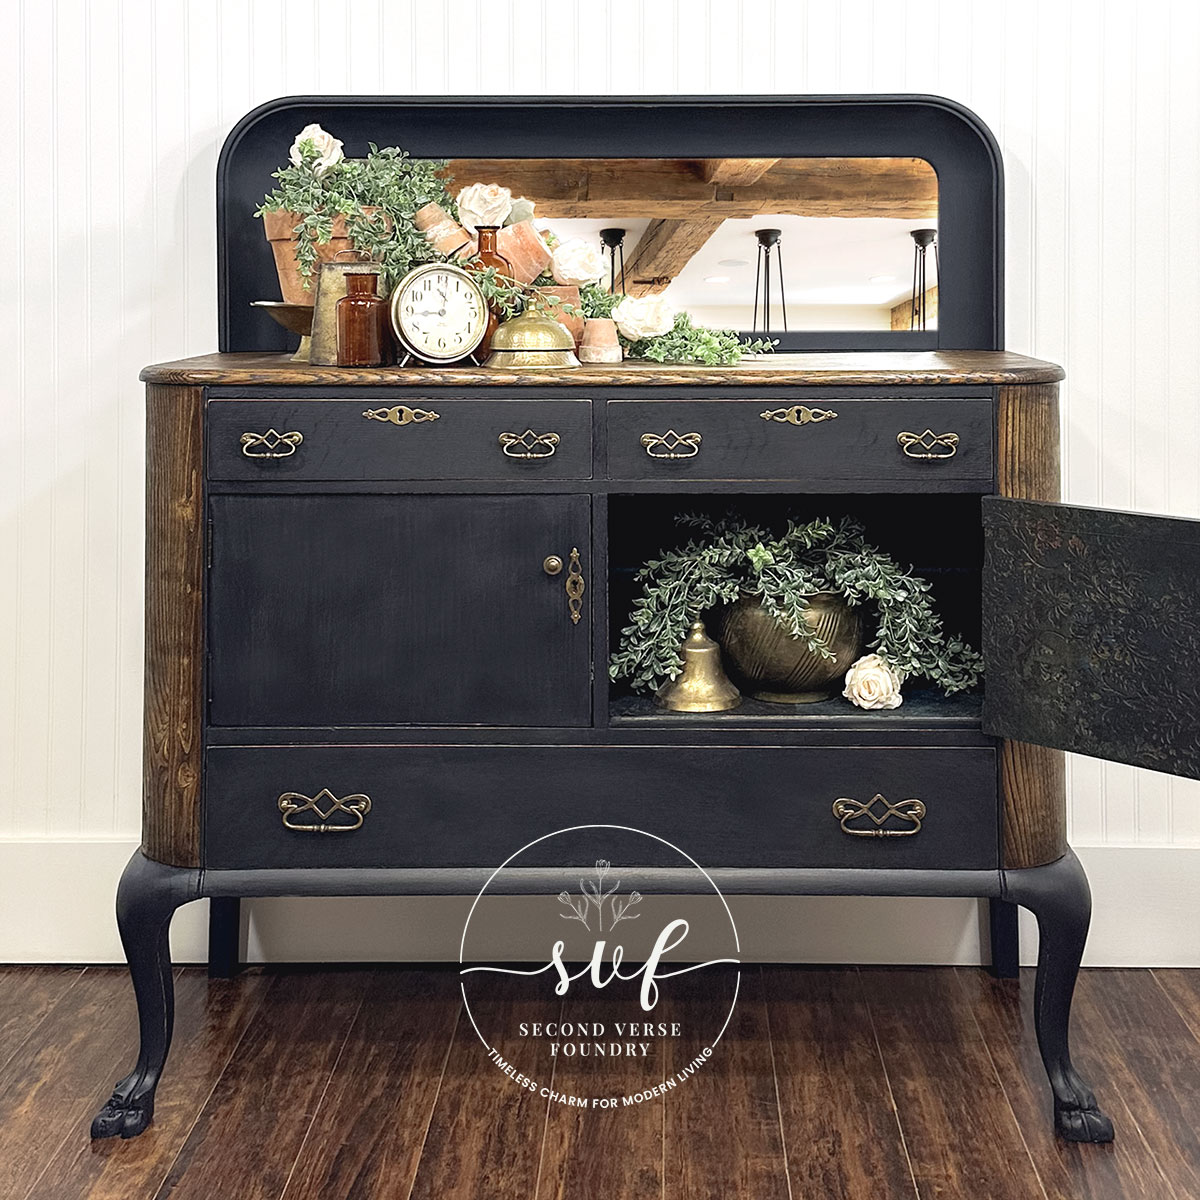
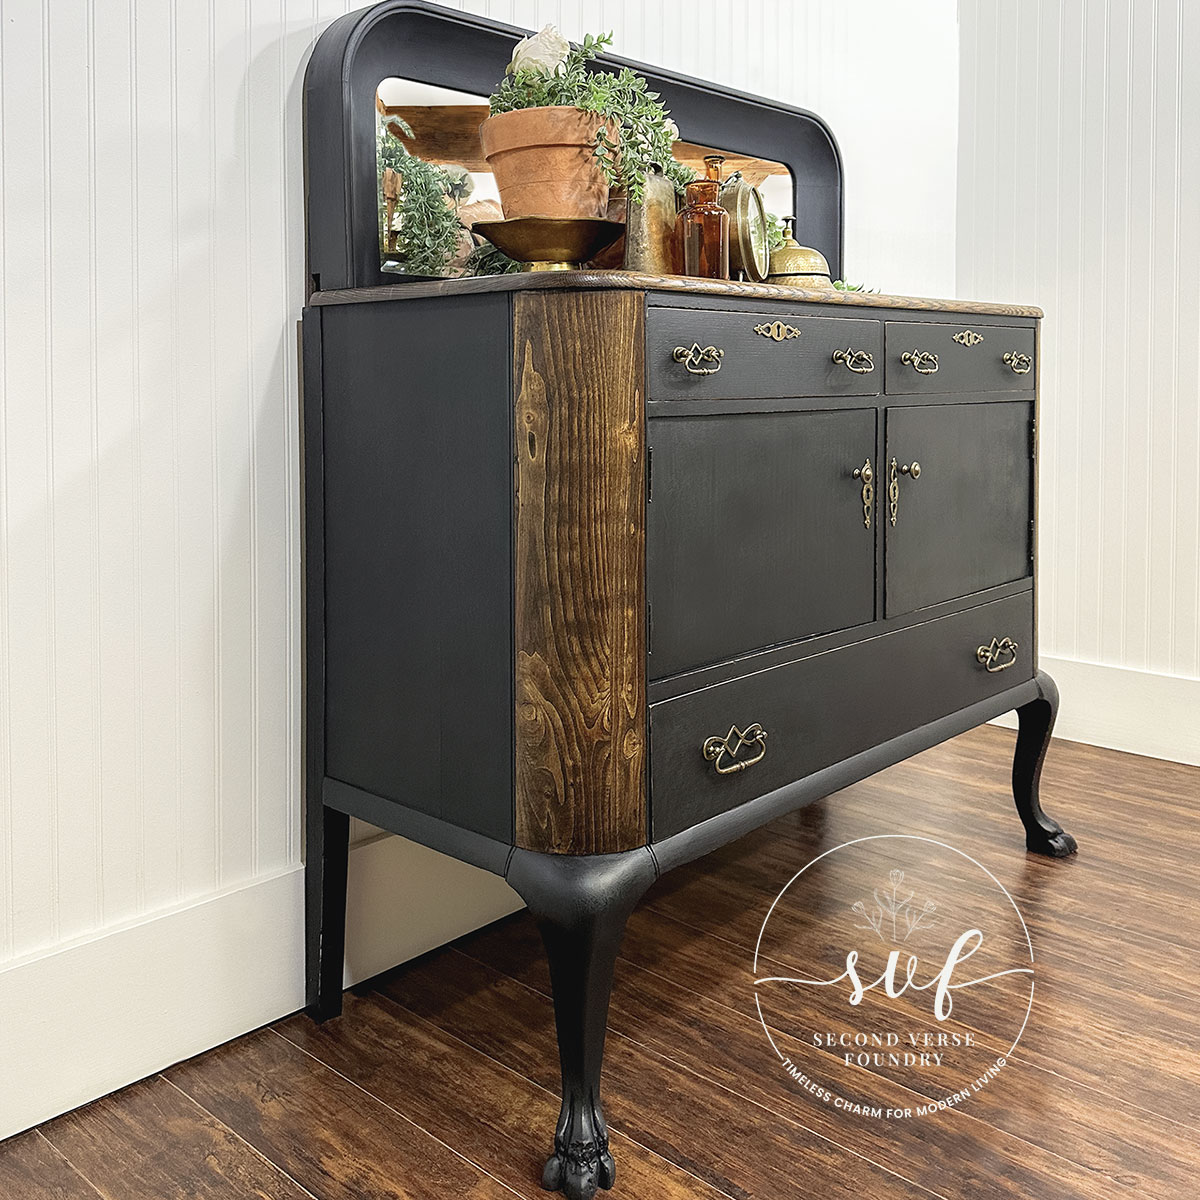
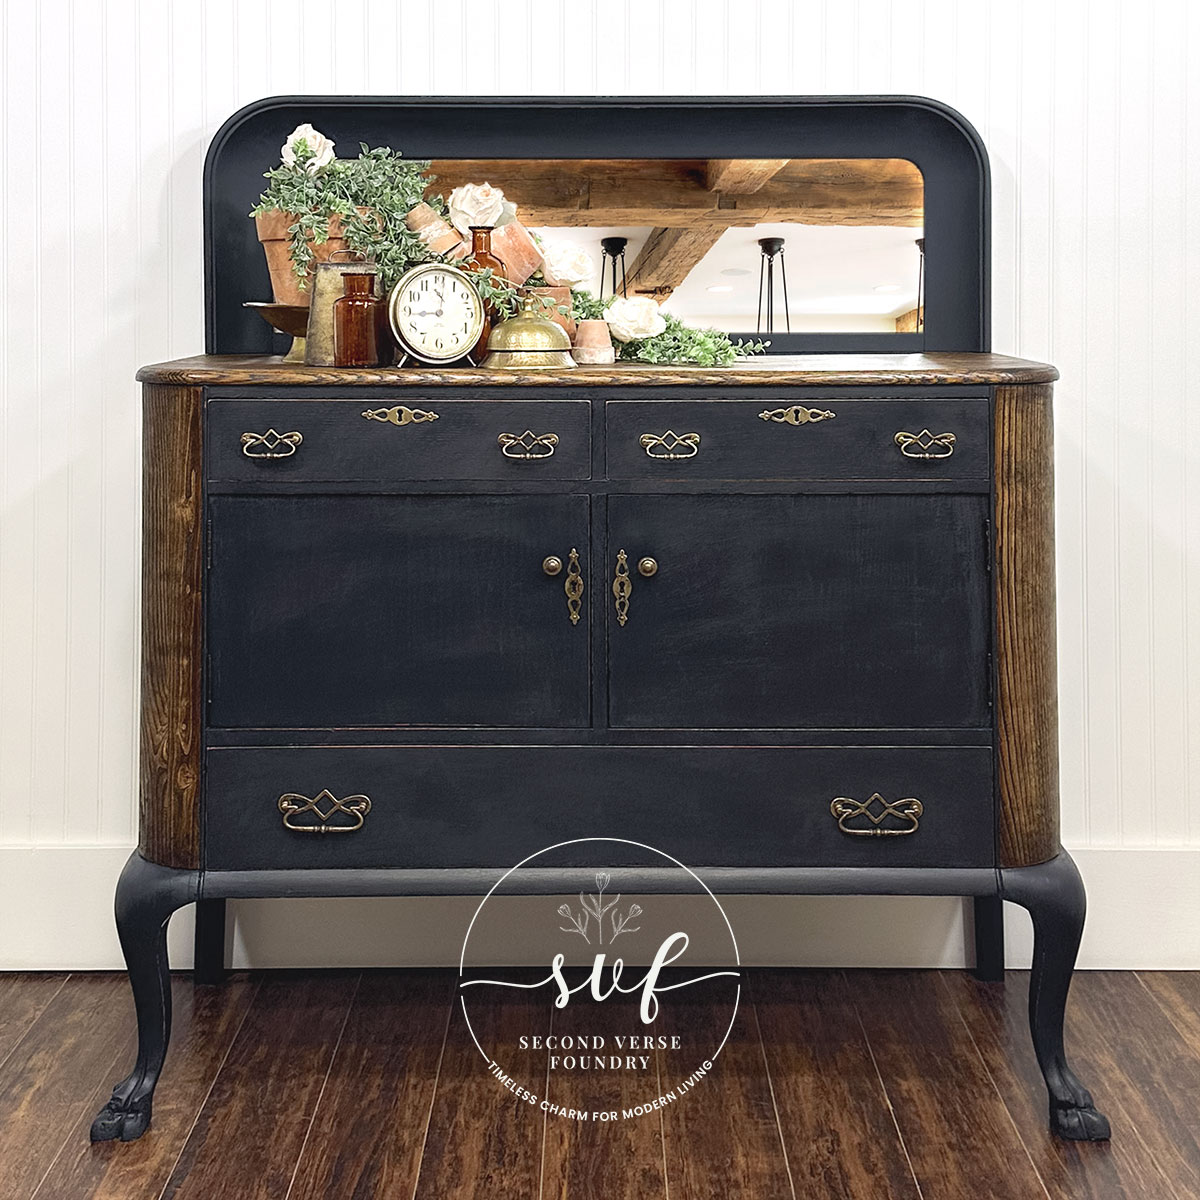
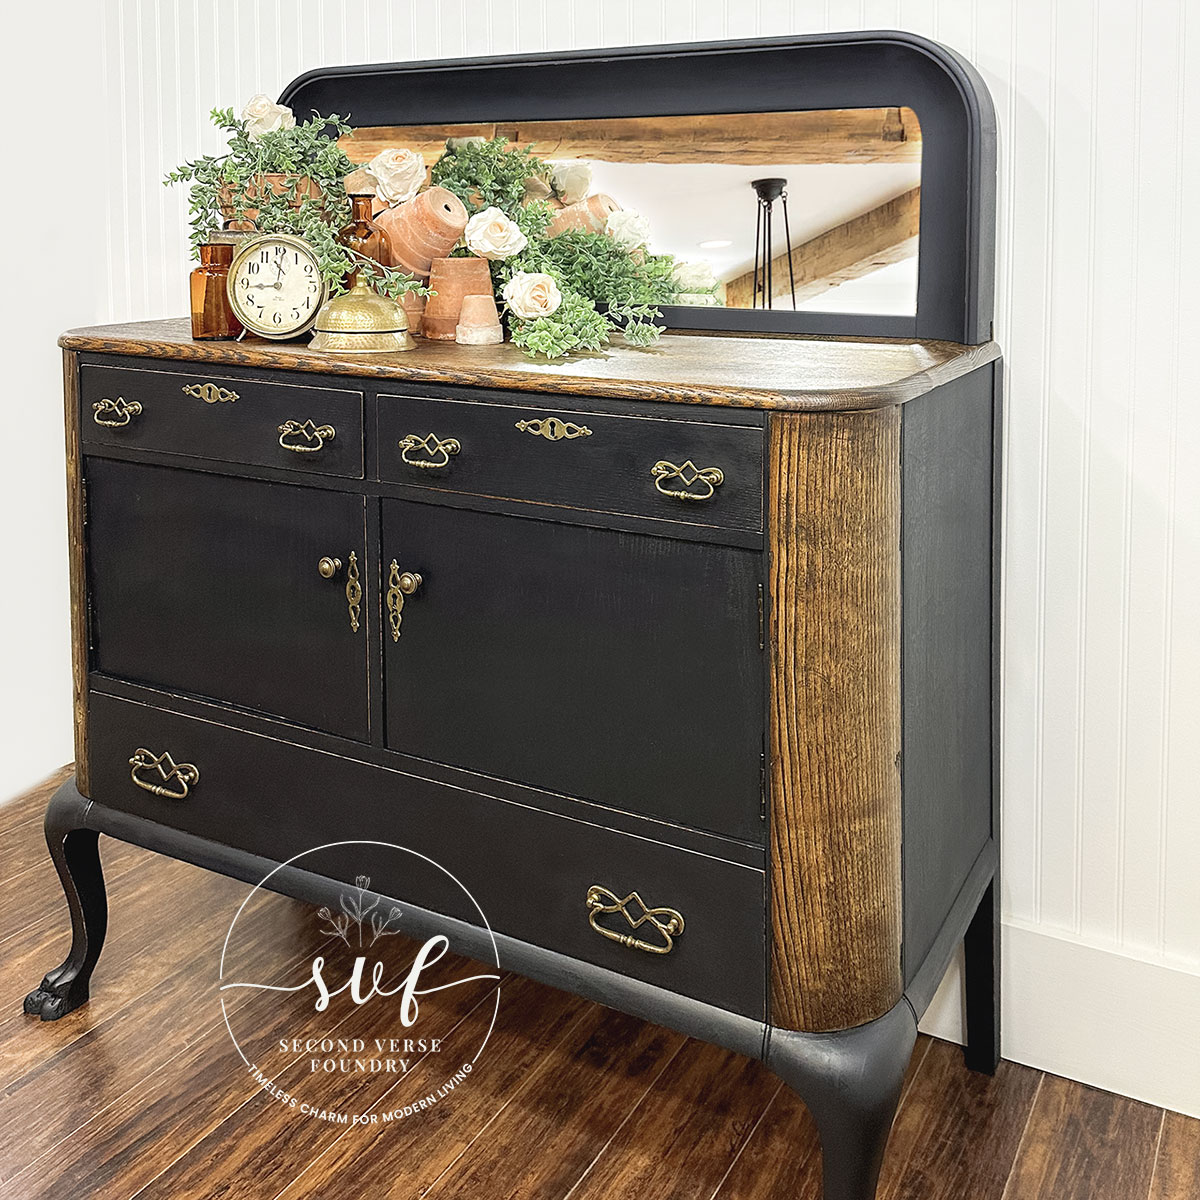
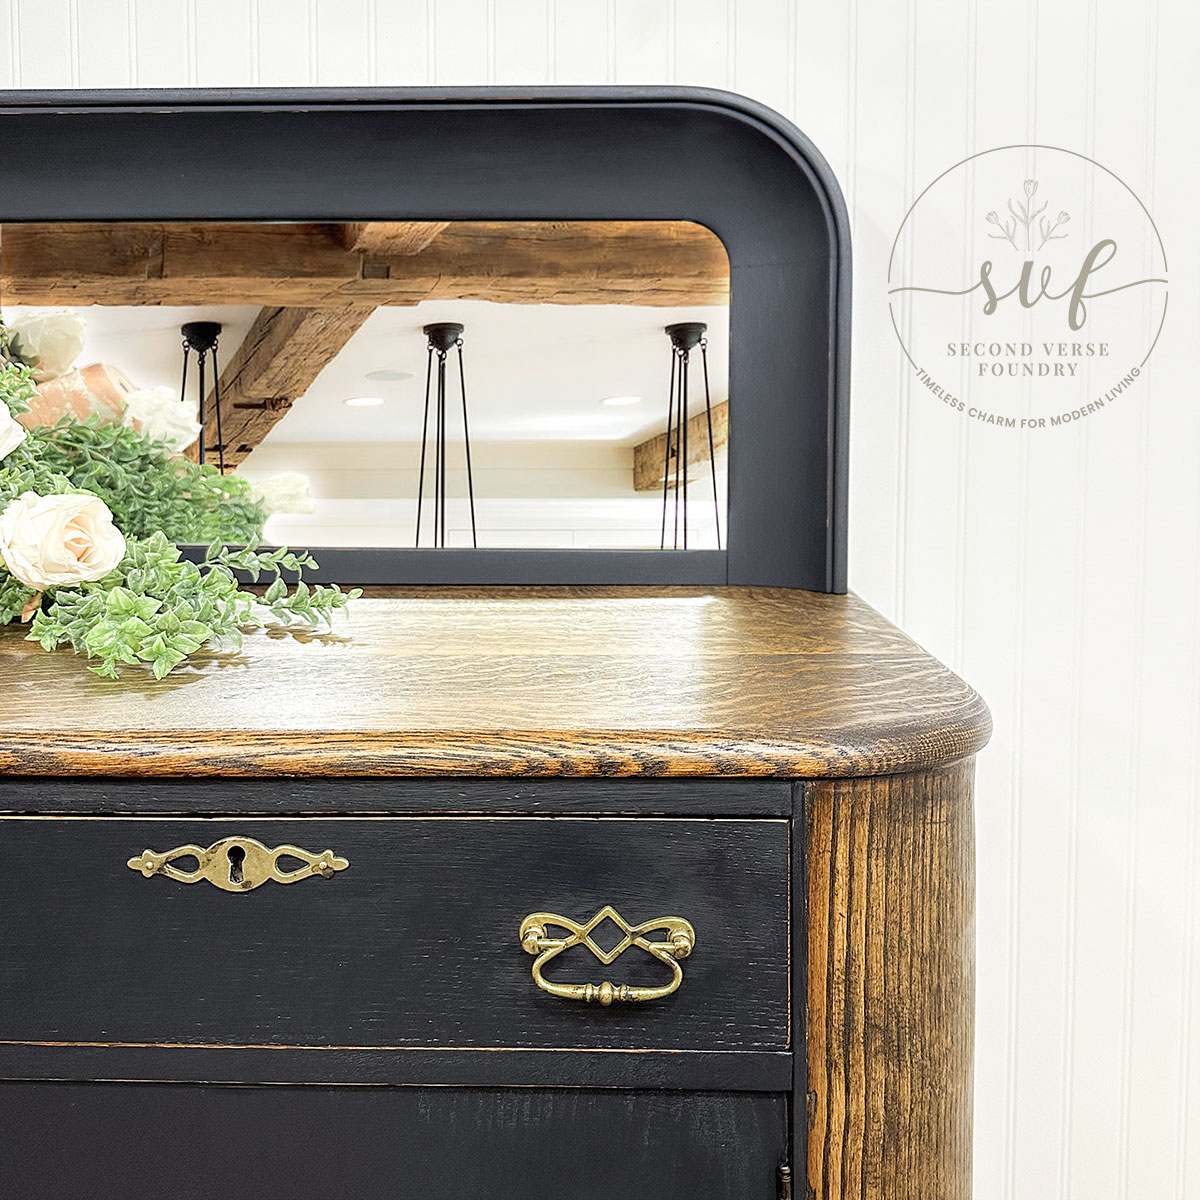
This painted and stained buffet redesign was truly a labour of love! An extremely unique antique buffet in need of some serious TLC—the first I’ve seen in this style, with rounded front edges, clawfoot paws, and a curved mirror ledge. I transformed it in the darkest navy blue that ever existed, a custom blend of my own! So dark it appears almost black in my pictures—but I assure you, the deep blue reveals itself beautifully in the right lighting. Opting to stain the top and rounded front edges was an easy choice—just look at that stunning solid oak grain! I wasn’t heartbroken that the original hardware was missing; selecting new replacements never disappoints! Now, this stately and striking sideboard is ready to make a statement in your home or cottage!

All products mentioned in this post—and every post I share—are ones I regularly reach for. They’ve earned a spot in my toolbox because they’re reliable and deliver results. Simply what I use, trust, and recommend, shared honestly with you. No affiliate links, no commissions—just straight talk from my whole heart.
Country Chic Paint
Featuring
These are the products that brought this transformation to life—ones I trust, recommend, and share honestly with you. Select any to explore other projects for inspiration and see where to buy.


My Step-by-Step Transformation
My Step-by-Step Transformation
These are the steps that brought this transformation to life—shared to guide and inspire your own project. Learn better by talking it through? Let’s connect for a consultation to bring your vision to life.
- Removed hardware— Most was missing, and what was there appeared to be replacement
- Removed caster wheels— One was missing, and I knew with damaged right clawfoot that I would have to part with them for stability
- Removed lifting/peeling veneer from door fronts— Far too damaged to try and salvage
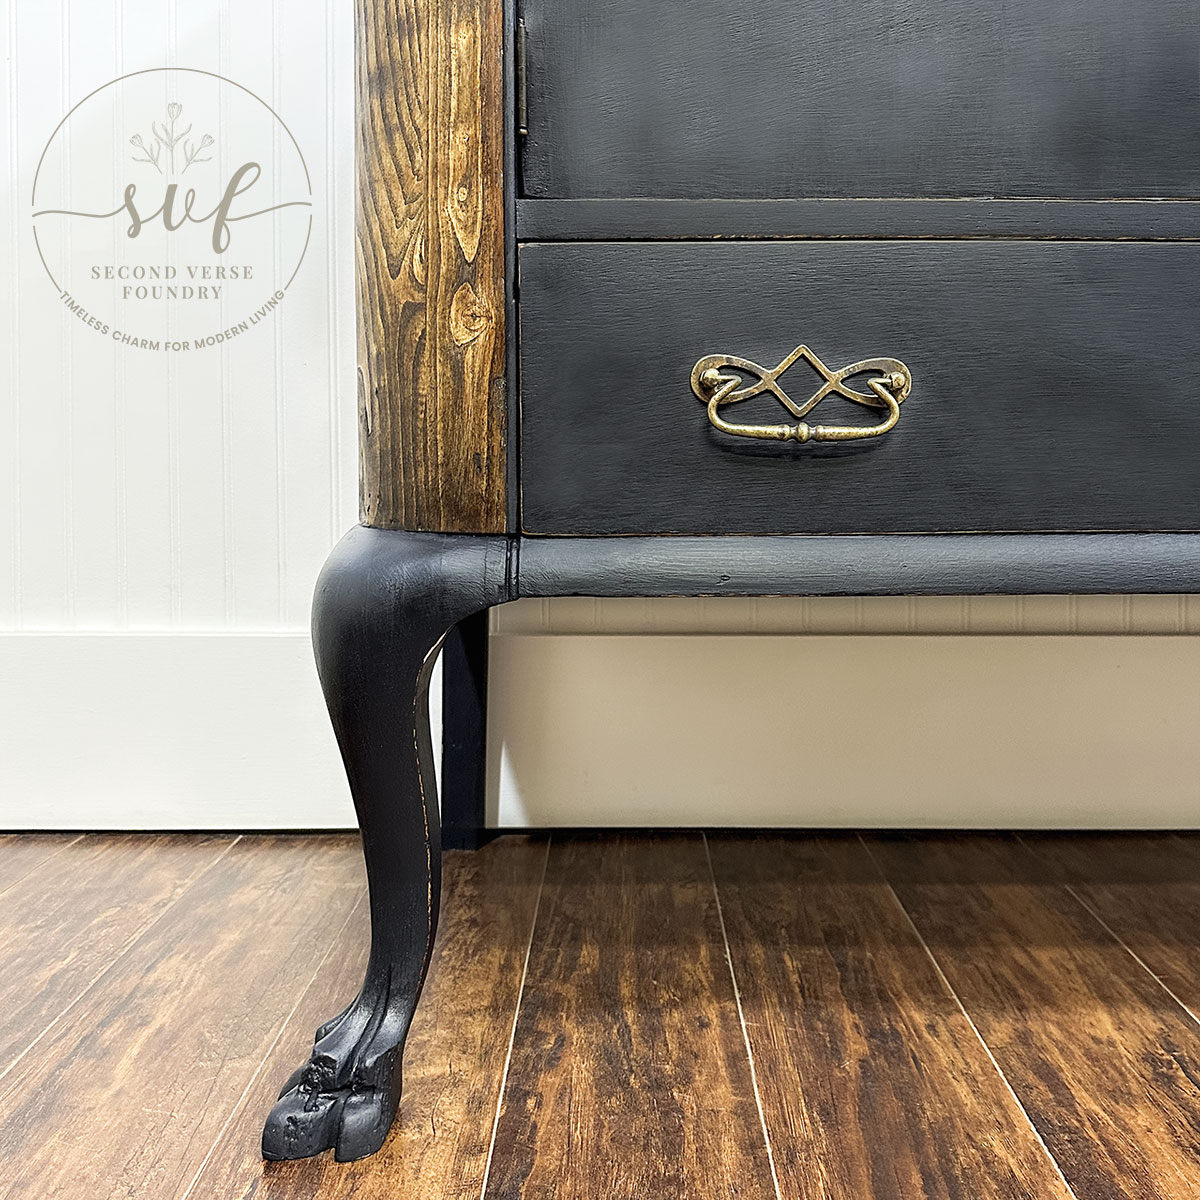
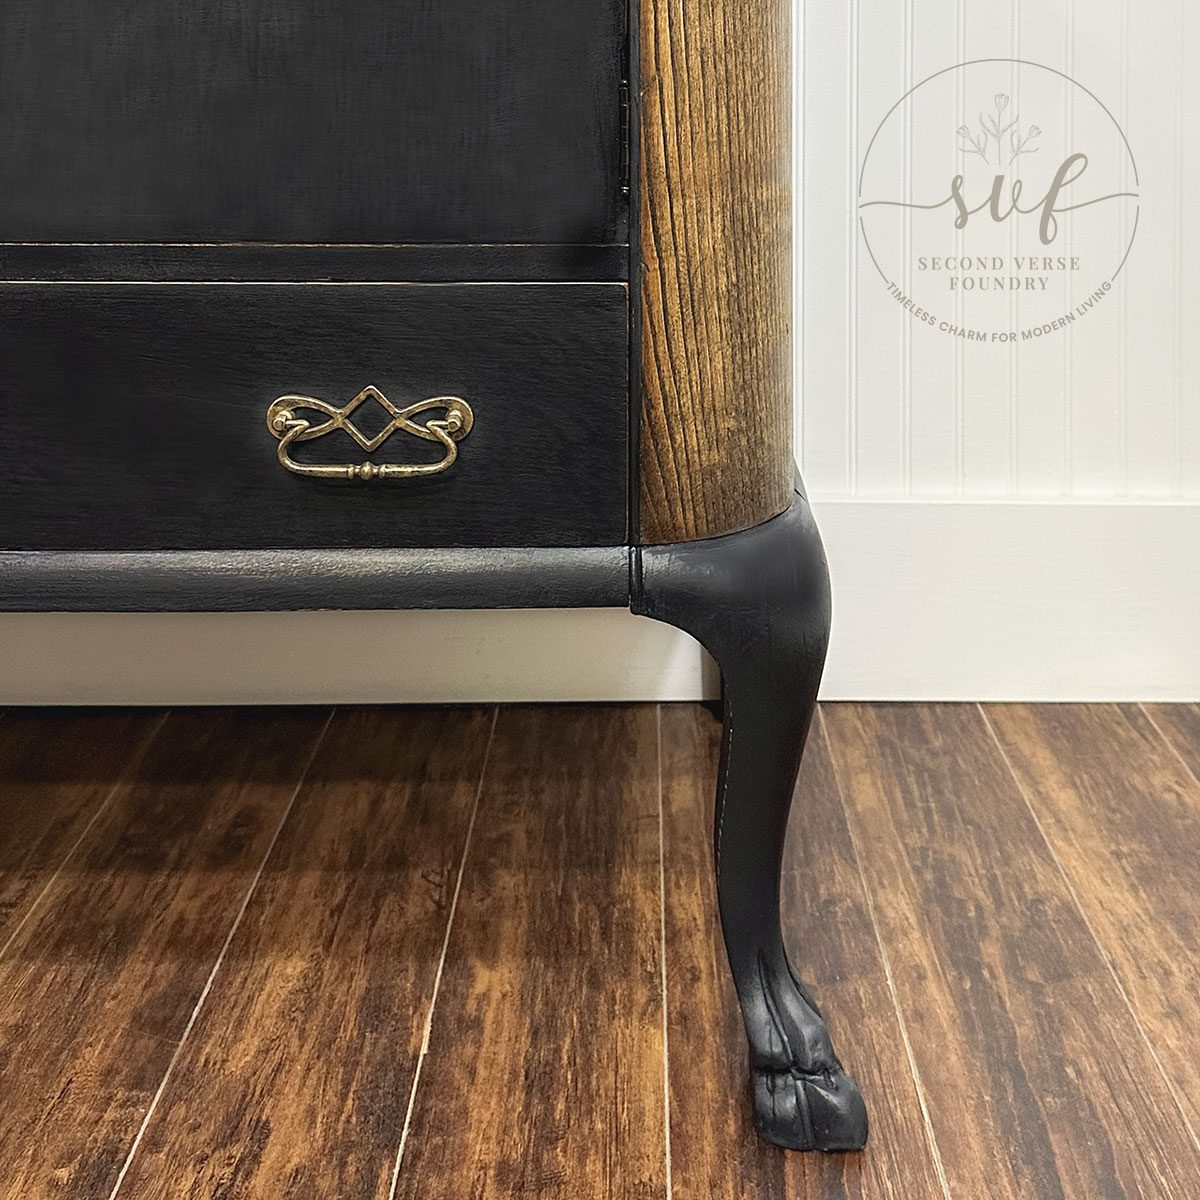
- Repaired cracked back-leg, and moulded replacement for damaged right clawfoot— Amazing Mold Putty and Bondo to my rescue
- Repaired broken drawer— With some some wood glue, clamps and small hardware nails
- Filled original hardware holes— And went on my search to find and select new replacement hardware
- Heavily sanded down top— With plans to stain for a two-toned transformation
- Lightly sanded down body, then vacuumed and washed— In preparation for paint application
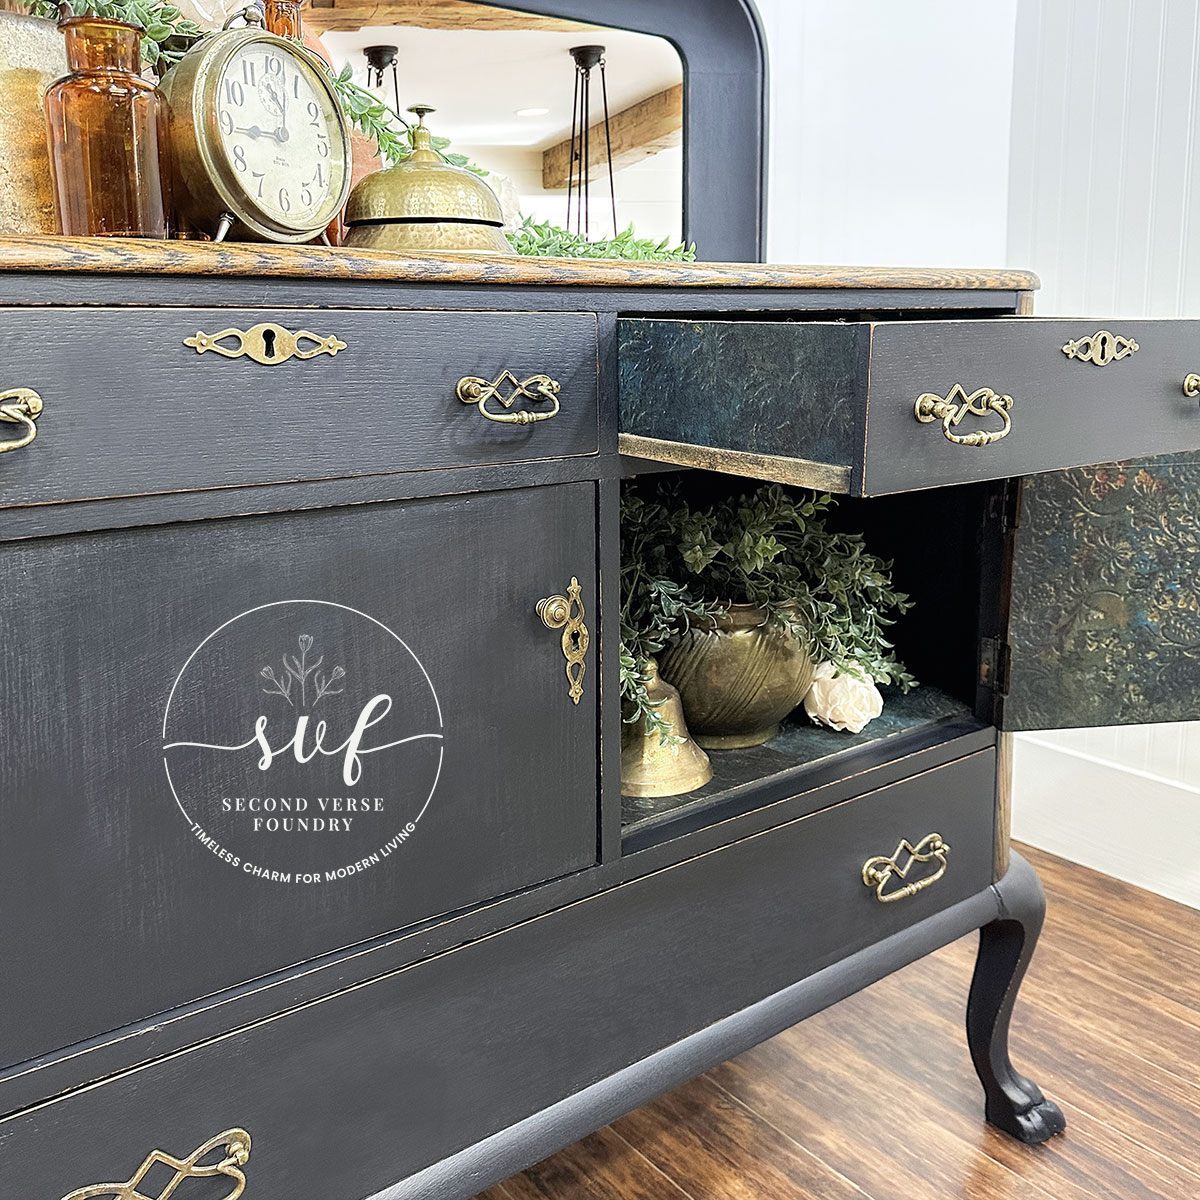
- Custom blended my very own colours (equal parts of Country Chic Paint Peacoat and Liquorice) with desire for the deepest navy blue that ever existed— And applied 2 coats to the body and drawers
- Lightly sanded down body and drawers— For a farmhouse distressed finish; with 220 grit
- Oh darn— Realized after painting that I had even more damaged veneer; thus proceeded to remove remaining veneer from rounded front edges
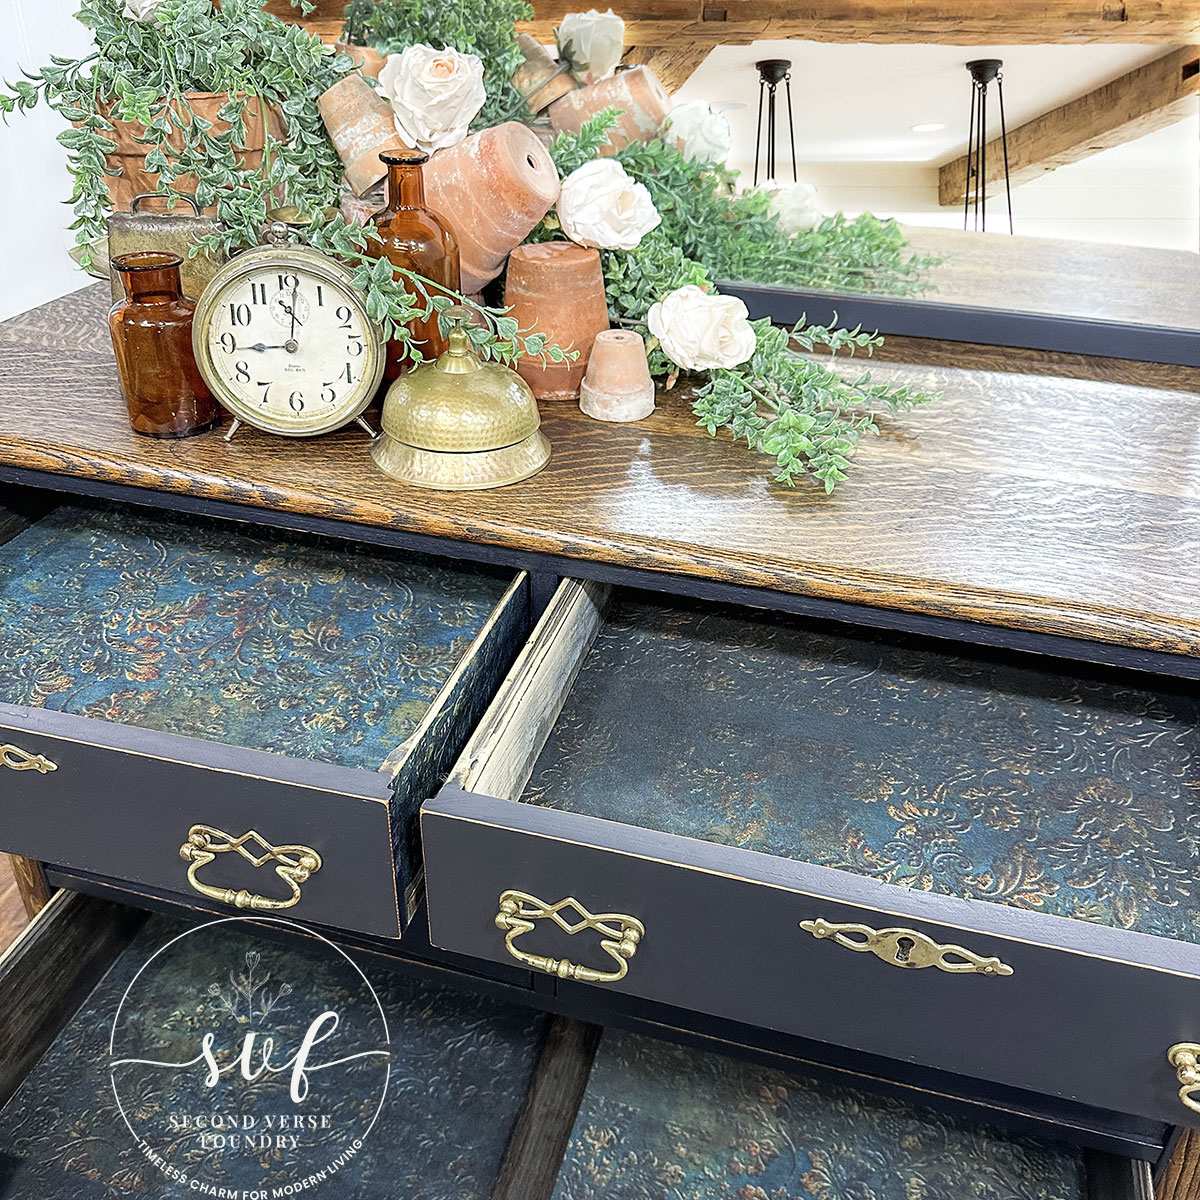
- Applied 1 coat of Minwax Penetrating Stain in the colour Jacobean to the top and rounded front edges— For a two-toned exposed wood transformation
- Applied 3 coats of Minwax Wipe-On Poly in Clear Satin to the top and rounded front edges— To achieve a highly durable finish; sponge application
- Applied Country Chic Paint hemp oil to the painted body and drawers— For a light water-resistant protectant; sponge application
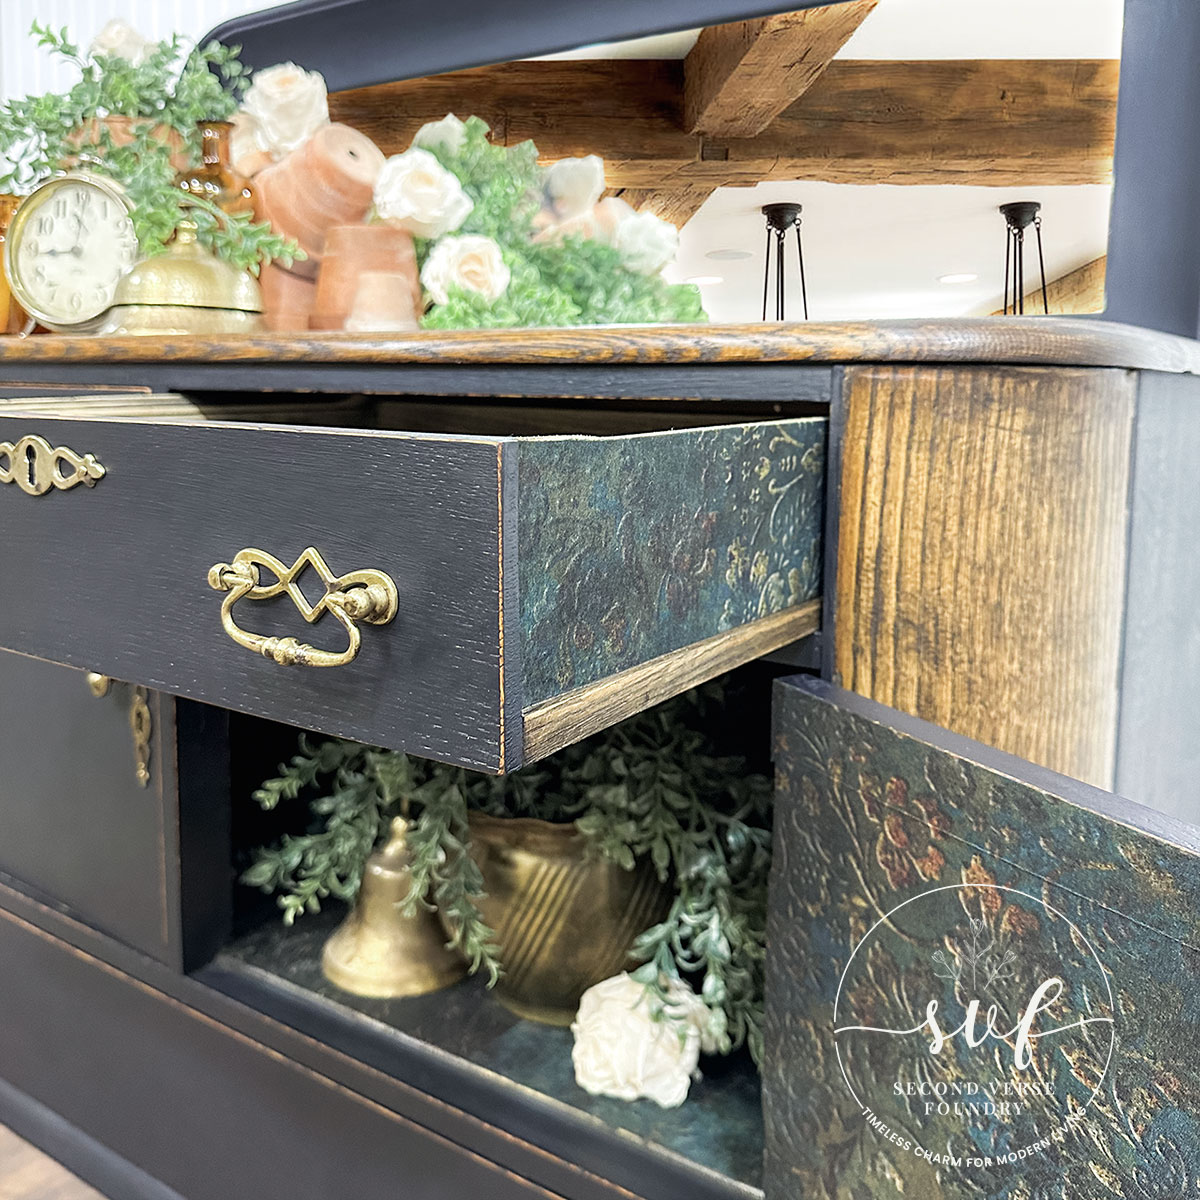
- Decoupaged interior shelving, drawer sides and bottoms with Re-Design with Prima’s Aged Patina decoupage fiber— A new product and pattern that I felt was a lovely compliment for this restoration; sponge application w/ water-based poly
- Selected, purchased and installed new Regency Suite IV hardware (handles, knobs, and escutcheons) from Lee Valley— A collection that I felt was a lovely replacement for this buffet transformation
One-Hour / One-on-One / $80
Looking to achieve a similar look? Getting started with furniture transformations can feel overwhelming, but with hands-on experience since 2017, I’ve learned so much along the way. I’d love to share what I know and help guide you through the process.
Let’s work together! Whether it’s over the phone, via a screen-share session, or even over a coffee (or wine!), we’ll make a plan to bring your vision to life.
With all my heart and hands
This painted and stained buffet redesign was more than just a makeover—it was about honouring the craftsmanship of a piece that still had so much to offer. With its stunning custom navy blue and rich oak accents, this antique sideboard now has a bold new presence while staying true to its vintage roots. Thoughtful updates, from the deep stain to the carefully chosen hardware, gave it a refined yet dramatic transformation—proving that even timeworn furniture can be reimagined with the right vision.
If you have a piece that feels outdated, don’t be too quick to dismiss its potential. A little creativity, a touch of patience, and a fresh perspective can breathe new life into furniture that’s waiting for a second chance.
Not all furniture is just furniture—some pieces tell a story. This antique buffet redesign wasn’t just about refreshing its look; it was about preserving its character and giving it a new place to shine. Even with its wear and tear, its solid oak frame and unique details made it a worthy project, and now it stands as a statement piece ready to become part of someone’s home again.
There’s something special about transforming a forgotten piece into something treasured once more. This buffet may have had a rough start, but now, it’s ready for a whole new chapter—wherever it may go.
Faye Caroline
0 Comments