| Journal | Painted Patina China Cabinet
Coastal Farmhouse— 1940’s China Cabinet
Sure is starting to feel like springtime here in friendly Manitoba! At this time on our farm, we’re halfway through calving season— and although an extra busy and very cute time of year— our yard is a mess, which has me thinking about the mountains of work coming for me after thaw! However, the approaching spring also has me dreaming of fresh decor and maybe even finding time to paint a room. Transforming this painted patina china cabinet has most certainly put me in the mood!
Painted Patina China Cabinet
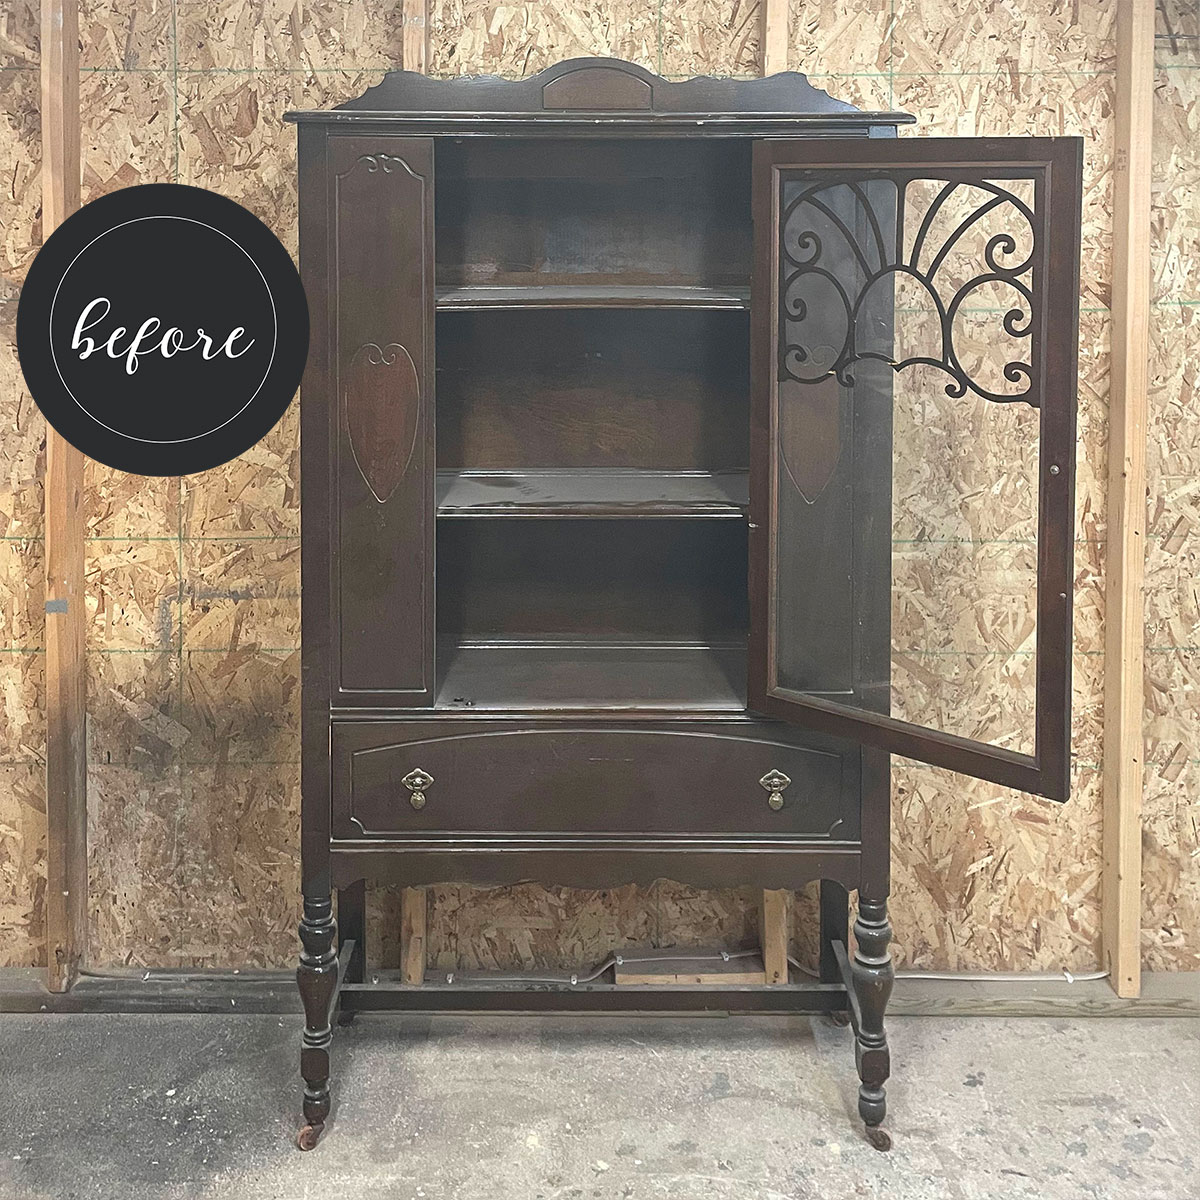
Can you believe I picked up this 1940s china cabinet way back in 2017?! And I’m just now getting around to flipping it—six years later! Where DOES time go?! My boys have ordered me to clean up my furniture stash in the shop, so to keep the peace, that’s exactly what I’ll do. A girl has to have some control, right?!
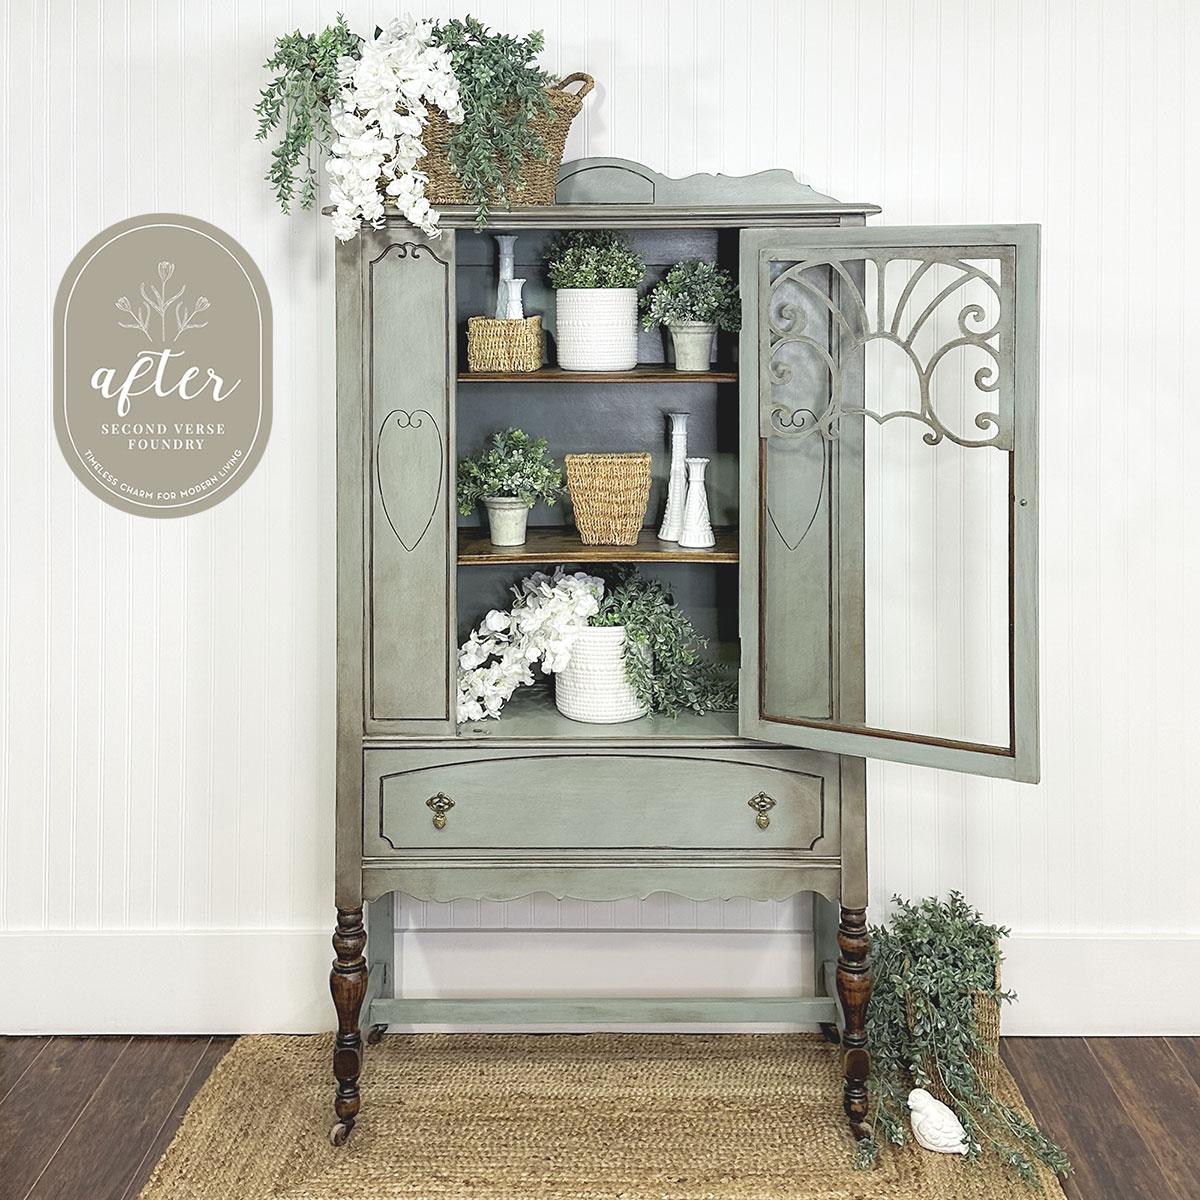
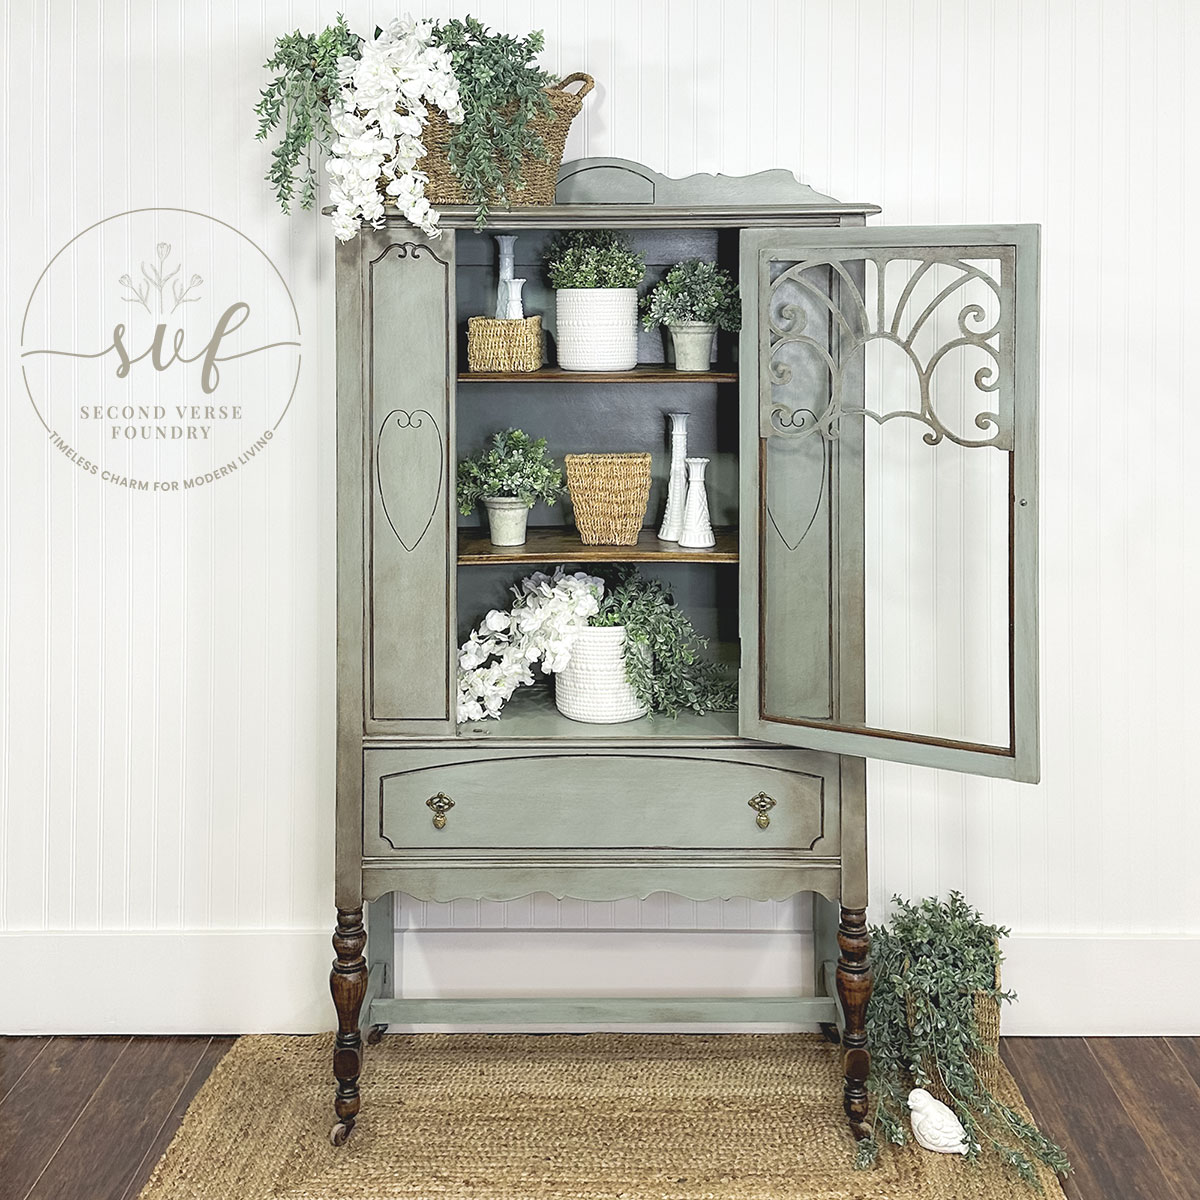
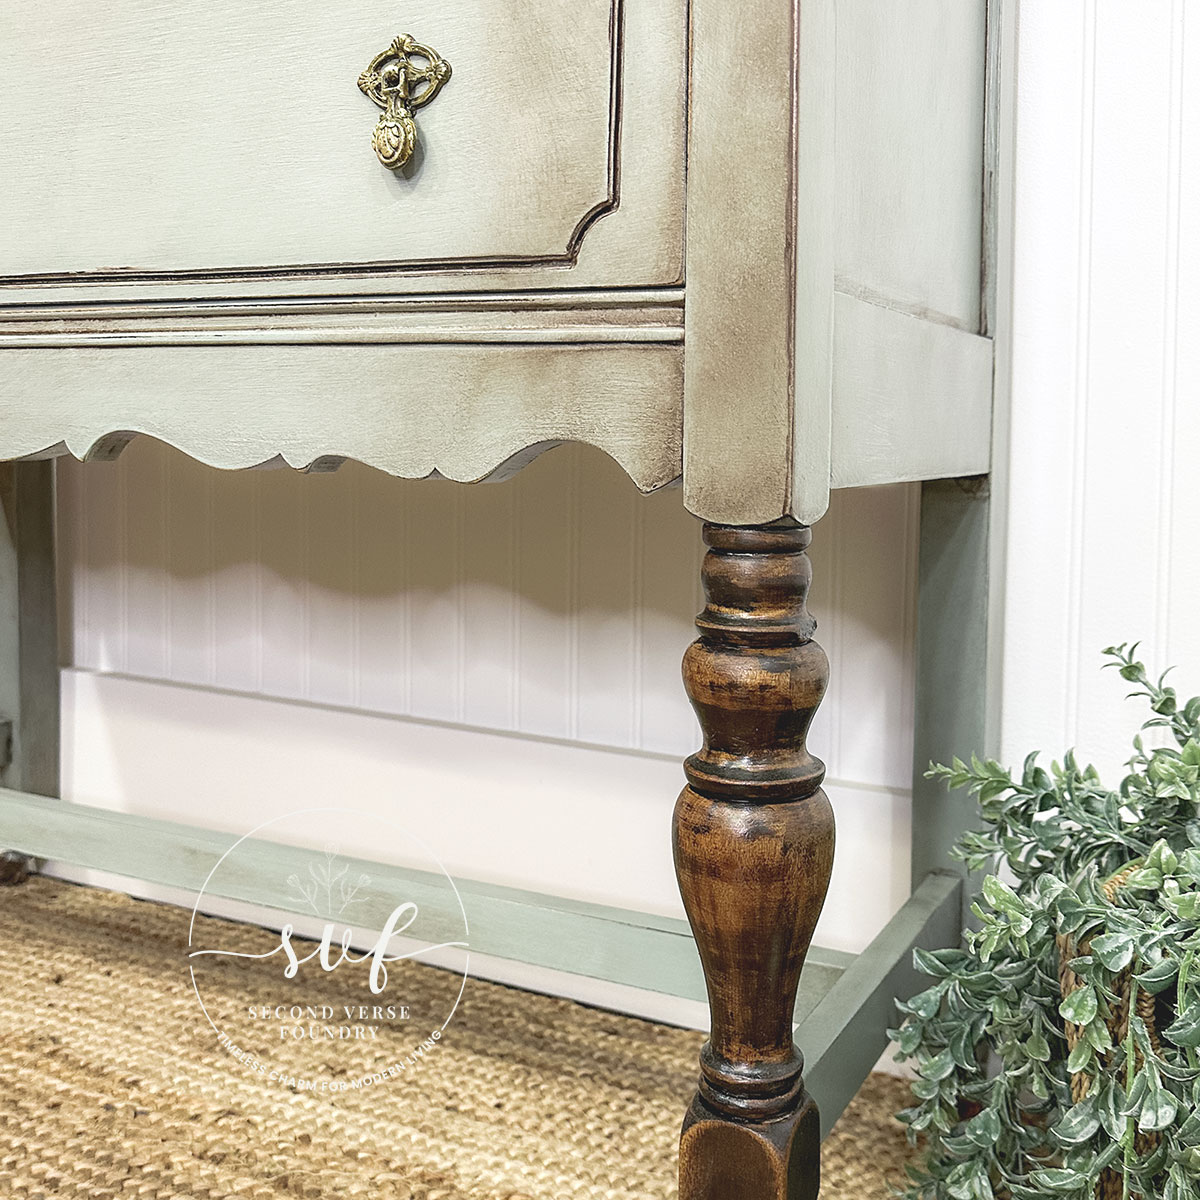
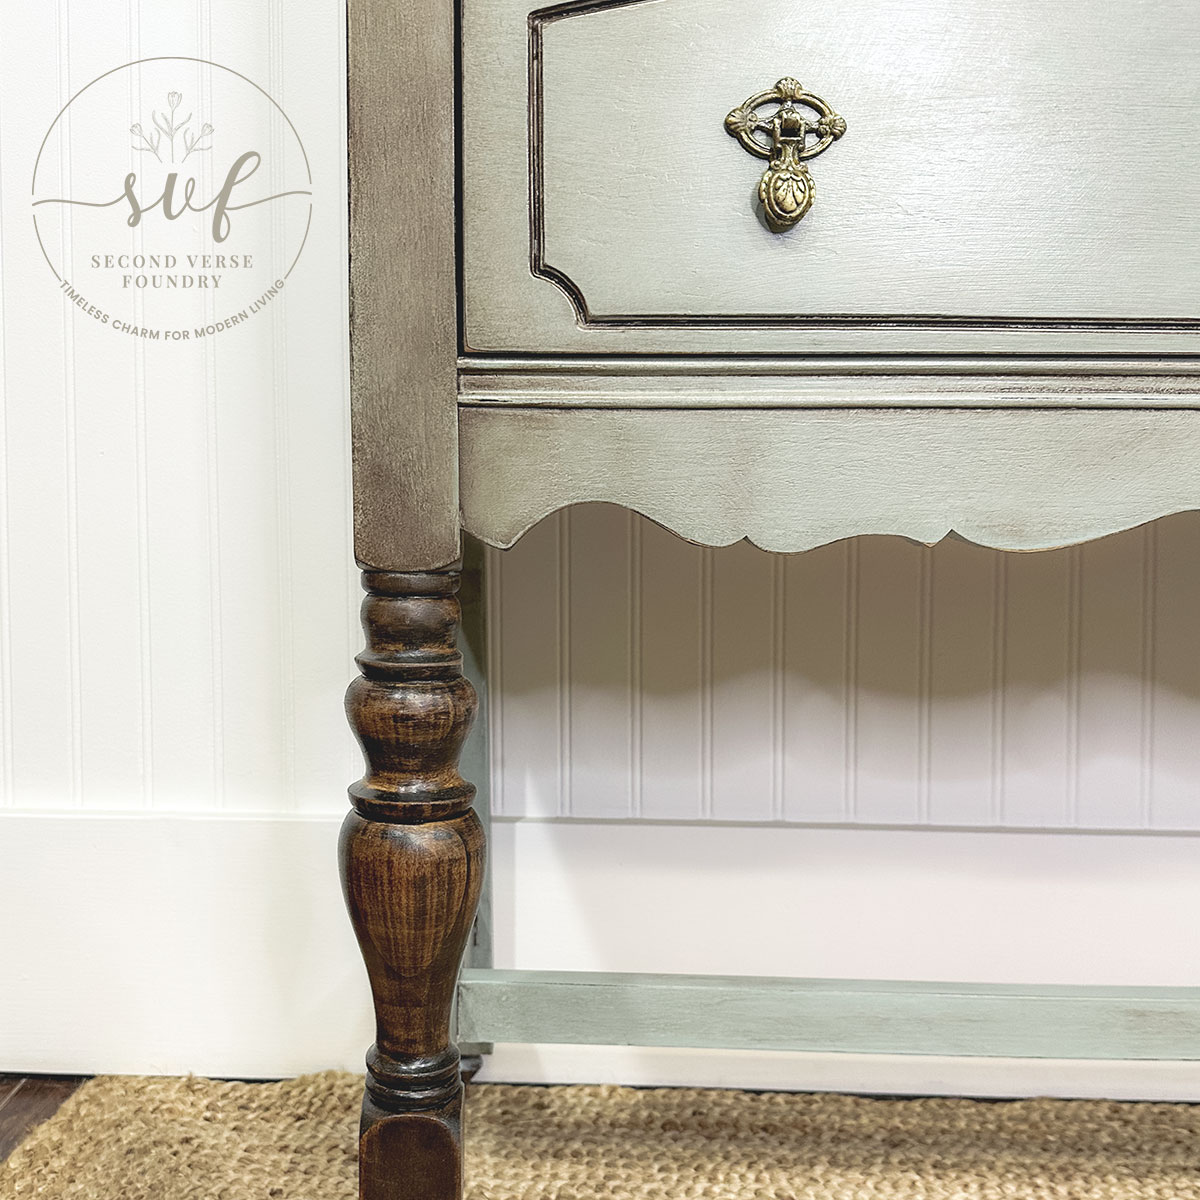
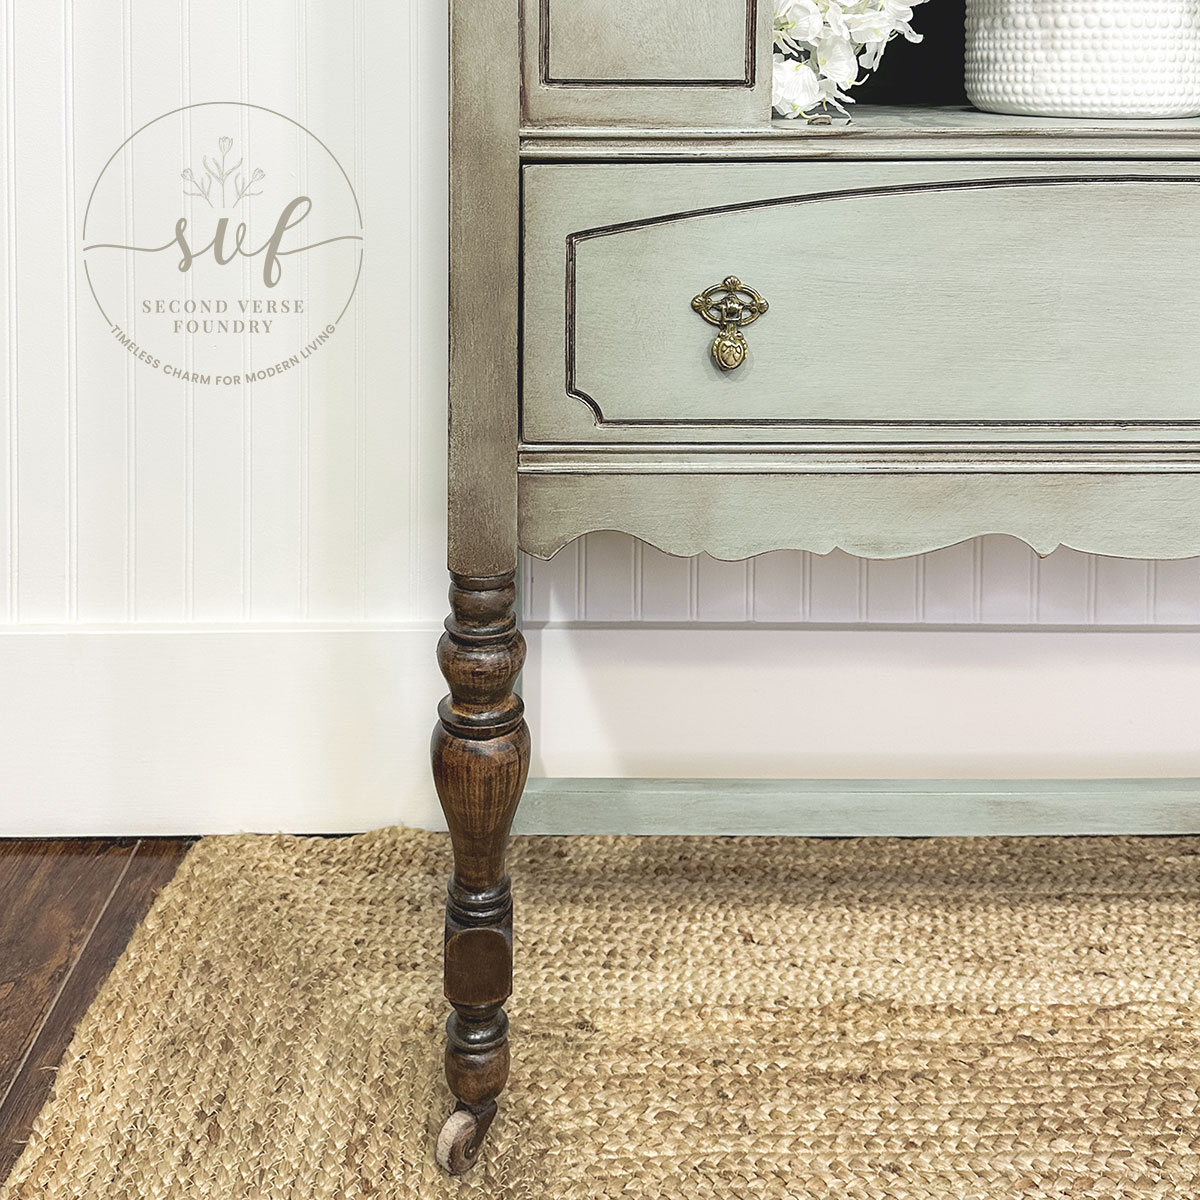
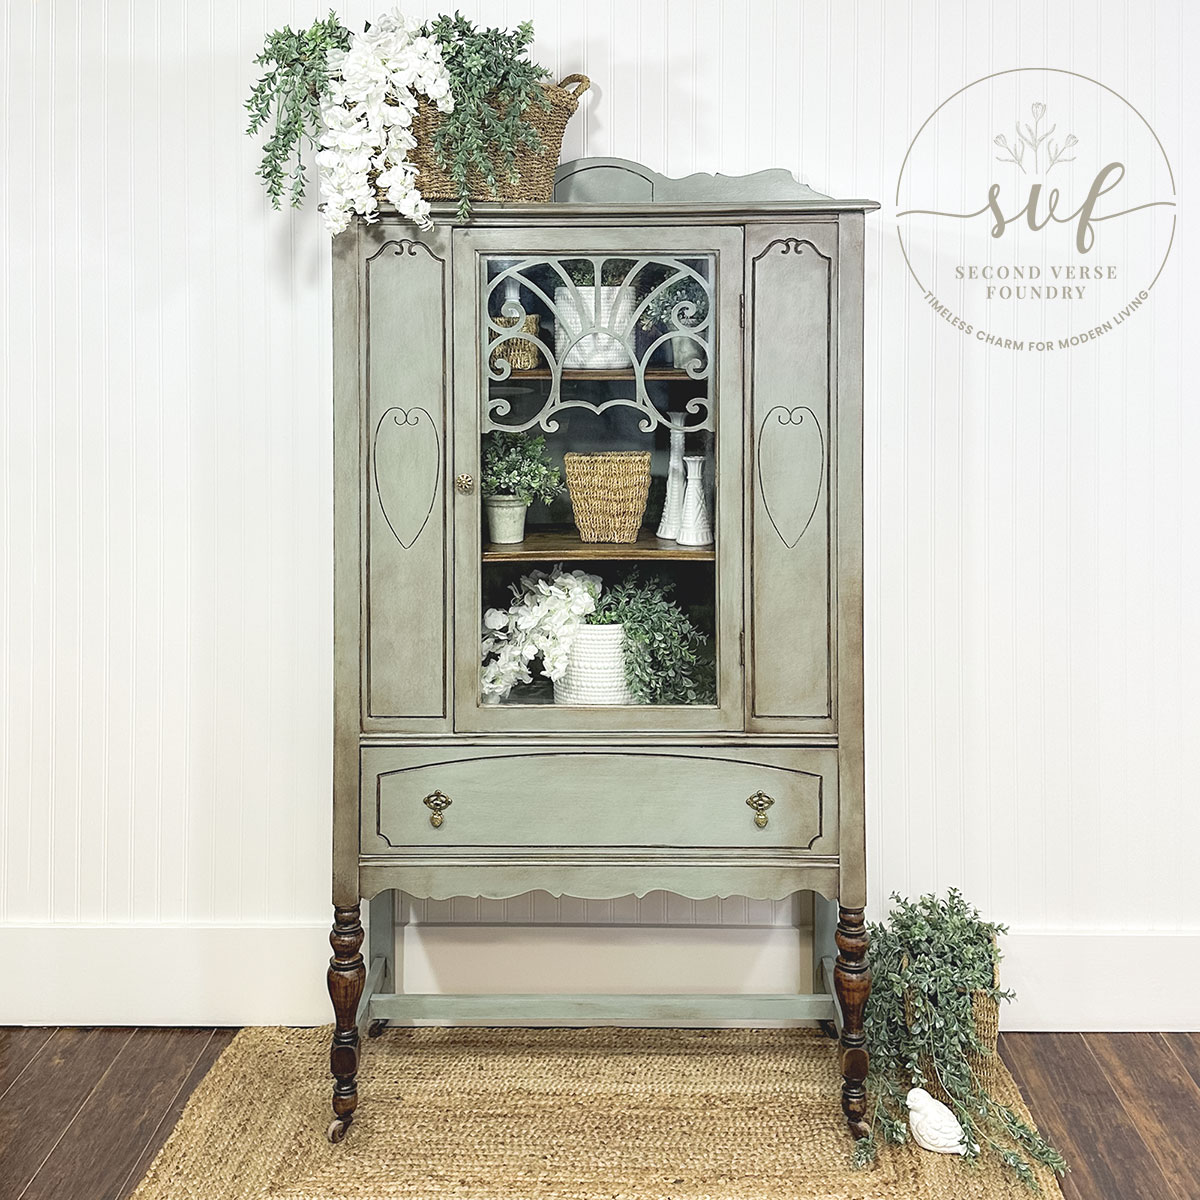
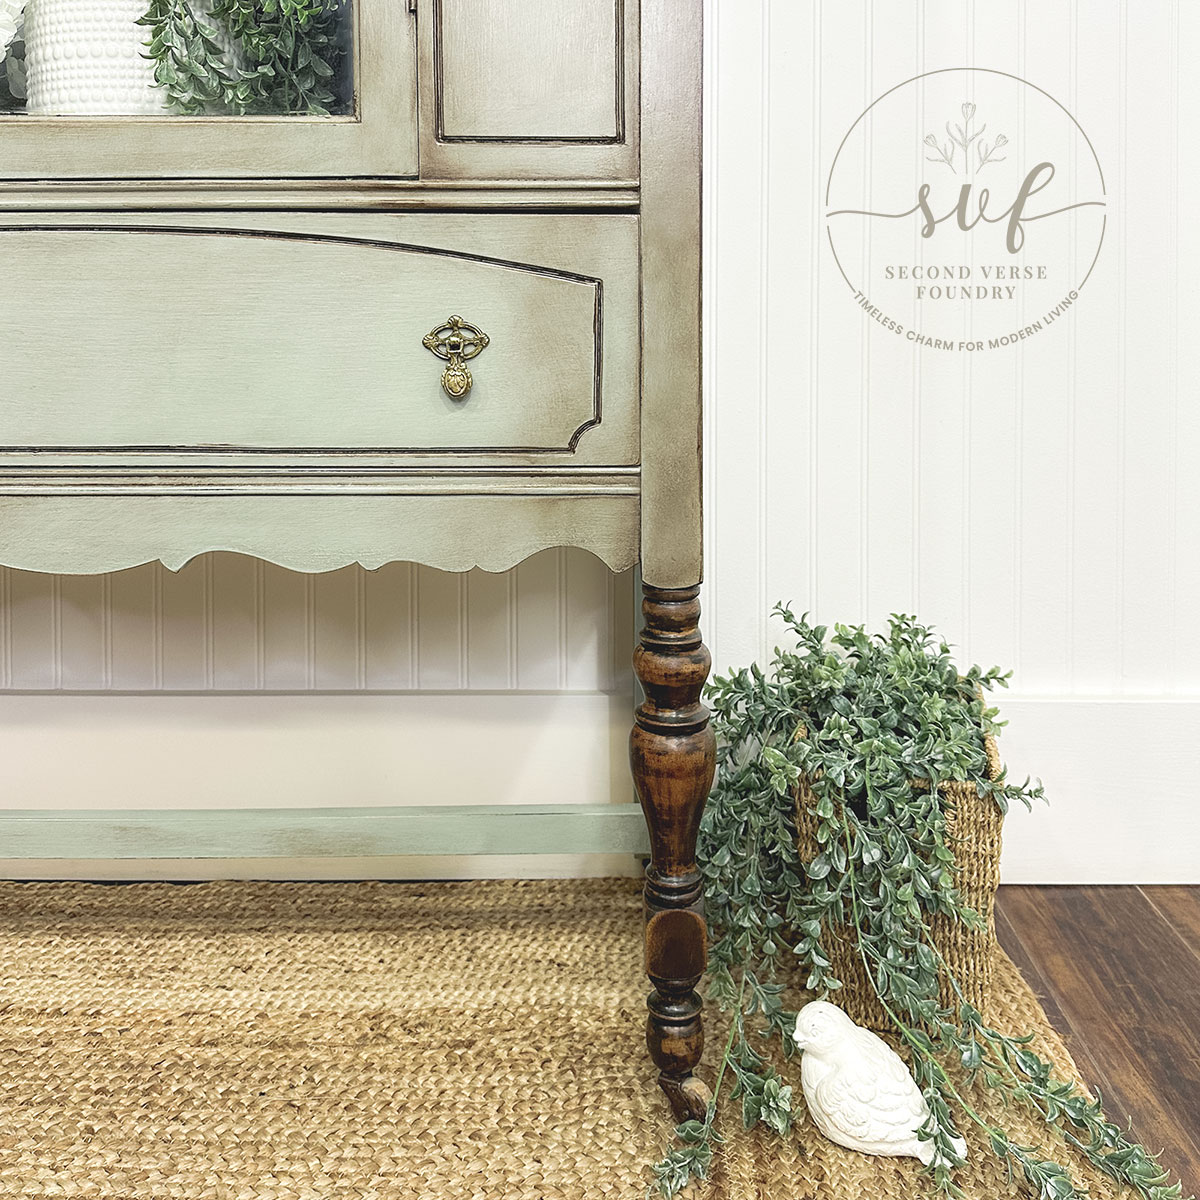
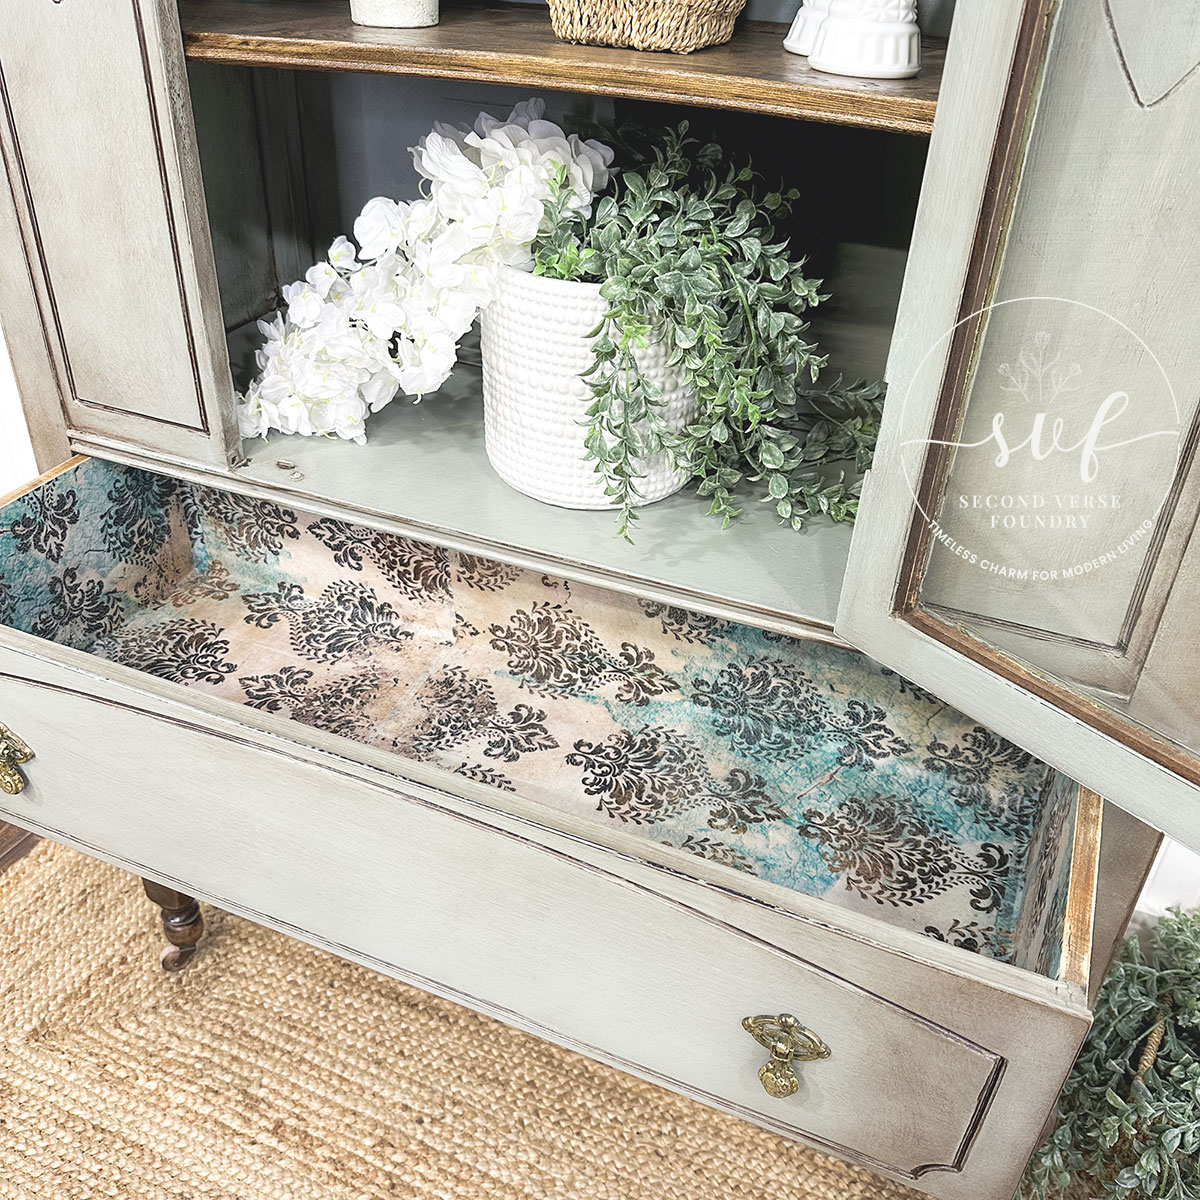
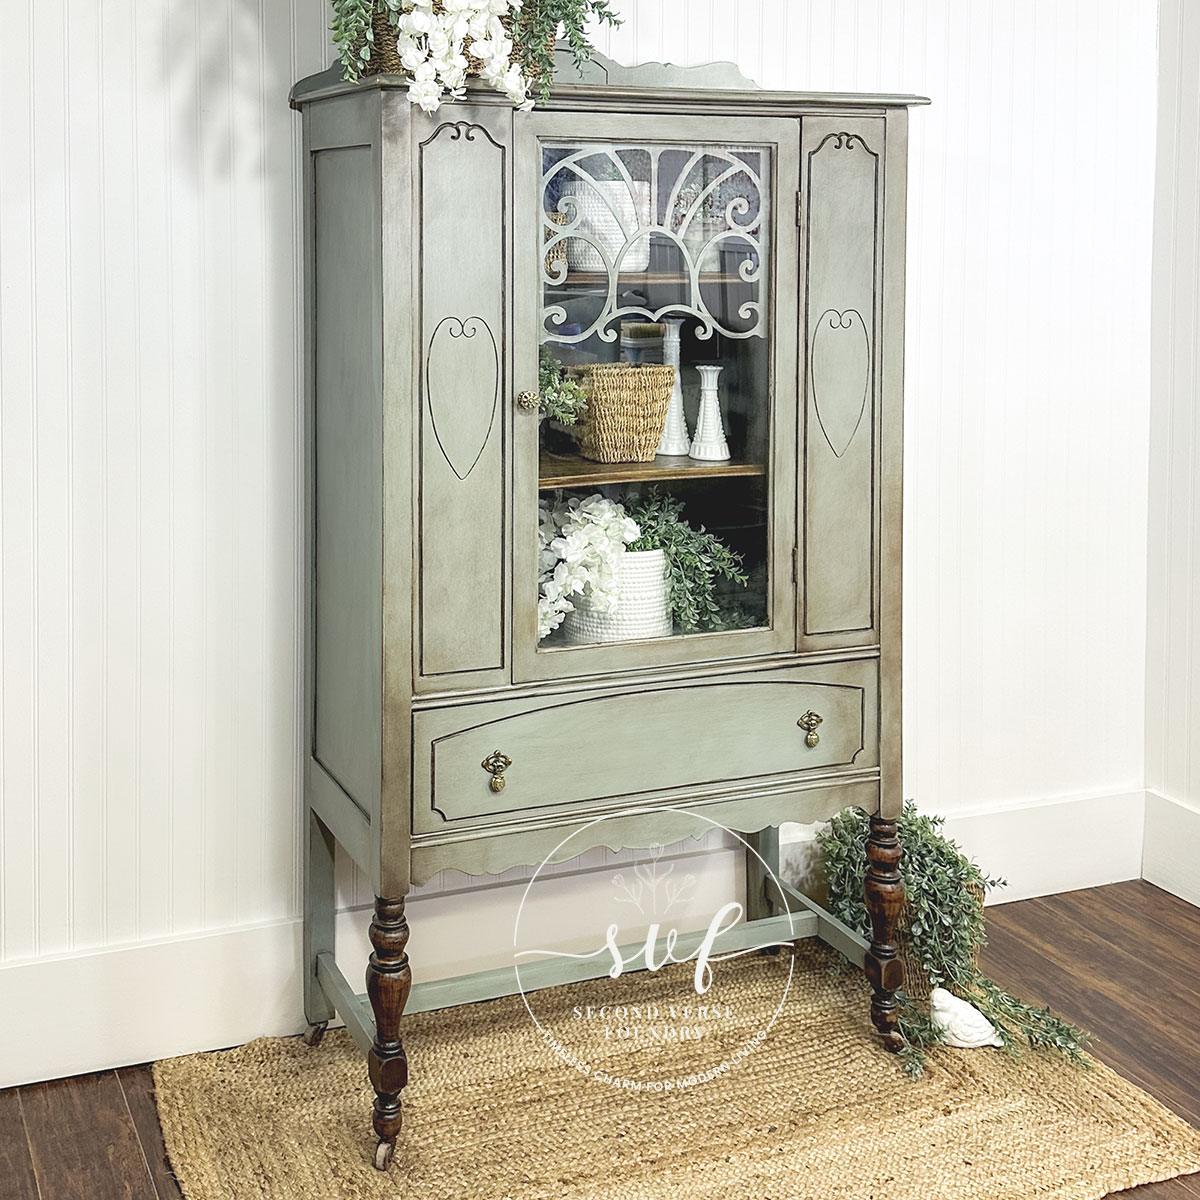
Are you a coastal farmhouse style fan? This painted patina china cabinet has been transformed to give you that exact feel! Comforting and serene, it features exposed wood elements, a timeworn farmhouse patina, and a soft, muted green finish with a smoky glaze. Accented with wicker, greenery, and crisp whites, it creates a peaceful and inviting mood. The door can be removed for a charming open-concept look. Perfect as a bathroom linen cabinet, a dining room display for white dinnerware, a cozy sitting-room bookshelf, or an entryway statement—this vintage 1940s piece adds the perfect touch of cozy charm to any nook or space in your home or cottage.

All products mentioned in this post—and every post I share—are ones I regularly reach for. They’ve earned a spot in my toolbox because they’re reliable and deliver results. Simply what I use, trust, and recommend, shared honestly with you. No affiliate links, no commissions—just straight talk from my whole heart.
Country Chic Paint
My Step-by-Step Transformation
My Step-by-Step Transformation
These are the steps that brought this transformation to life—shared to guide and inspire your own project. Learn better by talking it through? Let’s connect for a consultation to bring your vision to life.

- Removed glass pane from door — for ease of product application
- Removed hardware— with plans to polish and maintain
- Lightly sanded down flaking finish from body and interior, then vacuumed and washed— in preparation for paint application
- Heavily sanded down legs and shelving, then vacuumed and washed— in preparation for stain application
- Applied 2 coats of Country Chic Paint chalk style paint in the colour Dune Grass w/ paint brush application to both the body and interior— a soft, muted green that’s close to a duck egg blue; looks lovely on farmhouse coastal style decor
- Lightly sanded down the body and interior— for a farmhouse distressed finish; with 220 grit sandpaper
- Applied 1 coat of Minwax Gel Stain in the colour Aged Oak to the legs and shelving— for a two-toned exposed wood transformation
- Applied 1 coat of my go-to Varathane Diamond Wood Finish (water-based, satin polyurethane) to the body and interior— In preparation for glaze; sponge application
- Applied Country Chic Paint furniture glaze in the colour Smoky Quartz w/ sponge application and water mister— To achieve a farmhouse patina effect
- Applied 2 more coats of my go-to Varathane Diamond Wood Finish (water-based, satin polyurethane) to the body and interior— To achieve a crystal clear, water-resistant, and highly durable finish; sponge application
- Applied 2 coats of Minwax Wipe-On Poly in Clear Satin to the legs and shelving— To achieve a highly durable finish; sponge application
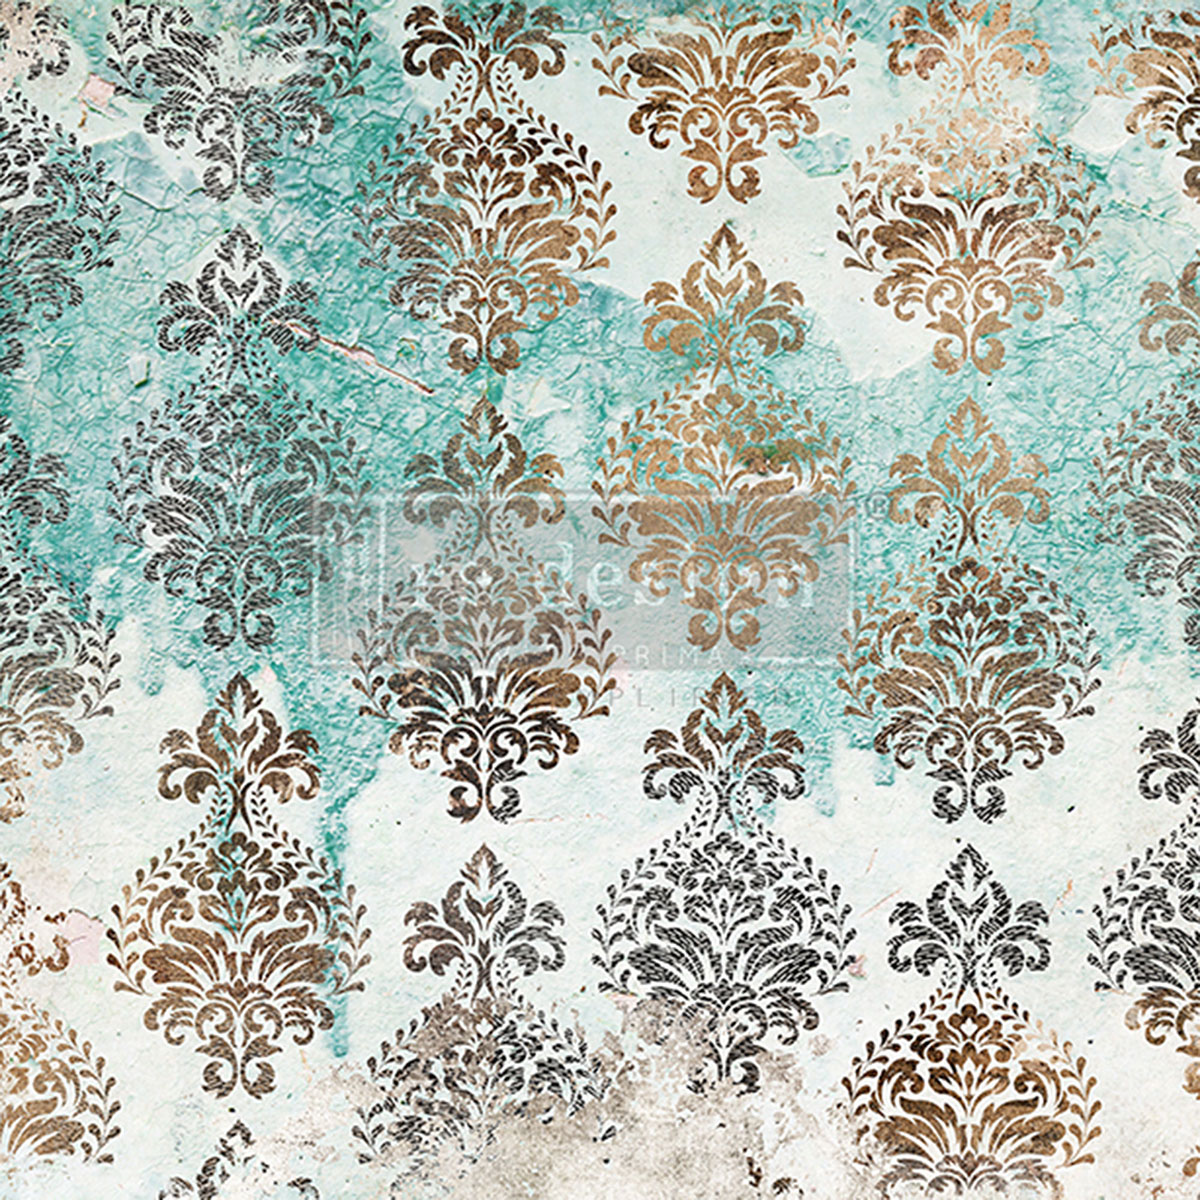
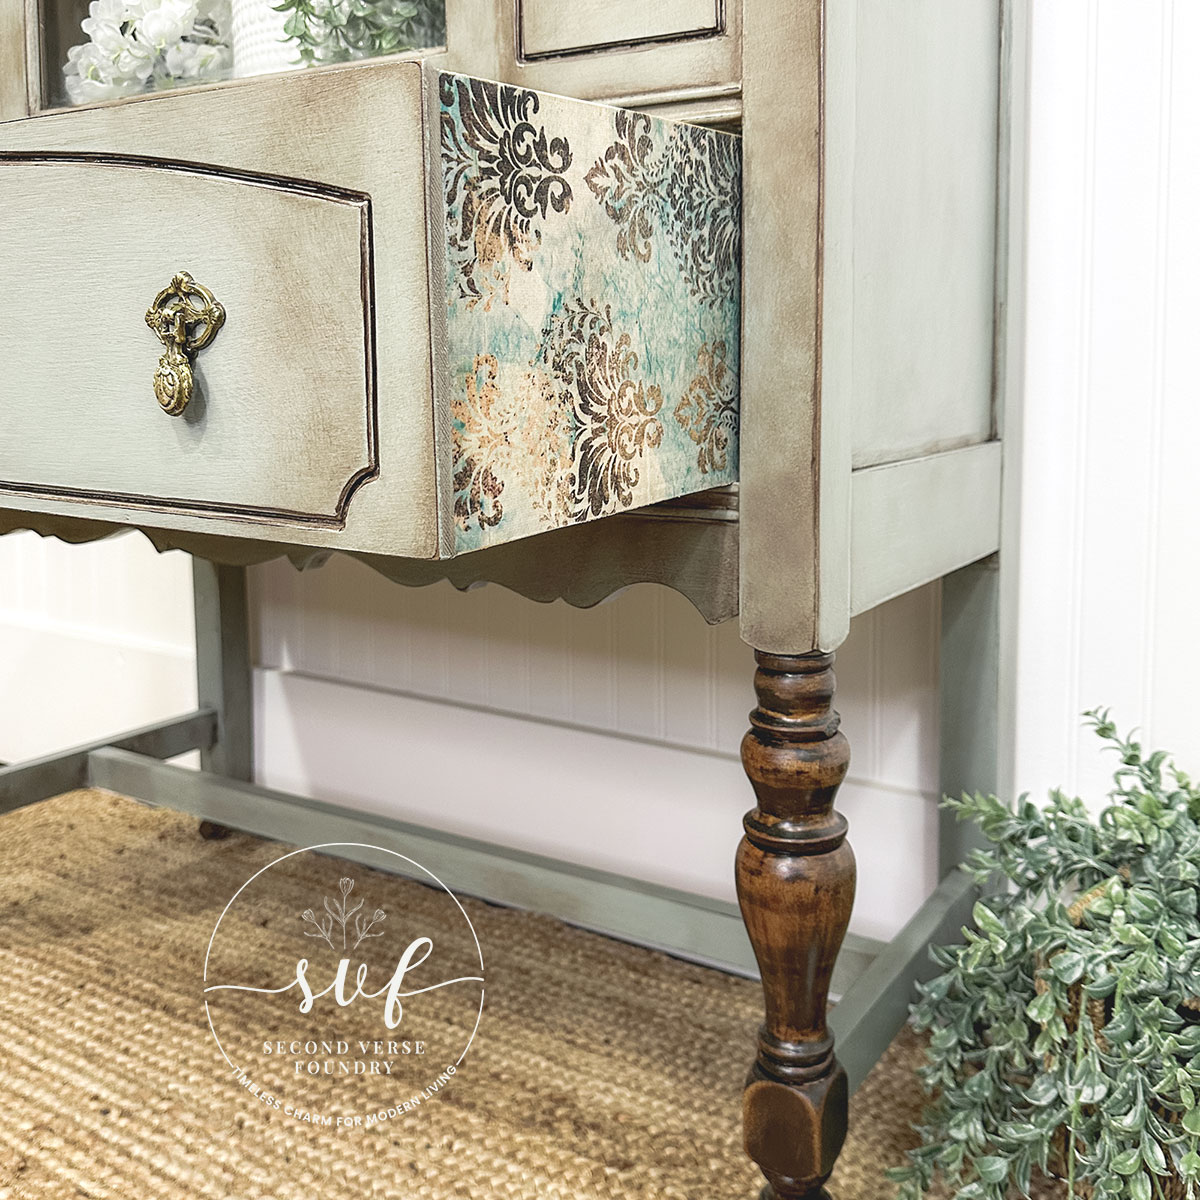
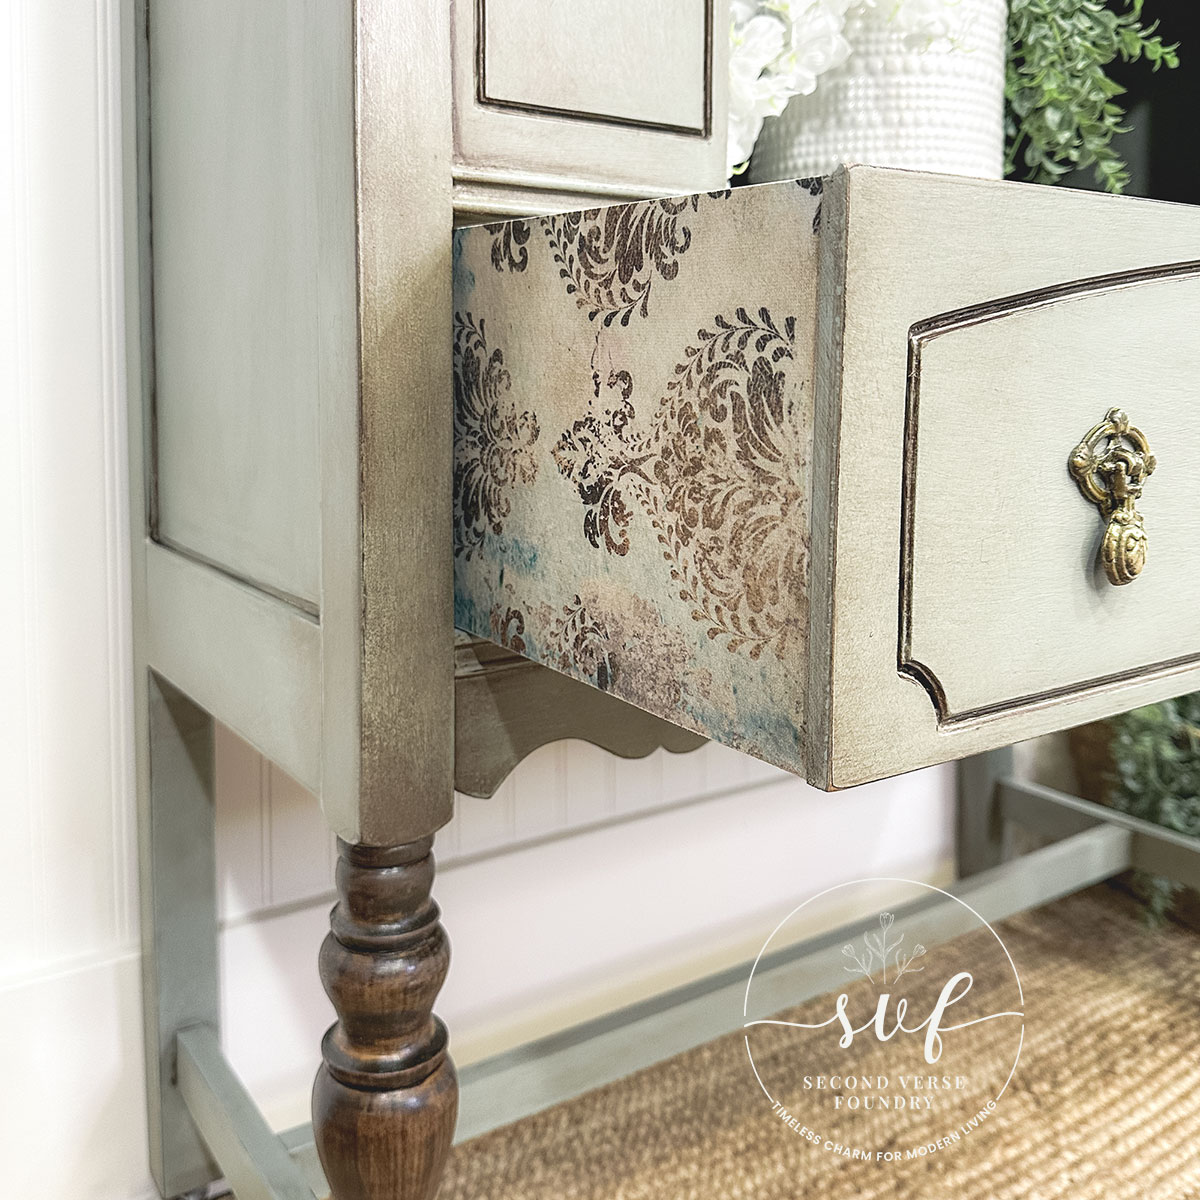
Reinstalled glass pane on door— Ever so carefully, with transparent sealant for ultra protection - Decoupaged drawer sides and interior with Re-Design with Prima’s Patina Flourish decoupage tissue paper— A pattern that I feel was an absolute perfect match for this furniture flip; sponge application w/ water-based poly
- Polished original hardware with my go-to Brasso Metal Cleaner— Quickly and gently removes tarnish from a range of surfaces, including brass, copper, chrome, stainless steel and pewter
One-Hour / One-on-One / $80
Looking to achieve a similar look? Getting started with furniture transformations can feel overwhelming, but with hands-on experience since 2017, I’ve learned so much along the way. I’d love to share what I know and help guide you through the process.
Let’s work together! Whether it’s over the phone, via a screen-share session, or even over a coffee (or wine!), we’ll make a plan to bring your vision to life.


With all my heart and hands
This painted patina china cabinet transformation was more than just a fresh coat of paint—it was about embracing its vintage charm while giving it new life. With its soft, muted green finish, exposed wood accents, and timeworn patina, this 1940s piece now exudes a cozy coastal farmhouse feel. Thoughtful details, from the distressed finish to the carefully polished hardware, helped preserve its history while making it a perfect fit for today’s homes. It’s proof that even the most forgotten furniture can shine again with a little vision and care.
If you have a piece tucked away, waiting for a second chance, don’t overlook its potential. A fresh perspective, a bit of patience, and the right finishing touches can turn something old into something truly special.
Furniture isn’t just functional—it holds memories, stories, and character. This china cabinet’s redesign wasn’t just about updating its look; it was about honoring its craftsmanship and ensuring it could be cherished once more. Once worn and overlooked, its solid frame and delicate details made it worth the effort, and now it’s ready to bring warmth and charm to a new home.
There’s something so rewarding about transforming a forgotten piece into a focal point. This cabinet may have spent years waiting for its moment, but now, it’s stepping into a whole new chapter—wherever it may go.
Faye Caroline

0 Comments